One of the best ways you can help improve your soil is by adding compost! It’s considered to be “Black Gold” to gardeners, and you’ll soon find out why! Not only is it practically free to make, but it’s also easy! Follow these simple suggestions to learn how to compost like a pro!
Learn All You Need To Know About Composting!
Why Would You Want To Compost? –Learn How To Compost Like A Pro!
Composting is a great organic way to naturally fertilize your garden vegetables, flowers, trees, potted plants – basically any living plant! Compost not only helps to keep the soil loose and workable, but it also helps soil retain moisture and adds nutrients that the plants use up as they grow. Basically, it’s a way to “recharge” your soil!
The best part is that compost can be used anywhere you grow living plants! Whether you are adding a new tree in your backyard, planting an heirloom tomato plant, or simply putting out a new hanging basket to your front porch, compost can be added to your soil!
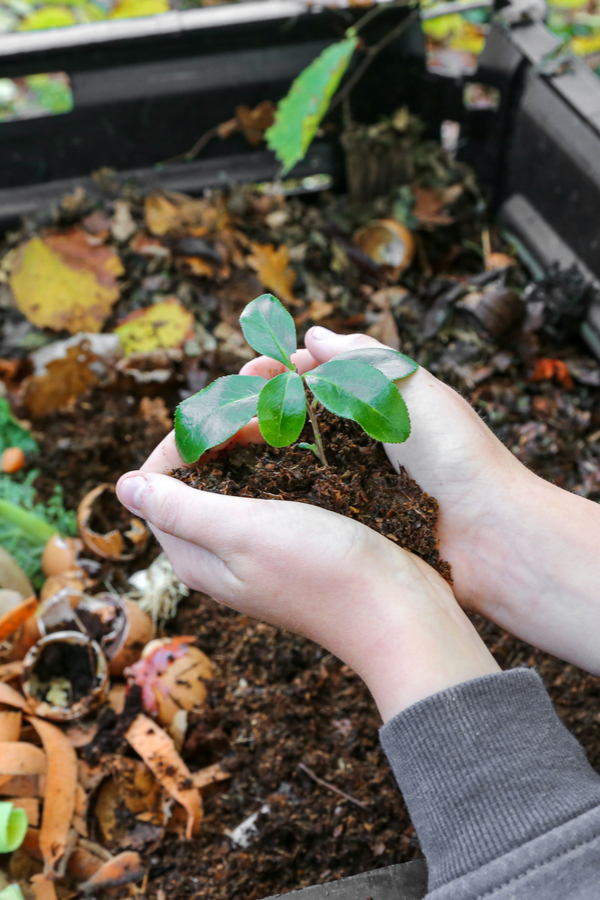
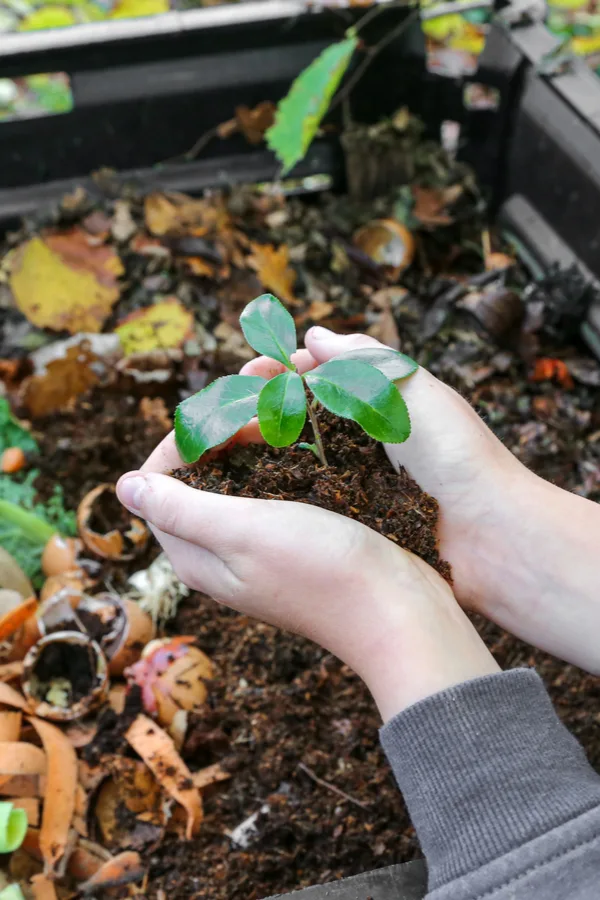
So, What Really Is Compost?
To put it simply, compost is the organic materials produced when an item breaks down and decomposes. Just think about it, everything in our world eventually decomposes. From a used tissue to a plastic water bottle, both items will eventually get broken down; Some just take longer than others.
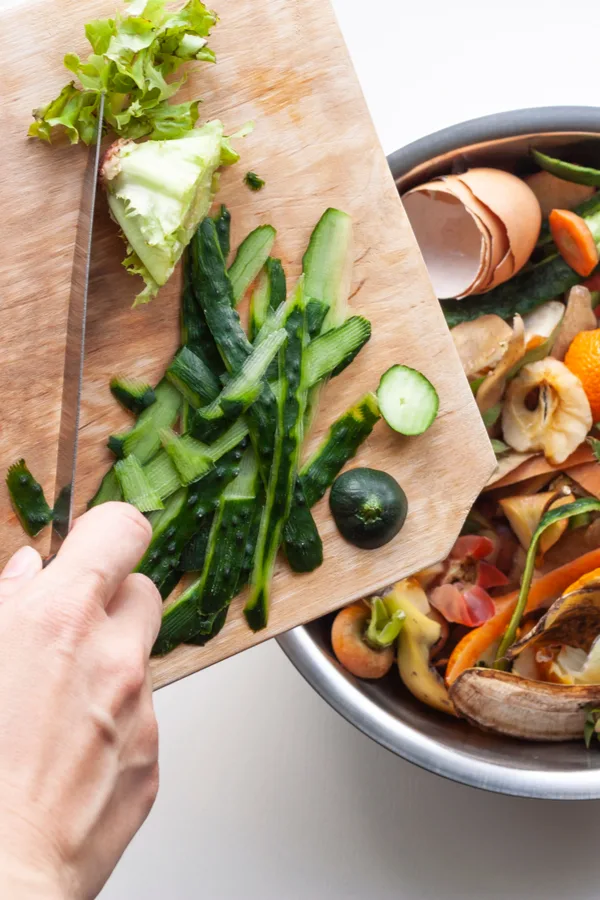
The most beneficial items to be used for composting are food scraps and yard waste because those items can be quickly broken down into nutrient-rich matter.
According to the United States Environmental Protection Agency (EPA), food scraps and yard waste make up 30% of what ends up in our landfills! So why not put those “trash” items to use to power your plants instead!

Don’t Get Overwhelmed With Formulas! – Learn How To Compost Like A Pro!
There is a lot of confusing information on the internet about using specific mixtures or formulas to get the best compost. But it doesn’t have to be complicated!
Basically, you should try to aim for a ratio of about 1 part Green Material for every 4 parts Brown Materials. No, it doesn’t have to be exact or measured with a scale. It’s just a ratio to aim for to give you the best combination!
Remember: 1 Part Green Material For Every 4 Parts Brown Materials
Wait, What Are Green And Brown Materials?
To get the best mixture of organic matter when you compost, it takes a balance of Green and Brown materials.
Green materials are items that contain a high amount of Nitrogen, which helps to heat up a compost pile. Brown materials, on the other hand, contain a high amount of Carbon, and they help to add oxygen and break down the contents.
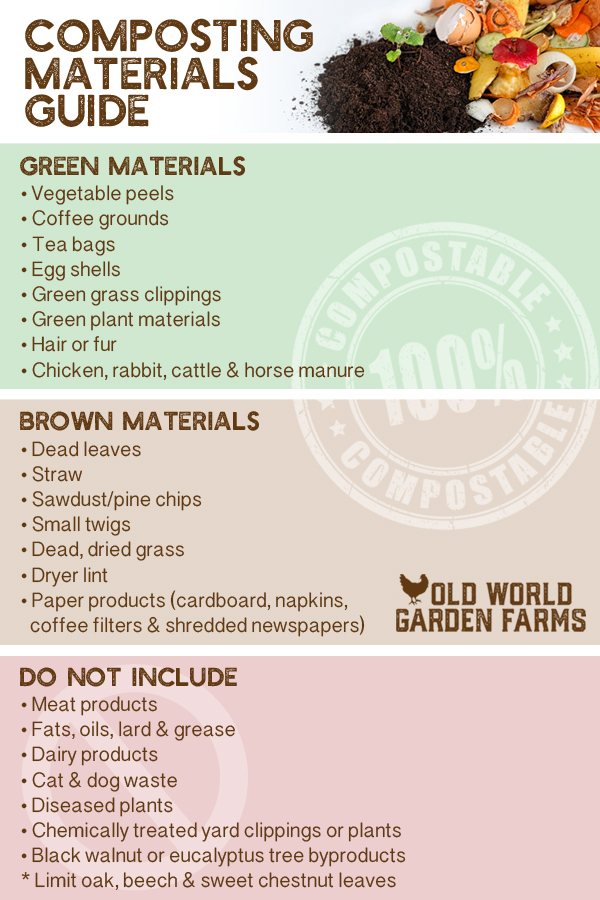
Green materials are items like vegetable peels, coffee grounds, tea bags, egg shells, green grass clipping, plant materials, and even hair or fur. Animal by-products like chicken, horse, cattle, and rabbit manure are also considered green materials.
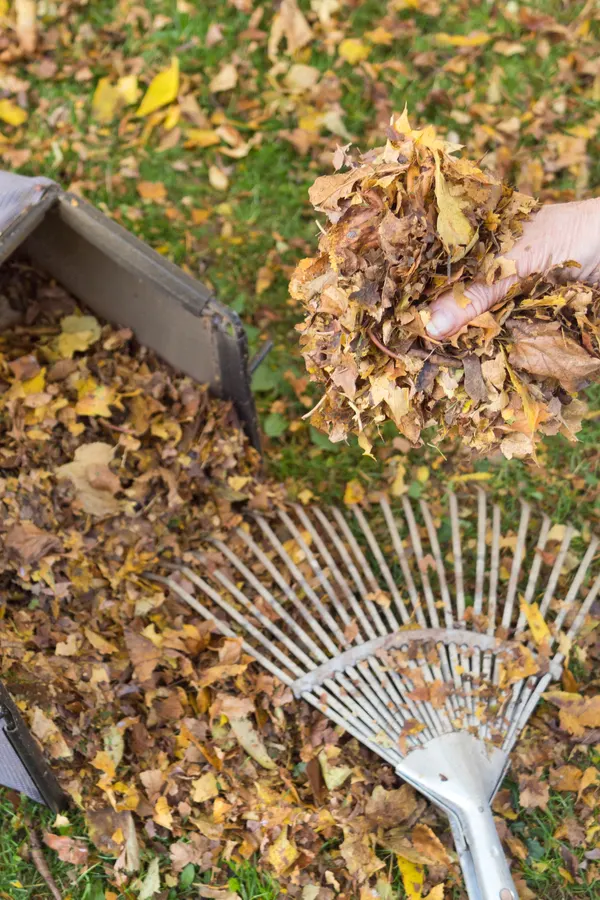
Brown Materials are items like dead leaves, straw, sawdust, cardboard, small twigs, and dead grass. It even includes dryer lint and paper products like napkins, coffee filters, and shredded newspapers.
Some Items Belong On The “Do Not Include” List
There are some materials that you shouldn’t add to your compost piles! These are items such as any type of meat product, products that have a high fat content such as oils and grease, dairy products, cat or dog waste, diseased plants, and any yard clippings or plants that have been chemically treated.
Also, don’t include black walnut or eucalyptus tree byproducts, and try to limit the addition of oak, beech, and sweet chestnut leaves if possible.
Feel free to pin or use the below chart to help you remember the differences between Green and Brown materials and to know what materials to avoid!

Getting Your Compost Materials For Free! – Learn How To Compost Like A Pro!
All of your composting materials can be available for free! Your Brown materials can all come from your own yard or your friends’ and neighbors’ yards (with permission, of course)! Your kitchen is a great source for “free” Green materials! Just keep a covered 5-gallon bucket in your garage to throw your scraps in.
Contact your local coffee shop or breakfast place to see if they will save their used coffee grounds and filters. Most will be more than willing to help keep those items out of landfills!
Do you have a friend who raises chickens but doesn’t garden? See if they will give you all the droppings and litter the next time they clean out their chicken coop! (Just keep in mind that you might have to give them a hand with the cleaning process!)
Composting is a great way to help reduce the number of products in our landfills without spending money!
What Types Of Containers Can Be Used For Composting?
Now that you know what types of materials you should and shouldn’t add to your compost pile, you need to know where to put them!
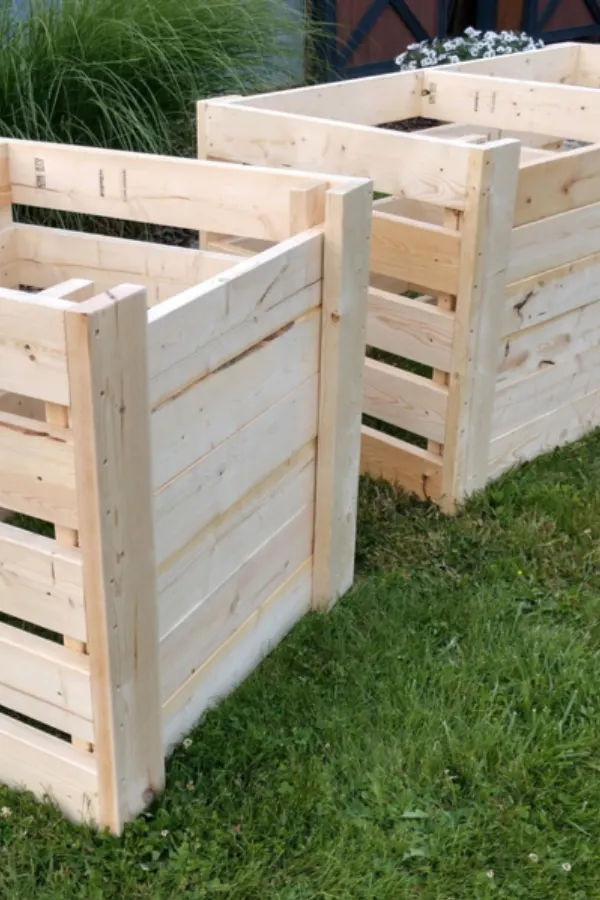
While you can purchase store-bought containers to compost in, you can also make your own bins. You don’t even have to spend a lot of money to create those bins, either!
Your compost bin can be made from nearly any material. Old wooden pallets, chicken wire, fence boards, bricks, 2×4 lumber, or even old wooden stakes are all good options!
We do suggest that you steer clear of plastic barrels and tumblers though. These types of bins become easily waterlogged and aren’t usually large enough to really get the materials heated up.
Your compost bin can be left uncovered, or you can put a lid on it depending on your needs. You will need to take into consideration local pets, wild animals, and even your climate to decide whether you will need to cover your pile or not. For example, if it rains a lot in your area, you’ll likely want to cover it so it doesn’t get waterlogged.

Ok, But What Size Of Bin Is Needed? – Learn How To Compost Like A Pro!
If you use a bin that is too small, the materials won’t get a chance to really “heat up” and decompose quickly. Yes, they will decompose eventually, but the process will just take a lot longer.
The best size to aim for is 3’ wide by 3’ deep by 3’ tall. That magic size creates a large enough pile that allows for good thermal heat, yet it can still be easily turned and worked. You can even go up to a 5’ x 5’ x 3’ high, but try to stay away from anything larger.
Is A One-Bin Or Two-Bin System Better?
A one-bin system is simply using one container that is 3’x3’x3’ for all your composting. If you are short on space, then just having a one-bin system works just fine! But if you are able to fit in two bins, all the better!
With a two-bin system, all your materials go into one bin until the compost starts to look similar to soil. You would then stop adding new materials to it while still continuing to turn the pile (called “finishing off”). Any new materials would then go into the second bin to start a brand new pile. Once the compost in the first bin looks just like soil, it’s ready for your plants!
A two-bin system helps to allow you to continually have compost at your disposal while still allowing you to make new compost for the future!
If you have an abundance of space, you can even do a three-bin system! You will use one bin for fresh materials, one bin for finishing off compost that still is still working. The last one is for the compost that is ready for your garden!
We actually have great DIY plans for either a one- or two-bin system available! The bins are great for novice or experienced builders, and are created from basic 2×4 and 2×6 lumber. You can find those plans HERE.
Be Honest, What About The Smell?
It’s understandable that you might be concerned that a pile of decomposing materials in your backyard might smell horrible! But that actually isn’t the case!
A good compost pile needs to be turned often and doesn’t include items on the “Do Not Include” list. If you are worried about your bucket of kitchen scraps smelling when you add it to your compost, just make sure to add it to the center of your pile and turn it so that the new scraps are buried in the middle.

What Are The Main Keys To Creating Compost Quickly? – Learn How To Compost Like A Pro!
In order to get two rounds of compost each year, there are a few key steps to keep in mind:
The Smaller The Pieces, The Better!
First, make sure any materials that go into the compost bin are smaller. By simply chopping and shredding before adding the pile works faster. Just imagine how long a whole watermelon takes to break down as opposed to a watermelon of smaller pieces. For yard waste, use your mower as a “shredder” to run over leaves or straw to chop them up; No expensive shredder or grinder needed!
Give It Some Oxygen! –How To Easily Compost Like A Pro
Second, in order for the pile to heat up and let the organisms break down the materials, it needs oxygen! You can help it out by turning your compost pile. Turning your pile basically means you need to mix up and aerate the materials.
Think of it this way: The middle of the pile is what heats up and thus decomposes the quickest while the outside stays cooler. You need to give the outside materials a chance to heat up as well, and you do that by turning the pile. A pitch fork is a perfect tool to help you turn those materials!
You should aim for turning your pile a minimum of once a week, but the more the merrier!
Keep in mind that if you live in an area where you get really cold winters, you won’t need to turn when it freezes. Chances are that even the middle won’t be heating up in sub-zero temperatures! But during the warmer months, turning it at least once a week is a must. (Once a day would really be the best if possible!)
Don’t Forget The Water!
Lastly, in order for the materials to heat up, you also need to keep your compost pile moist. A good pile should feel slightly damp if you reach into the middle of it. You don’t want it to feel so wet that you can wring out the water, but just slightly damp. Use your garden hose or a bucket to dampen the pile if you think it is too dry.
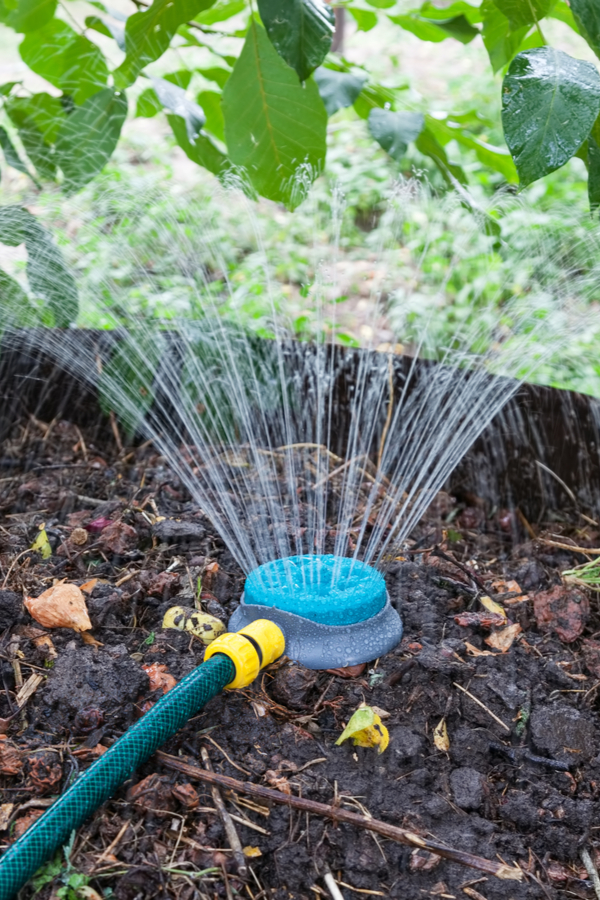

You can also cover the pile with burlap or straw to help keep moisture in, especially during the middle of summer. If your pile is becoming overly wet, you can also cover with plastic to help shed the water.
A Recap So You Can Compost Like A Pro:
- Use 3’x3’x3’ sized bins.
- Include a mixture of 1 part Green materials to 4 parts Brown.
- Chop up or shred the materials to help them decompose faster.
- Turn your pile as often as possible.
- Keep the pile slightly damp but not soaked.
- Enjoy being able to use that nutrient-rich, organic “Black Gold” soil to help boost your garden and plants!
Make sure to check out our podcast on How To Make Great Compost For A Great Garden to get even more information!