Wondering when you should cut your tulips back after they finish blooming this spring?
If there is one beautiful flower that helps to signify the beginning of a new growing season, it’s tulips – but did you know that what you do with them after they bloom can make a huge difference in how they flower next year. Or if they flower at all?
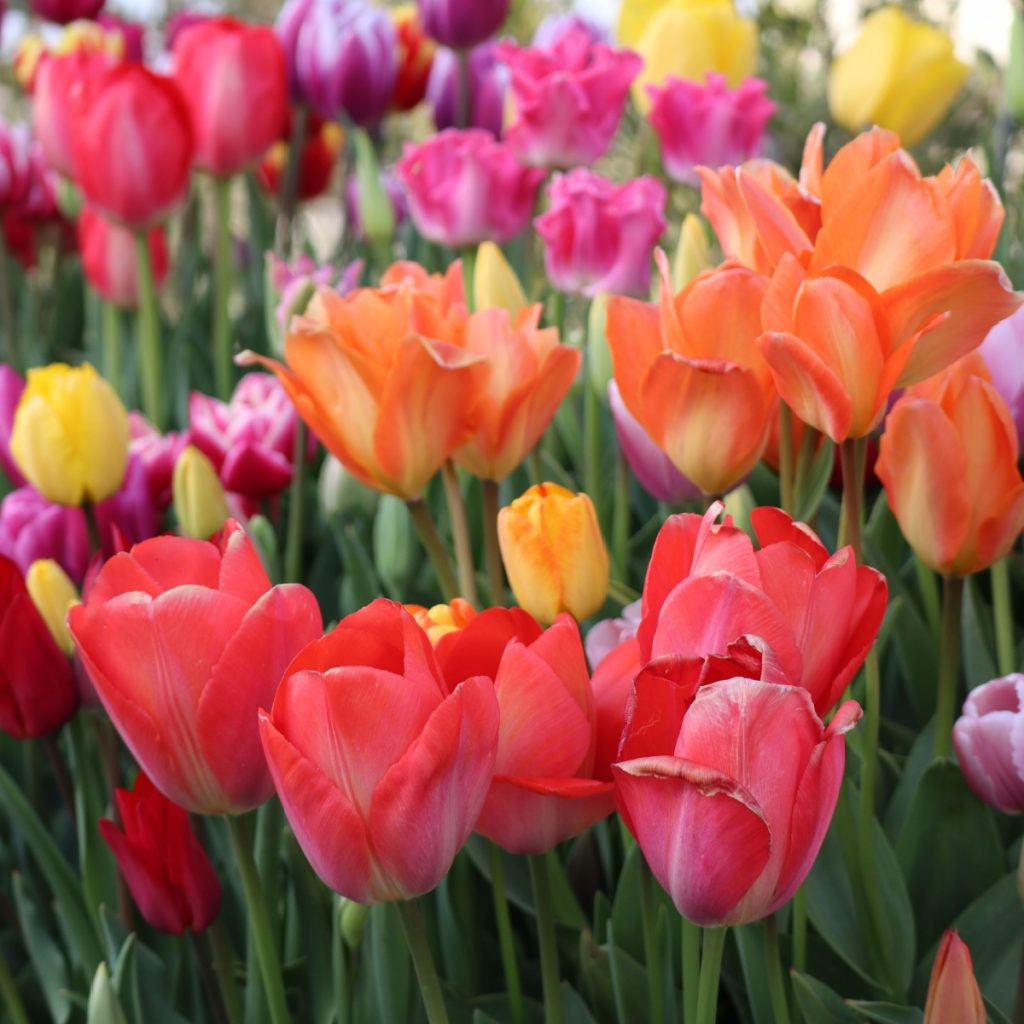
It’s no secret that tulips are such a welcoming sight for gardeners. Along with other early spring-blooming flowers, their striking green foliage and bright blooms help to fill the landscape with color and interest after a long, dreary winter.

While tulips are technically perennials, getting them to bloom for additional years isn’t always as straightforward as it might seem. This is because it’s what you do with these flowers after they bloom that can make a huge difference in not only their long-term health but also whether or not they bloom successfully the following season.
So, what can you do to give them a fighting chance at flowering a second, third, or even fourth spring? Do you cut them back completely to the ground? Do you leave them alone to die back naturally? What about fertilizer? And how and when should you apply it, if at all? Here are answers to all those questions and more!
How To Care For Tulips After They Bloom
Deadheading As Soon As Possible
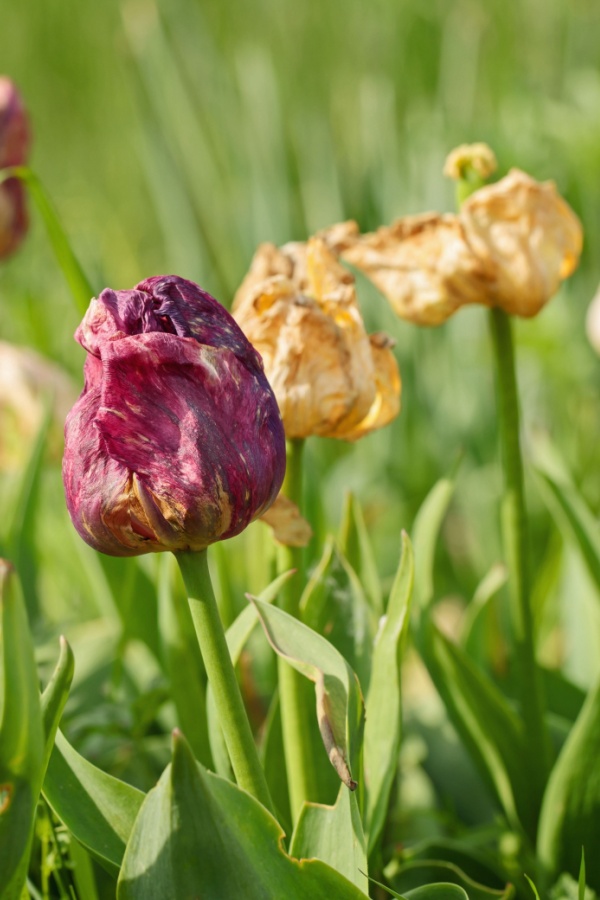
Most tulips are capable of blooming for around two to three weeks at a time. Before you know it though, those once vibrant blooms soon start to turn brown and wilt.
Whether this occurs in early or late spring depends on your climate and conditions. However, the first step in caring for tulips is the same, no matter where you live – and that is as soon as the bloom starts to fade and die back, it’s time to deadhead.
Deadheading is the process of cutting off or removing spent blooms. It is a practice that is used with many different types of annuals and perennials, especially those that continue to push out new flowers all season long.

Even though tulips only produce blooms in the springtime, deadheading is still vital for the overall health of the bulb. If you allow a spent flower to remain on the plant, it eventually turns into a seed head.
Saving Energy For Tulips
Tulips put a lot of energy into creating seed heads. Energy that should be spent on powering the bulb instead. The result is a bulb that has less power and resources to produce blooms for the following year.
To help ensure the resources in the soil go towards producing new blooms, simply snip off the bloom about an inch below the bottom of the flower. For this, using a pair of clean scissors or hand pruners is best. Product Link: Fiskars Bypass Pruning Shears 5/8” Garden Clippers
Resist the temptation to snap off the flower heads with your fingers or by pinching off the stem. This can bruise or tear the stem, making the plant use more resources to try to heal it. But by making a clean cut, there is no worry. Remember, the sooner you remove the fading bloom, the better.
Less Is More
Even though you need to remove the spent bloom, leave as much of the stem and foliage as possible. This is one of those instances where doing less is actually better for the plants involved.
Cutting back the foliage can negatively affect the flower’s blooming ability for the following year. This is because as the stem and foliage begin to die back in late spring, they help to provide vital nutrients and resources to the bulb and root below as they decay. If you were to cut back this foliage, all of that energy would also be removed.


After you remove the bloom, the rest of the plant will start to naturally die back on its own. It’s a quick process that only takes around two weeks to complete, but one that can make a difference between struggling tulips next year and those that flourish.
Once the foliage starts to turn a yellow-brown color, the decaying process has begun. Wait until that point before completely cutting the tulip foliage back down to the ground.
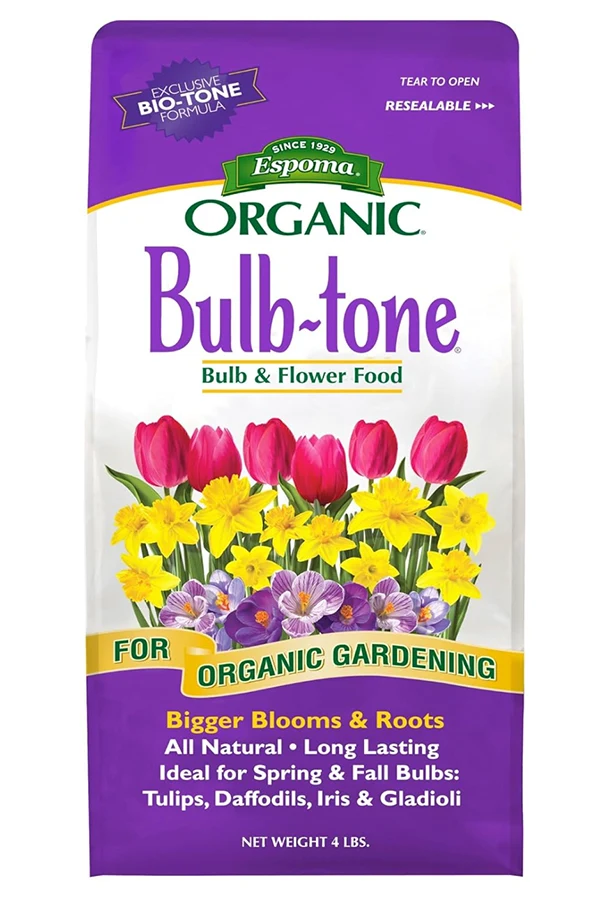
Applying Fertilizers To Tulips After They Finish Blooming
Allowing the tulip plants to die back naturally helps the bulb to store additional nutrients and energy. But it’s still a good idea to provide them with even more resources by fertilizing.
The best time to apply fertilizers is early fall, long after the plants have died but before new growth starts to appear. Compost or commercial fertilizers are both excellent options for powering tulip bulbs.

When using compost, apply a few inches directly on top of the soil in the flowerbeds where the bulbs are buried. When it rains and as the compost breaks down, nutrients will leech into the soil and down to the bulbs. These nutrients are then stored to be used for the following spring.
As an alternative, you can use one of the many different commercial fertilizers geared specifically toward powering flower bulbs. Choose an all-purpose, granular fertilizer to provide bulbs with a slow but steady release of nutrients. Product Link: Espoma Organic Bulb-Tone
Only apply and work granular fertilizers into the top few inches of soil. Just like you want to avoid having fertilizers touch the foliage of plants, you also don’t want the fertilizer to touch and burn buried tulip bulbs either.
Long-Term Maintenance
Every three to four years, dig up and divide your tulip bulbs. You can do this either right after removing the decaying foliage in late spring – or in early fall. Avoid removing bulbs too soon in the spring before the bulbs have a chance to replenish their energy and resources.
Discard any bulbs that are pale in color or feel soft and squishy. The chance of those bulbs being able to bloom the following season is slim. Only keep the healthiest, firmest bulbs for replanting.
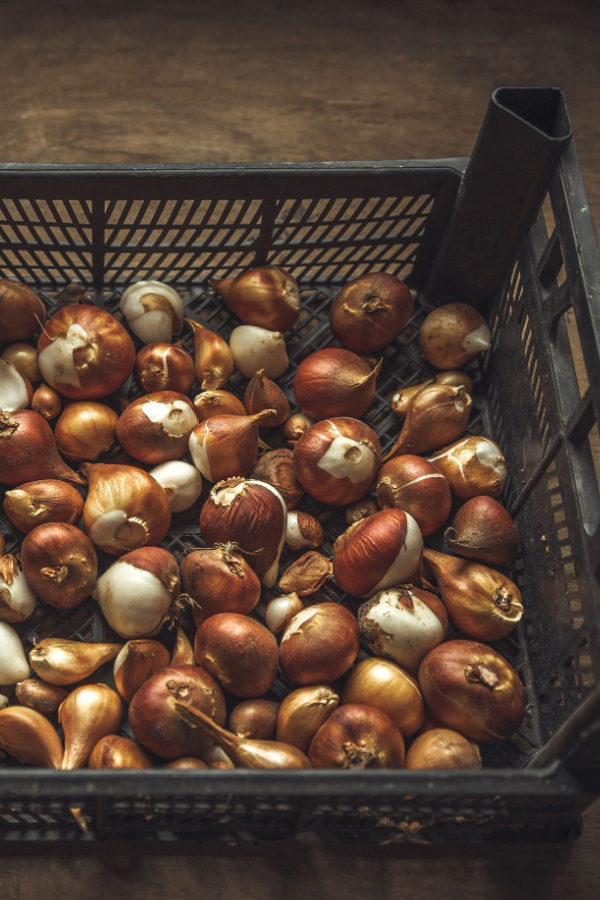
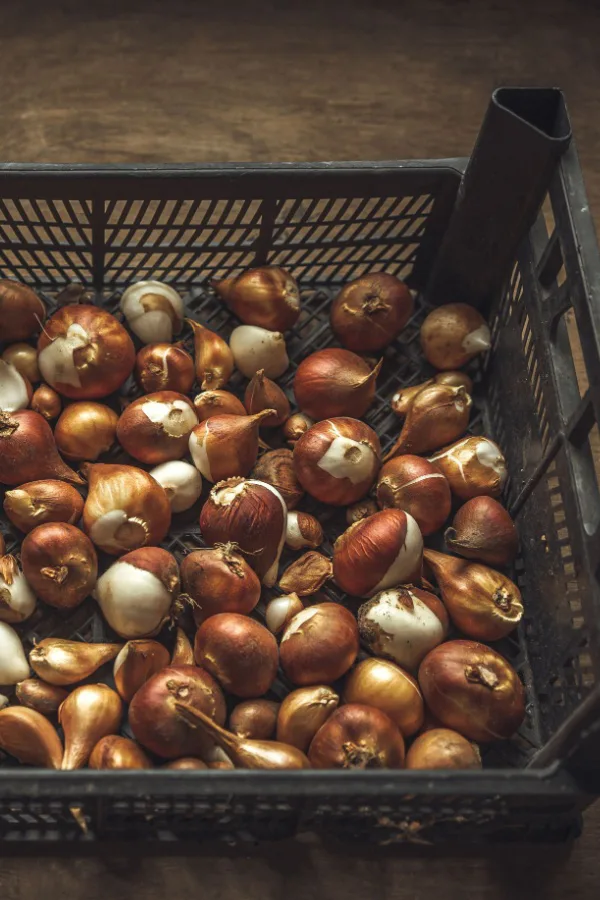
Allow the bulbs to fully dry before storing. Then store bulbs in trays or breathable nets in a dry, dark location during the summer months. You can then replant the bulbs in the fall. For information on planting bulbs, check out our article, “How To Grow Tulips – Plant In The Fall For Stunning Spring Color!”
By following these simple tips, you are giving your tulip bulbs the best chance at greeting you with brilliant blooms when the next spring season rolls around!
Simple Garden Life
Follow Our Facebook Page For Even More Great Tips! Simple Garden Life Facebook Page
Simple Garden Life is a website dedicated to keeping gardening fun, simple and enjoyable! We publish two new articles each week along with a new garden podcast episode every two weeks. This article may contain affiliate links.