This week’s how-to garden article and corresponding podcast are all about how to use worm castings to power your plants, vegetables, bushes, trees, and so much more!
Worm castings are one of the biggest and best secrets to growing amazingly healthy and productive plants. They are not only easy to use, but they are versatile as well.
They work perfectly for your garden vegetables, but also work great for flowers, hanging baskets, containers, perennials, trees, and shrubs. The list just goes on and on! You can listen in below to the complete podcast, or read on for our in-depth article below on worm castings.
Pretty much any living plant can benefit from the addition of worm castings. Not only that, the best part is they are 100% natural and organic!
What Are Worm Castings?
Simply put, worm castings are the dried manure of worms. They contain wonderful nutrients and vitamins that can help boost the soil just like most typical animal manures.
However, unlike the manure of cows, chickens, and horses, worm castings are immediately ready to use for your plants. There is no time between gathering the castings and being able to apply them to your soils.
As worms move through the soil, they chew and digest tiny organisms and bits of organic material. Those materials are then ground down in their digestive system.
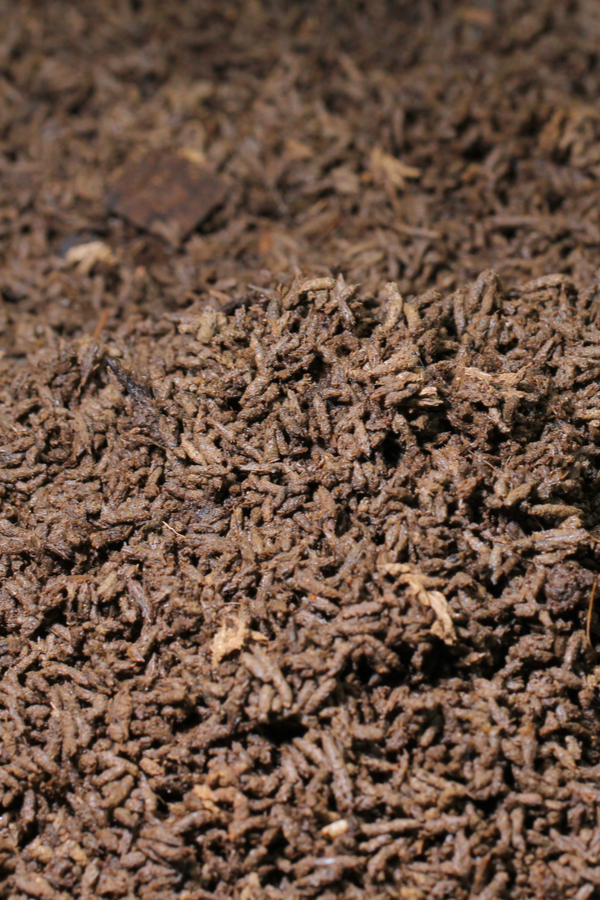
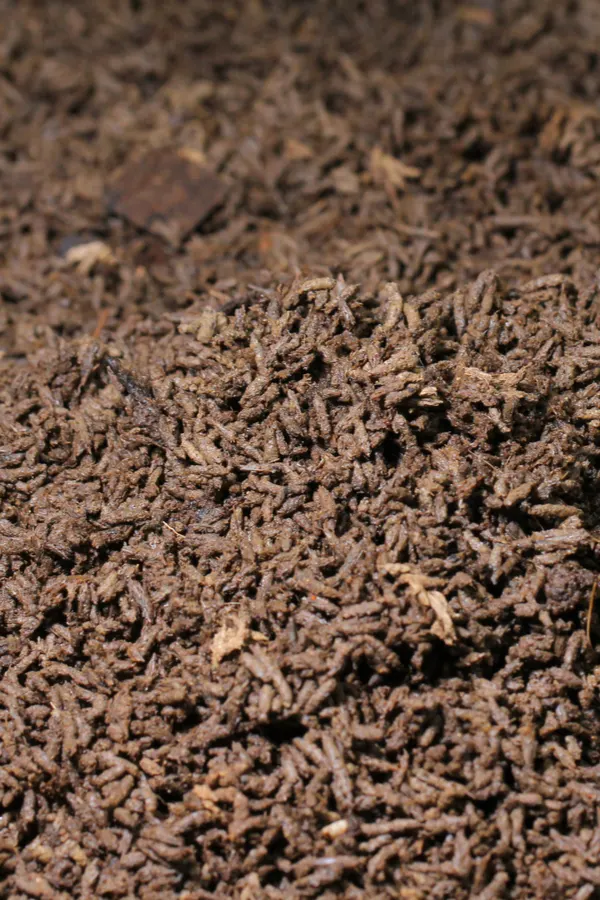
These materials are excreted like most manures. The result is a perfect blend of organic nutrients. Worm castings contain all kinds of powerful organic material and minerals like calcium, nitrogen, phosphorous, potassium, and magnesium.
All of which, coincidentally, are critical nutrients needed for plants to grow strong and healthy. Best of all, they absorb quickly and easily into the roots of plants.
Where To Find Worm Castings?
As gardeners are learning more and more about the advantages of castings, they are getting easier to find. Most local nurseries now carry a good supply of worm castings.
In addition to local nurseries, there are many online retailers that also sell castings. However, you can even find worm castings on Amazon (Wiggle Worm’s Pure Worm Castings and Dr. Verm’s Permium Worm Castings).
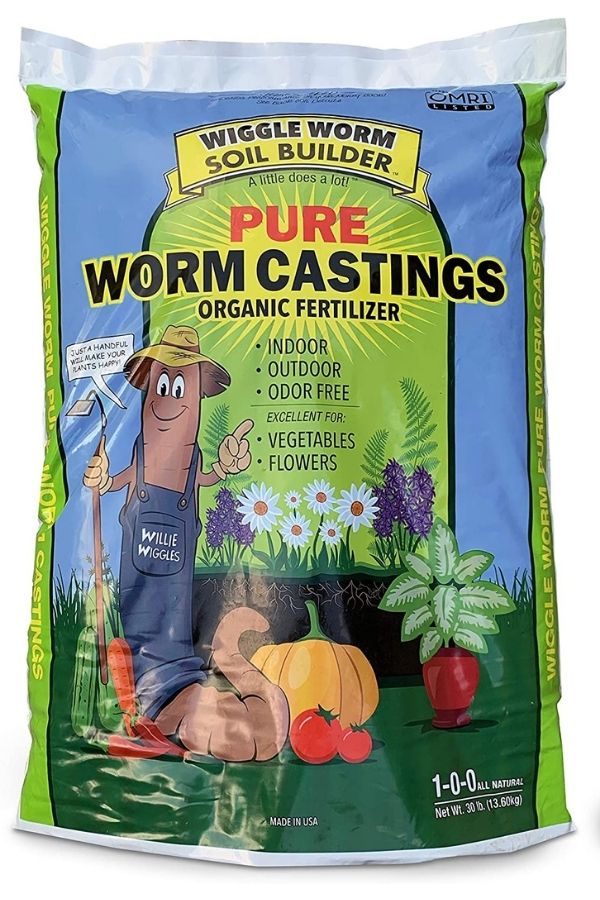

When looking for worm castings to purchase, just make sure that they are 100% worm castings. Many products you find may be made up mostly of fillers with castings as just one of the ingredients. It is pure worm castings you are after!
“Make” Your Own Worm Castings
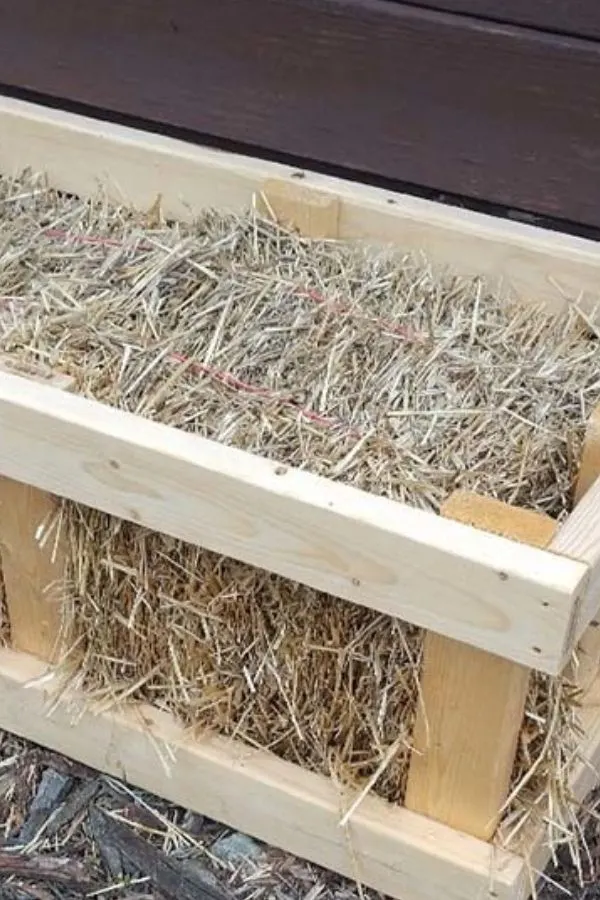
Making and harvesting your own worm castings is actually called Vermicomposting. You will need some sort of worm box or bin that you can either purchase online or make yourself.
The box should be around one foot deep. This allows enough space for the worms to live and create the castings without being too overwhelming or taking too long.
Drill a few holes in the bottom of the box to allow excess moisture to drain. Place some kind of screen material over the holes, making sure not to use metal that will rust. A plastic window screen works perfectly for this.
Place about 3 to 4 inches of damp shredded paper in the bottom of your container. After that, mix in several inches of moistened soil, compost, shredded leaves, etc. Finally, add your worms and some kitchen scraps or other sources of food for the worms.

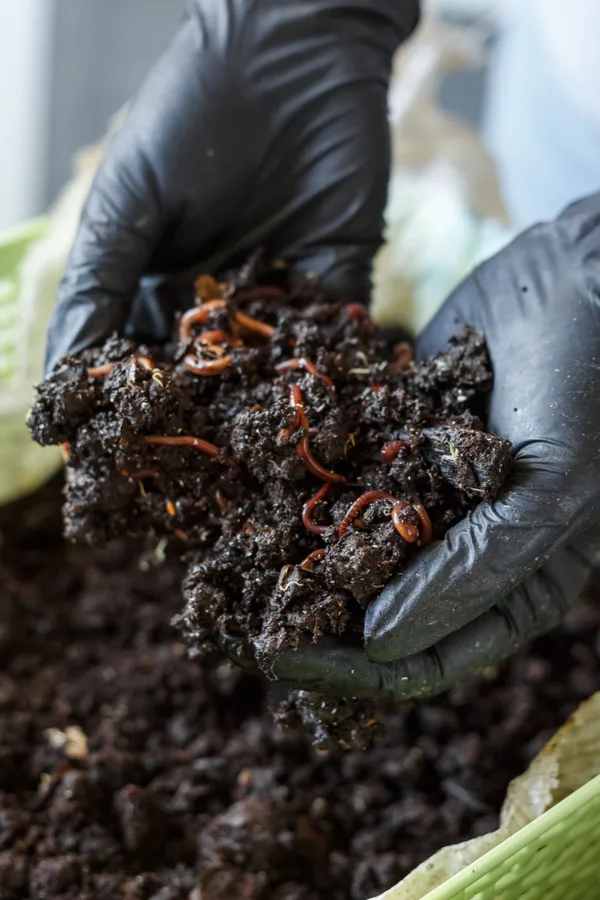
Harvesting The Castings
After a few months, you will be able to harvest the worm castings. The easiest way to harvest your castings is to empty all the contents of the worm box onto a large piece of plastic or sheeting.
Sort out the worms and set them aside for the time being. Collect everything else to use as your worm castings. No need to let the worm manure age – it’s ready to go right out of the box!
Refill the container as mentioned above with a brand new mixture. Add back your worms and you are good to go.
How To Use Worm Castings
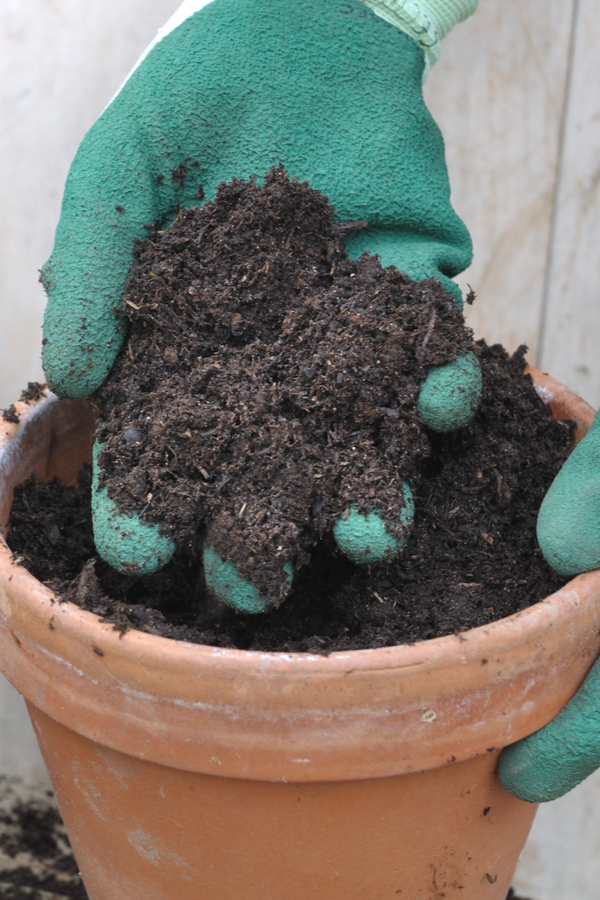
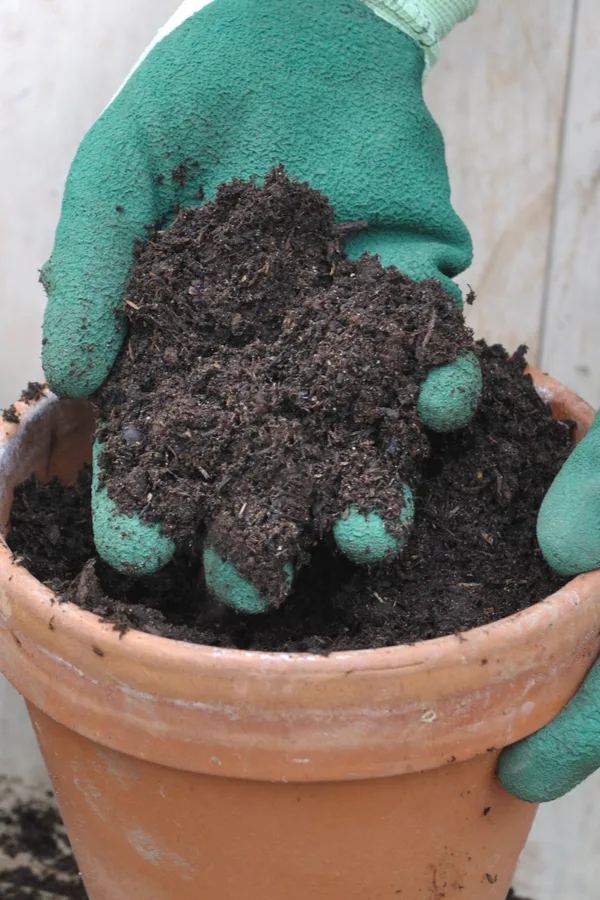
You can use your purchased or homemade castings in a variety of different ways. First, you can use them dry by mixing the castings into your seed starting soil or potting soil.
In addition, you can also mix them into planting holes for your vegetable plants, flowers, shrubs, bushes, and even trees. Pretty much any living plant can benefit from the castings.
Another alternative is to create worm casting tea. This is a simple, 100% natural liquid fertilizer that you can use with all of your plants. More on making worm casting tea in a bit though.


For Seedlings
Mix the dry worm castings into your seed starting soil at a rate of 1/4 cup for every 1 cup of potting soil.
The slow release of nutrients is perfect for young seedlings to get off to a strong, healthy start. It also doesn’t overpower the seedlings but instead, gently gives them nutrients needed to grow strong and healthy.
For Vegetable & Flower Transplants
When transplanting vegetable plants and flowers into the soil, use a post-hole digger to make planting go quickly. Into the empty hole, place a quarter cup of dry castings before adding each transplant.
They even work great when used with straw bale vegetables. The castings will help to give any transplants good root growth with the added boost of nutrients.
Alternatively, you can sprinkle a few tablespoons of the castings mixed into the soil around the surface of the plant. This acts as a slow-release fertilizer every time it rains or you water.

Baskets & Containers
When creating your own hanging baskets and container plants, mix in ½ cup of worm castings into the potting soil prior to planting. Pot up your plant like normal.
If you are purchasing pre-planted baskets, sprinkle in a quarter cup of castings onto the top of the soil. As you water the plant or as it rains, the nutrients will leach down into the plant’s roots to provide big power.
Re-apply the castings every three to four weeks to keep your baskets and containers looking great all season long.
At the end of the growing season, your dead hanging basket and container plants can all be added to your compost pile. cut up the plant into smaller pieces and also break apart the soil.
All of those worm castings and potting soil mix will go into your compost pile to boost the next season’s flowers, plants, and vegetables – At no additional cost to you.
Don’t forget to add the castings to your indoor plants, too. Spider plants, peacock plants, herbs, and almost any other indoor plant can all benefit from this natural fertilizer as well. A teaspoon of castings every month on top of the soil will do the trick!
Perennials
Don’t think that only your annual plants can benefit from compost tea. When planting, transplanting, or splitting and dividing your perennials, mix in a quarter cup of castings to each planting hole.
Shrubs and Trees
Worm castings are also an excellent source of natural nutrients for planting shrubs and trees, too. For traditional 1 gallon containers, mix in one cup of castings when planting new shrubs and trees. For larger bushes and trees, add in an extra cup.
Liquid Worm Casting Tea
As mentioned earlier, you can create an incredible, all-natural homemade “miracle growing liquid fertilizer” with castings. The best part is that it is easy to do without any additional cost to you. It’s a slow and steady release fertilizer that gets to the plant quickly when in liquid form.
To create worm casting tea, mix ½ to ¾ cup of castings with 2 gallons of water in a bucket. Stir up the mixture well or shake and let it steep for 24 hours (or longer). Make sure to stir occasionally while steeping.
You can then use the solution to fertilize vegetable plants, flowerbeds, hanging baskets, containers, and more. You can store leftover liquid in a sealed container and use for up to two months.

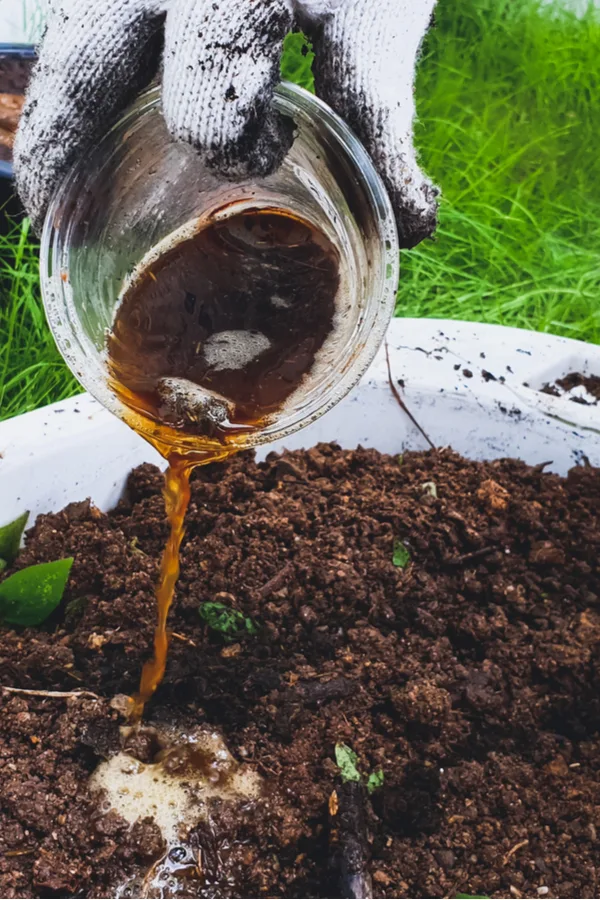
For vegetable plants, apply ¼ gallon of worm castings tea to the root zone of each plant. For containers and hanging baskets, apply the compost tea every few weeks. Remember to add your fertilizer in the early mornings for any outdoor plants.
To Conclude…
Whether you are buying worm castings by the bag or creating them yourself, you can’t beat this all-natural, organic fertilizer for all of your plants. Give it a try this growing season and compare the results to previous years – You’ll be amazed at the outcome!
Follow Our Facebook Page For Even More Great Tips! Simple Garden Life Facebook Page
Simple Garden Life is a website dedicated to keeping gardening fun, simple and enjoyable! We publish two new articles each week along with a new garden podcast episode every two weeks. This article may contain affiliate links.