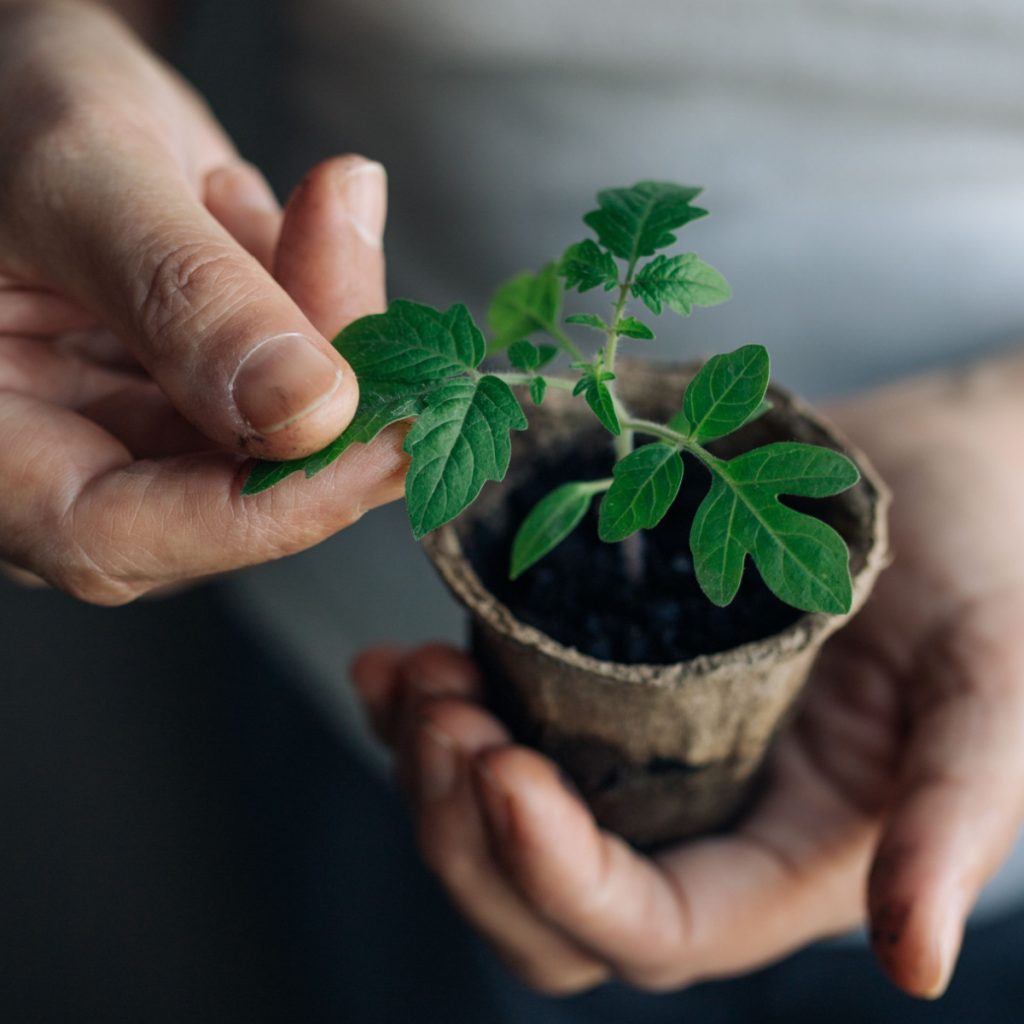
Thinking about starting your own tomato plants from seeds indoors this year but unsure of what all you’ll need – and just as importantly, when you will need to start them?
As it turns out, it’s actually surprisingly easy to grow great tomato transplants from seed. Not only does the process require little time or effort, it also can be incredibly budget friendly. In fact, you can usually purchase an entire pack of seeds far cheaper than you can purchase a single transplant.
Starting tomato seeds indoors is a great way to get an early start on gardening. But even more, growing your own transplants allows you the freedom to grow a near endless selection of juicy, full-flavored tomato varieties. Ones that you just can’t find in local nurseries or stores!

With all of those advantages in mind – here is an in-depth look at just what you will need to grow amazingly healthy and strong plants this year – and even more, exactly when you should be putting those seeds into the soil indoors!
When To Start Tomato Seeds Indoors – And How To Do It!
Planting Your Seeds At The Right Time
One of the most important keys to successfully starting tomato seeds indoors is getting the timing of when you plant right.
Start your seeds too early and they can outgrow their containers before you can get the plants in the ground. Start them too late and your tomatoes might not be big or strong enough on planting day to handle the outdoors.
So how do you get the timing just right? It’s actually simple – that is as long as you look up your areas last typical spring frost date. This is the date for your specific area that historically has been the last time a killing frost hits in the spring.
You can find this date fairly quickly on-line using the U.S. Department of Agriculture’s Plant Hardiness map. While it isn’t a fool-proof date for the last frost, it gives you a great starting point to know when you will be able to plant. See: U.S. Hardiness Map

Most gardeners simply add two weeks to the date to be on the safe side. As an example, if your areas last spring frost date is May 14th, then by waiting till the 28th of May to plant, your plants should be in little to zero danger of any frost damage.
Once you know this date, all you need to do is count backwards 8 to 10 weeks. This will allow your seedlings enough time to grow into the perfect size for transplanting!
What You’ll Need – When To Start Tomato Seeds Indoors
Once you know when you will need to plant your tomato seeds, it’s time to get all of your supplies on hand before planting day. Thankfully, you don’t need a lot of expensive supplies to start tomato seeds indoors.
First and foremost, success starts with having good seeds, the proper containers, and good soil. Beyond that, it’s all about giving your plants the right lighting and watering to grow strong and healthy.
For seeds, always be sure to use fresh seeds. You can certainly store tomato seeds from one season to the next, but seeds that are two or three years old can be harder to germinate. They also can produce plants that are simply not as strong and healthy. Affiliate Seed Link: Gardeners Basics,16 Variety Pack Heirloom Tomato Seeds
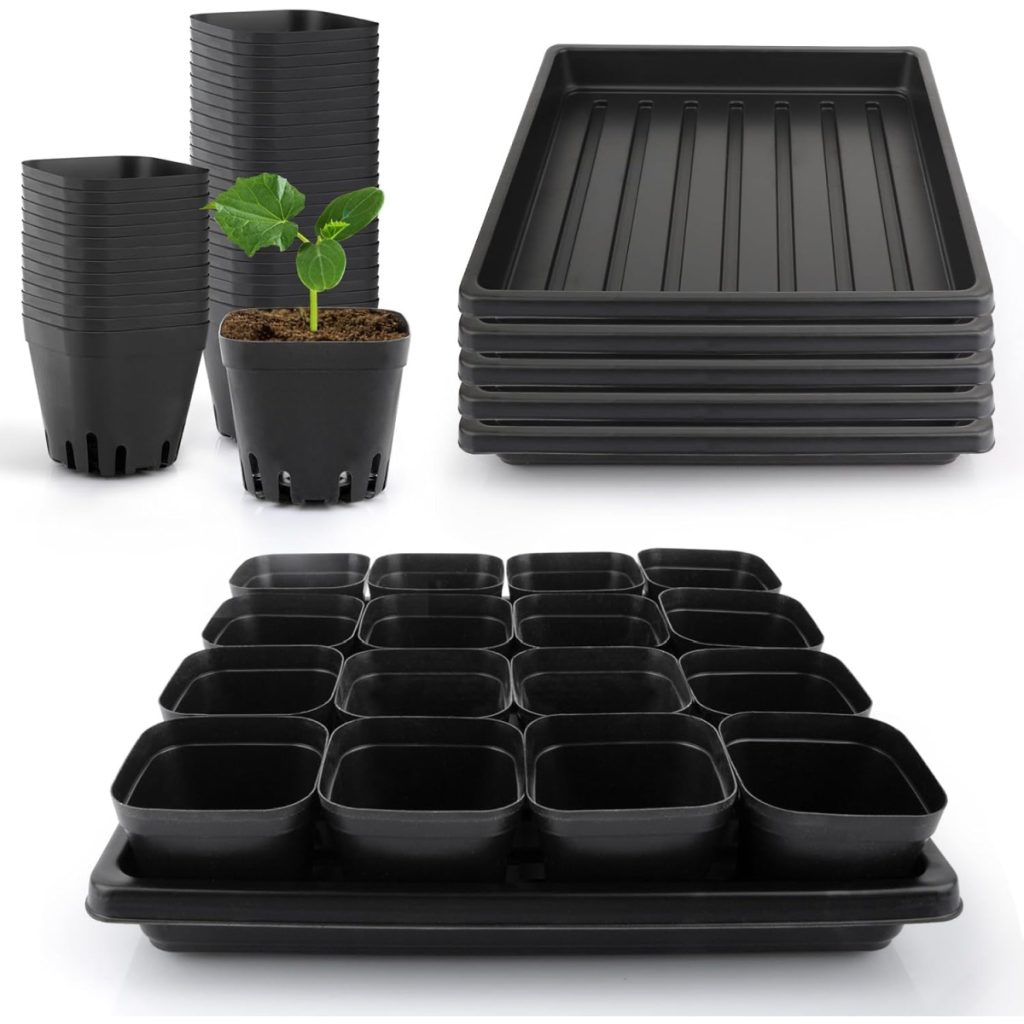

As for what you will grow your plants in, there are a lot of great options. The real key is to choose containers that are on the larger size. Avoid seed trays that have small cells. These trays may grow 48 to 72 seedlings each, but they don’t have enough room for good root growth.
Unfortunately, that means you will need to transplant seedlings more than once. And every time you transplant, it shocks the plant and temporarily stops growth.
Look instead for larger plant cells that grow 24 to 36 plants. These are usually around 2 to 2.5 inches wide and deep. These cells are more than big enough to grow transplants that can stay in the same cell right until planting day! Affiliate Product Link: 2.5inch Square Nursery Pots With Seed Starting Trays
Using The Right Soil – When To Start Tomato Seeds Indoors
Once you have your containers, the next important task is to fill them with quality seed starting soil. Seed starting soils need to be light, fertile, and must drain easily. Always avoid using heavy potting soils or garden soil for starting seeds.
You can purchase soil that is specifically made for starting seeds, or you can even make your own at home with ordinary potting soil and a few additional ingredients to lighten the mix. See our article: How To Make Incredible Seed Starting Soil – With 5 Simple Ingredients!
Lighting – When To Start Tomato Seeds Indoors
Last but not least, you will need a good source of light. Unfortunately, windows and windowsills do not give enough good light to grow strong tomato transplants. But that doesn’t mean you need to purchase expensive grow lights.

Basic fluorescent or LED shop lights work just fine for germinating and growing seedlings indoors. Not only are they easy to find at most home improvement stores, they are also a lot cheaper than grow lights. And they are also easy to use!
You can use either a small stand or shelf system to hang the lights from a chain – or prop your lights up on a few bricks. You only need to make sure you can move the lights up as they plants grow.
Starting Your Seeds – When To Start Tomato Seeds Indoors & How To Do It
Start by filling your containers with your seed starting soil. Ensure that the soil is moist but not overly saturated. Leave about a half-inch at the top of the container. Next, drop in a couple of seeds to each container.
It’s always good to use a few more seeds in each cell to ensure germination. Then, after they sprout, simply then thin down to the best plant for each cell.
Lightly cover the seeds with additional soil. Spritz the soil with water to help set the seeds and to kick start germination. For best results, cover the containers with clear plastic trays or plastic wrap to help retain moisture. Keep the soil moistened but not saturated. At this point, the seeds do not need to have light to germinate.

Seedling Maintenance
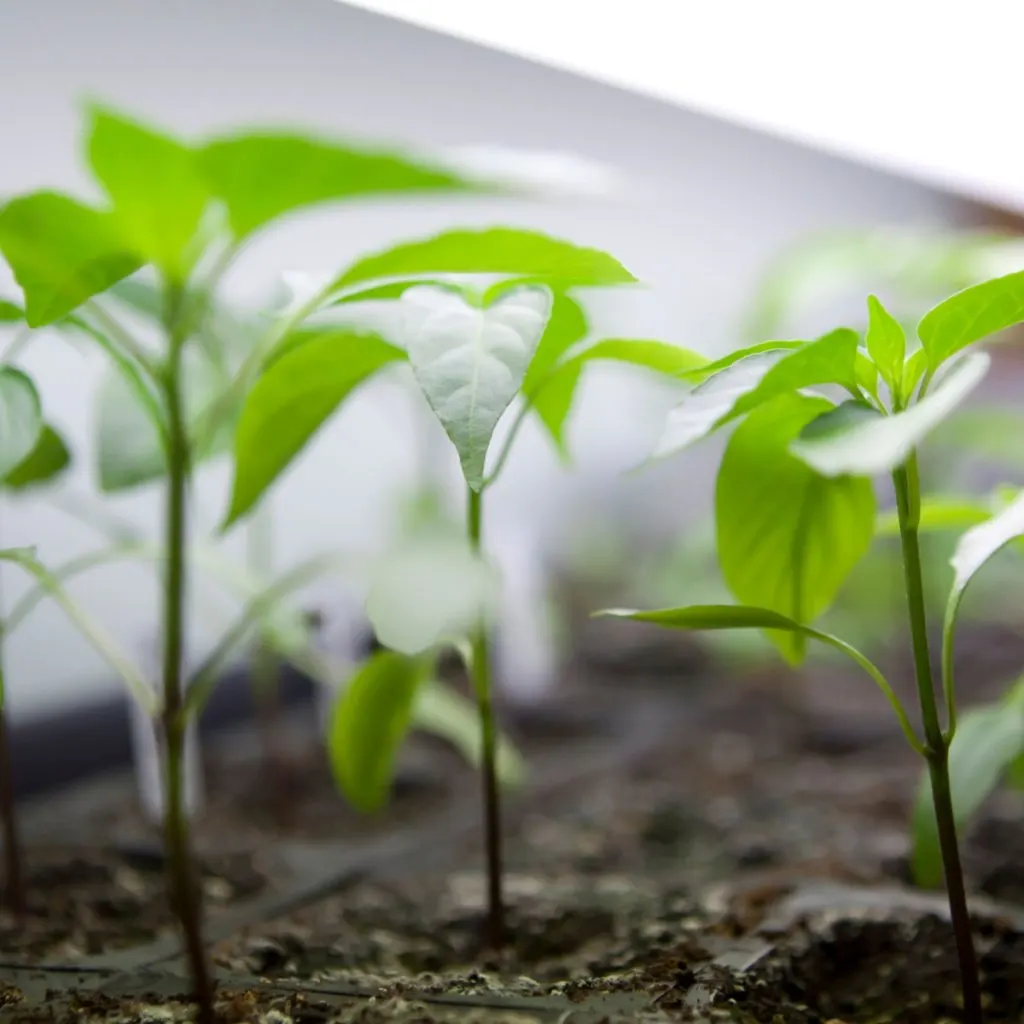
Seeds should germinate in around 6 to 8 days. As soon as you see some of the seeds germinate, take off the plastic cover and turn on your lights. Keep the lights only an inch or two above the seedlings. This will keep the plants from getting leggy trying to reach up for far away light.
When you are about two weeks out from planting outdoors, start to set the seedling containers outside in a protected space away from strong winds. Bring them back inside during the night and if the weather drops or becomes worse.
This process is called “hardening off” and will help to toughen up your plants before transplanting them into your garden space. Gradually increase their time outside until they you are able to leave them outside 24/7.
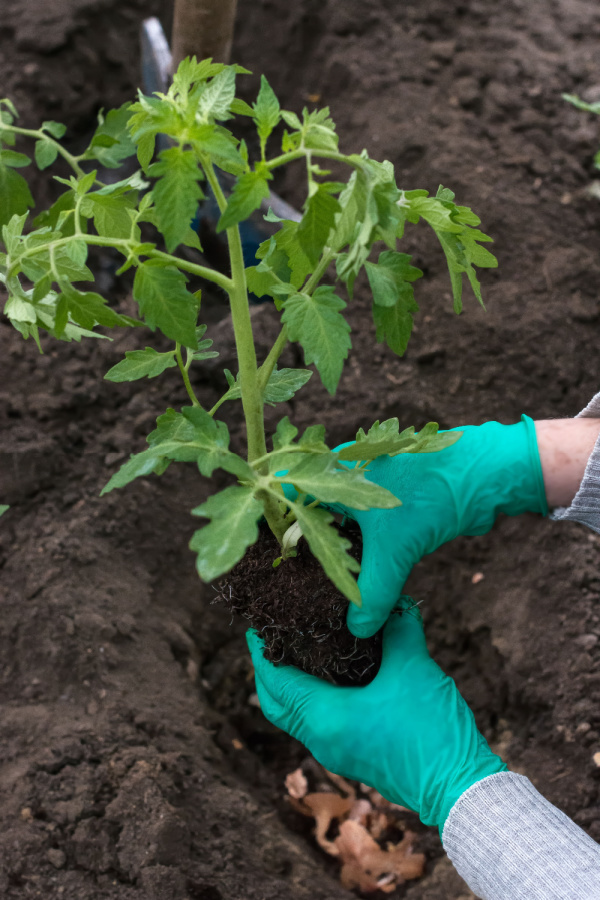
Finally, as soon as the chance for frost is gone and the soil has warmed up, it’s time to get those plants into your garden. All that is left is to sit back and watch your seedlings grow! Once planting day rolls around, to ensure healthy, strong & productive tomato plants, be sure to check out: The One Big Tomato Planting Mistake You Need To Avoid This Spring!
Simple Garden Life
Follow Our Facebook Page For Even More Great Tips! Simple Garden Life Facebook Page
Simple Garden Life is a website dedicated to keeping gardening fun, simple and enjoyable! We publish two new articles each week along with a new garden podcast episode every two weeks. This article may contain affiliate links.