Looking for a few summer daylily care tips to help your daylily plants perk up? While daylilies are essentially a low-maintenance perennial, there are a few simple tricks that can help keep them looking great all summer long.
Daylilies are a great addition to any property and landscape. They can survive a wide variety of soil types and growing conditions. They are not only deer and drought resistant, but they are also easy to divide and split into new plants. In addition, few pests or diseases ever pose an issue for daylilies.
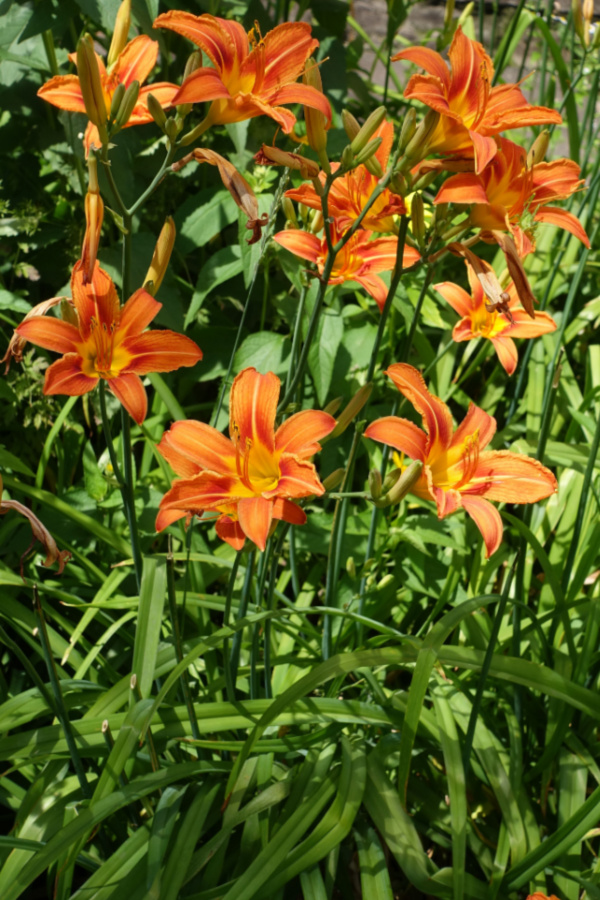
Unlike true lilies, daylilies grow from roots as opposed to bulbs. Their blooms form on scapes, which are essentially tall, thick stems that have no leaves.

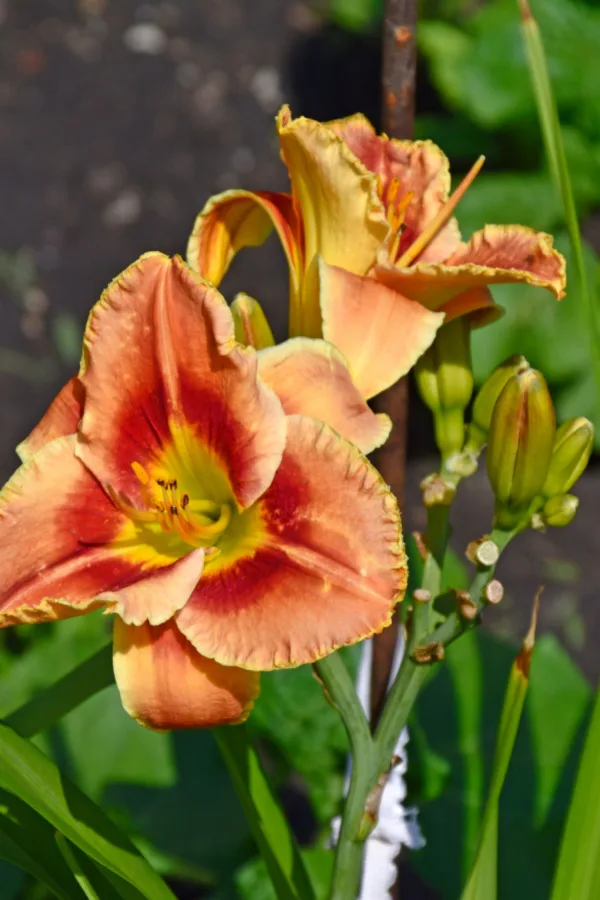
Each plant grows around 4-6 scapes, and each scape can have up to a dozen flower buds. The scapes also include the seed pods. As their name states, the blooms of daylilies open during the day and then die off by nighttime. But the multiple buds per scape allow for continual blooming.
However, as the daylilies start to finish their first blooming cycle during the early summer months, gardeners are often confused as to just what they should do with their plants. But luckily, that is exactly what today’s article is all about!
Simple Summer Daylily Care
There are a large number of different daylily varieties available. Some varieties bloom only once each growing season while others can bloom several different times throughout summer.
No matter which type of daylily you have, they can all benefit from a few basic summer care tips. These tips not only help their foliage and roots stay healthy and strong all summer long, but they also benefit their long-term health as well.
If you are looking for other beautiful summer blooming perennials to add to your property, consider growing climbing clematis or rose bushes amongst your daylilies. The contrasting heights, stems, and bloom options make them great companions.
Removing Spent Blooms – Summer Daylily Care
Some varieties of daylilies will have a blooming period of just a few weeks. Others can bloom for nearly a month and a half. No matter how long they bloom, daylilies benefit greatly from the removal of their fading blooms.
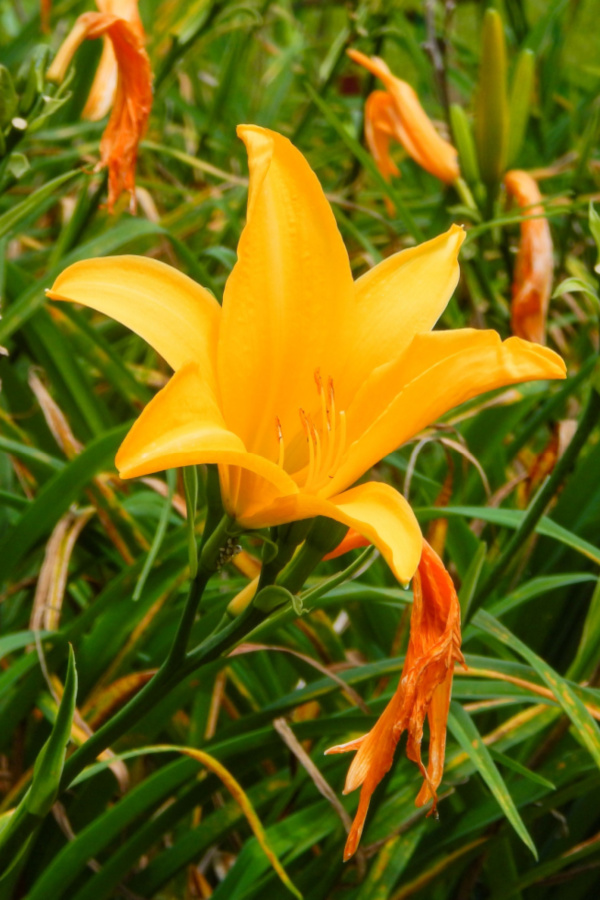
Like most flowering annuals and perennials, daylilies will continue to send dying blooms nutrients and resources. But by removing old blooms, those resources will be able to go to areas of the plant that really need them. That can help to create healthier foliage and more blooms.
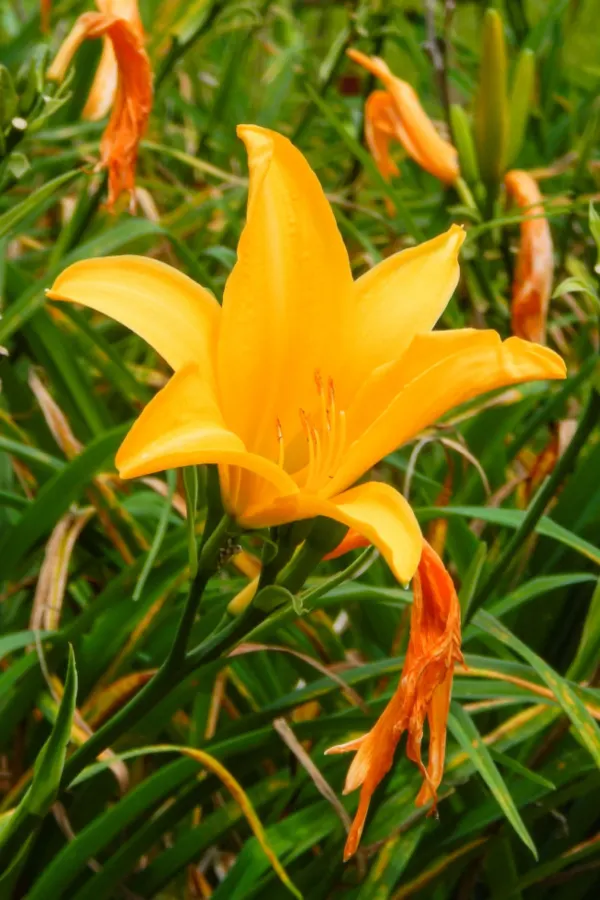
To remove blooms, you can either use your hands, a clean pair of scissors, or sharp garden pruners. Simply snap or cut the bloom off where it meets the scape.
Removing Seed Pods and Scapes – Summer Daylily Care
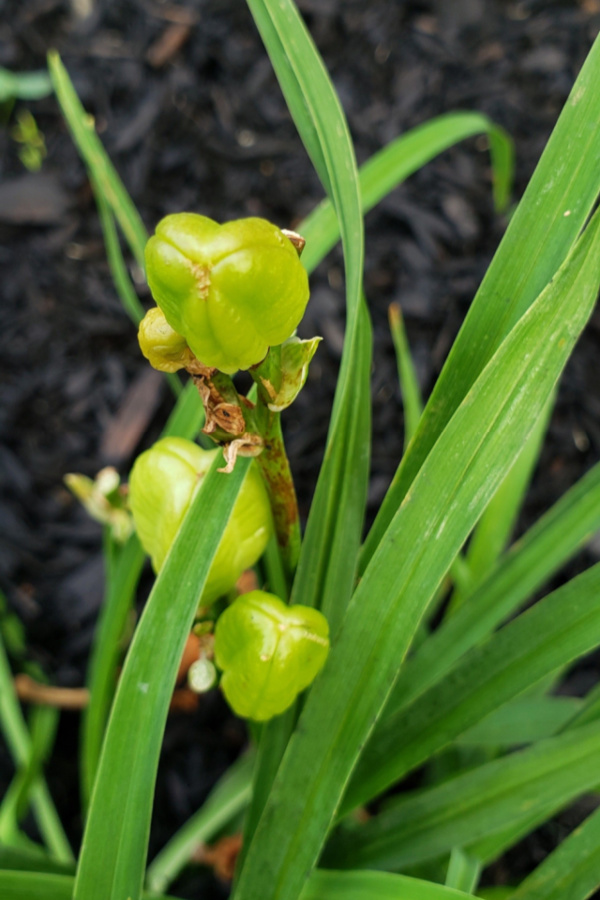
If you have a variety of daylilies that are able to produce a second blooming period, you should consider removing the seed pods and scapes after the first round of blooms. This task can help the plant re-bloom much faster.
But removing seed heads actually helps daylilies that can’t re-bloom too. Daylily pods are not really beneficial and do not allow the plants to “self-sow.” In reality, all the seed pods do is take up vital nutrients and resources from the plant.
Just like you remove spent blooms, you can also remove these seed pods as well. To do this, you can simply cut off each individual pod.

To keep the daylilies looking healthy and tidy, it is best to cut the entire scape back to the base of the plant. All of those resources can now help the plants produce a second bloom cycle quicker (if applicable) or go to keeping the foliage looking lush and full.
After the first blooming cycle ends and you have removed the blooms and seed heads, it is a great time to fertilize. Any all-purpose plant fertilizer will work. This will help plants store energy for their next bloom cycle as well as help to improve root and foliage strength.
Dividing Plants – Summer Daylily Care
Unlike many perennials, you can actually divide and split daylilies any time during the summer months. It’s a great way to create more plants – and all for free!
Dividing daylilies will also help to keep plants tidy and from becoming too large. If plants start to crowd too closely together, they can struggle to bloom well. They can also become more prone to disease and pest problems.

While you can do the division at any time, it’s best to wait until the daylily plants have finished with their initial blooming cycle. Also, be sure to divide plants at least six weeks before your first frost date so the transplants can establish in the soil prior to any cold weather arriving.
How To Divide Daylilies In The Summer
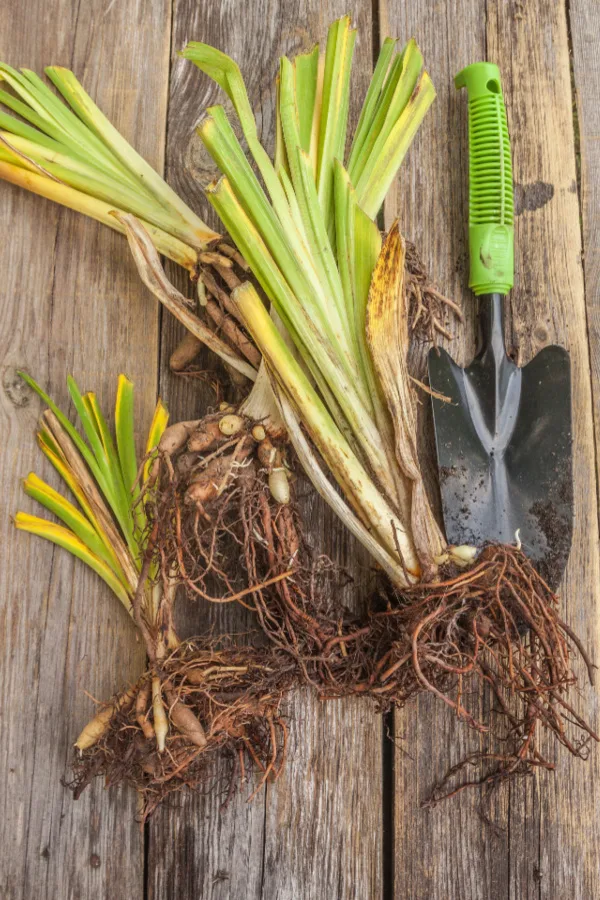
It might not seem rational to begin with, but your first step in caring for your daylily flowers in the summer is to remove almost all of the foliage prior to dividing. Use a pair of sharp scissors or even hedge clippers and cut the foliage down to just a few inches above the base of the plant.
The reason for this is that when you go to transplant divisions, this foliage will likely die off anyway. So removing the foliage now will keep the plants looking healthier after transplanting and give you less of a mess to clean up in their new location.
In addition, removing this foliage now will allow the transplants to grow new foliage and take root quicker and easier. Any foliage that is cut from the plant is perfect for adding to the compost pile.
Using a shovel, spade, or hori hori knife, loosen the soil around the base of each plant. Once the soil is loosened around the edges, dig up the entire root clump. Carefully shake to remove as much of the excess soil as possible. (Product link: Hori Hori Knife)
Dividing & Replanting
Find the crown of the daylily and divide it into equal pieces that each measure around 3 to 4 inches. Each piece should contain several healthy roots. Dividing to this size will give you manageable transplants for the next few years.
Replant the divisions in a hole that is deep and wide enough to contain the roots. Allow plenty of space between plants. Add a few inches of compost and back fill with soil. Finish by watering the soil well around the plants.
It will take the transplants about 3 to 5 weeks before you start to see new growth coming up from the crown. Some of these transplants might even flower before fall comes around!
To Conclude . . .
By tackling these three simple summer care suggestions, you can ensure that your daylily plants will stay strong and healthy all summer long. They will also have a perfect head start to producing stunning blooms for next summer as well!
Follow Our Facebook Page For Even More Great Tips! Simple Garden Life Facebook Page
Simple Garden Life is a website dedicated to keeping gardening fun, simple and enjoyable! We publish two new articles each week along with a new garden podcast episode every two weeks. This article may contain affiliate links.