Late winter is the ideal time to begin to prepare your raised beds for planting in the spring – because before you know it – garden season will be here!
Taking the time to improve and prepare your soil early can make a huge difference in just how well your plants grow later this spring and summer. Tired, lifeless soil can be hard on new plants and seedlings looking to feed and grow. Unfortunately, if the soil in raised beds isn’t recharged before planting, that is exactly what it is – worn out!
The good news is getting your raised beds ready to grow before spring isn’t difficult. Nor does it have to be expensive. In fact, with just a little effort – you can fill them with life and be ready to take on the growing season with gusto! If you are just starting out with your raised beds and want to know the best way to fill them from the start, see Filling Raised Beds – How To Create The Best Soil Mix For Your Raised Beds.
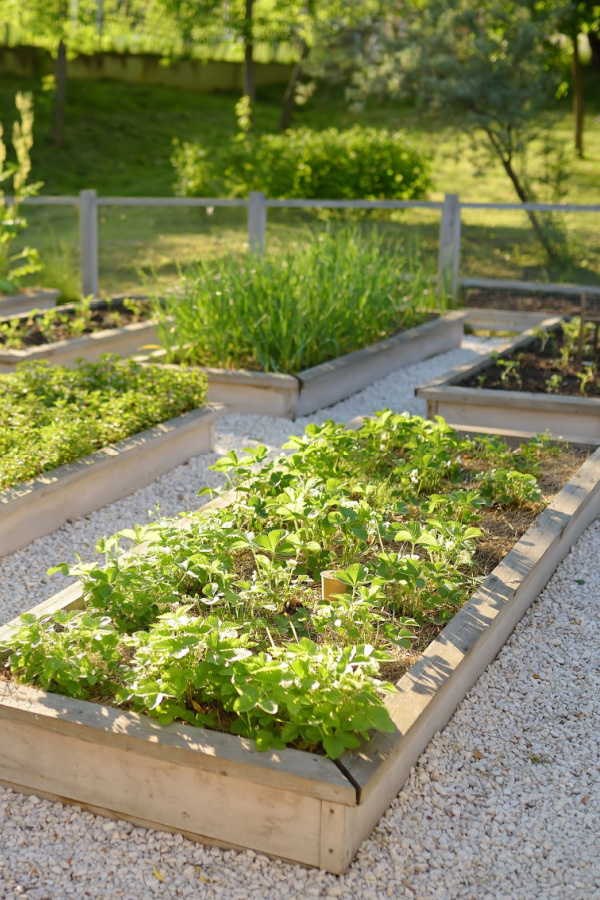

Preparing Your Raised Beds Before Planting
Step 1. Take Care Of Mulch & Cover Crops
One thing is for certain, bare soil is an open invitation for weed seeds to take root. It can also allow valuable nutrients to leach out of the beds with rain and winter snows. Because of this, it is always best to either cover crop your beds in the fall or spring. Or at least heavily mulch them.
If you planted a fall cover crop in your raised beds, now is the time to start cutting it back. This will allow the plant material to start breaking down into the soil. If you didn’t plant a cover crop and your soil is bare – now is the time to plant a quick spring cover crop – or mulch it heavily to protect the soil from weed seeds.
Although most gardeners only think of cover crops as only being planted in the fall – you can plant peas or other fast growing cover crops to give your soil a bit of life in the spring. Spring varieties can grow for a few weeks to protect and recharge soil until planting time. See: How To Plant A Cover Crop In Raised Beds – Recharge Your Soil!
Once it’s time for you to plant, cut the cover crop short. You can do this with hand trimmers or even a string trimmer. After a few times, the crops will start to die. The organic matter left behind can be left as is or you can turn it back into the soil.
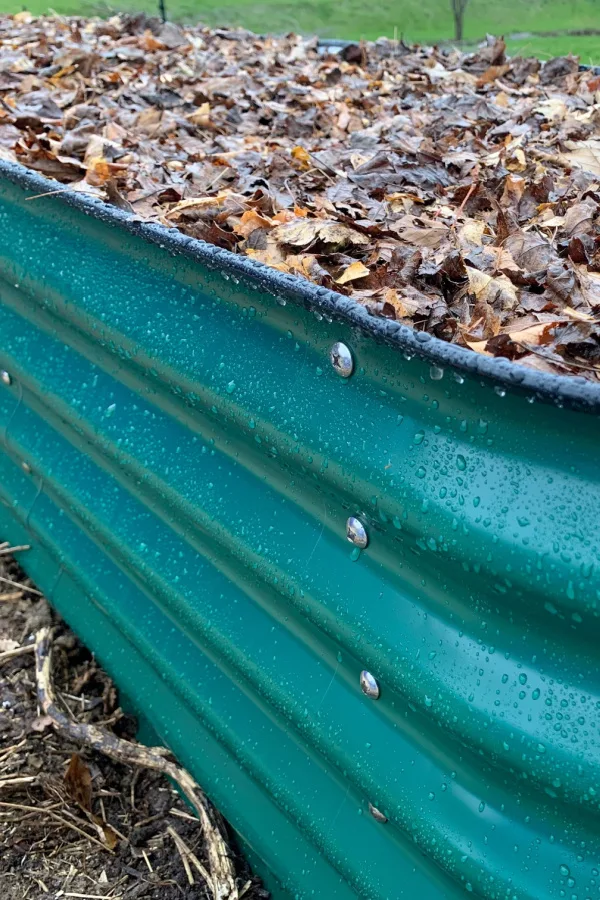
Covering Soil
If your soil has been uncovered all winter long, now is the time to cover it! Put down a thick layer of leaves or even a few inches of compost and then leaves to help protect it. Allowing it to remain bare is giving an open invitation for weed seeds to find a home right up until planting day!

Step 2. Replenishing Nutrients
This next tip in preparing your raised beds before planting is the most important one of them all -replenishing the nutrient levels and structure in the soil! Replenishing the nutrients and beneficial bacteria within the soil is a must to keep soil fertile.
When you grow fruit, vegetables, herbs, and flowers, they take up and use nutrients from the soil they are growing in. Just like humans need food and fluids to fuel them and give them energy, garden plants need the same to grow roots and foliage – and create buds, blooms, fruit and flowers.
With raised beds, the nutrients that are within the soil can quickly disappear during the growing season. Once those nutrients go, there is nothing left for the next years’ plants. That is, unless you refuel your soil.

How To Replenish Raised Bed Soil
If you have planted a fall cover crop, or will plant a spring one, you are already well on your way to creating more fertile soil. But your raised bed soil needs even more before planting day!
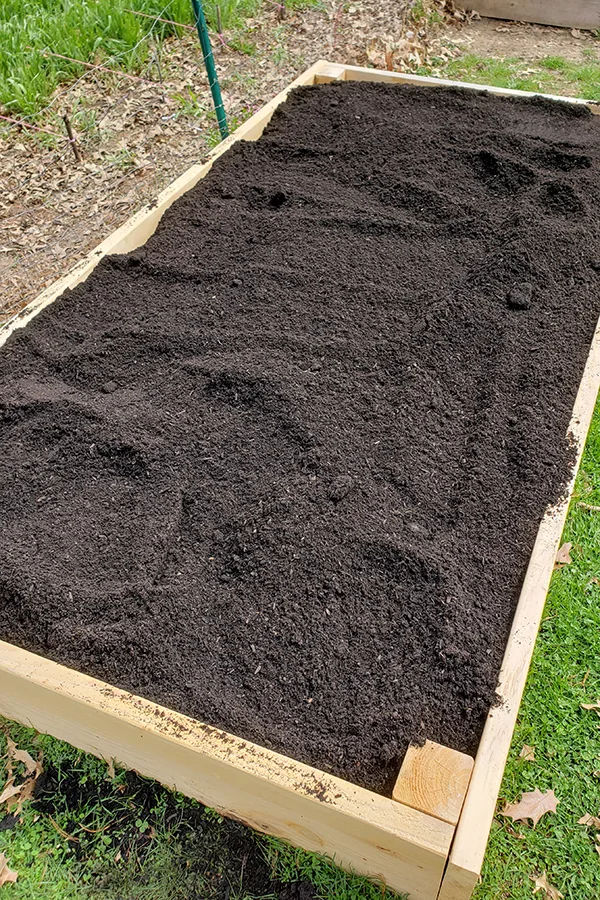
Beyond cover crops, the easiest way to power soil back up is compost. Compost is full of vital nutrients, organisms, and microbes. Whether you have your own compost to use or you purchase it from a garden center, it’s a must-add for raised beds.
A good rule of thumb is to replace about 15-20% of your soil with compost each growing season. This amount will be perfect for giving the soil new life and making sure there are enough nutrients for plants and seedlings.
There are also a few other excellent organic materials to add to your soil – grass clippings and shredded leaves. You can turn both back into the raised bed soil in early spring prior to planting. If your soil isn’t frozen and you don’t have a cover crop planted – you can even work these into the ground in late winter.
Using Aged Manure
Last but not least, aged manure is also excellent for revving up raised bed soil. Always use well aged manure and never fresh. Fresh can still be too hot by spring planting and easily burn plants.
For aged manure, simply work in a few inches on top of your soil in early spring or late fall. Horse, cow, rabbit, chicken, or goat manure is the best choice. Never use cat, dog, or other pet manure. These are liable to carry diseases and won’t be able to give you desired results.
Even when adding aged manure, always add it at least 3 to four weeks before planting. It can still be hot and this will give it time to break down before plants go in.
Final Preparations To Prepare Your Raised Beds For Spring Planting
In addition to making sure your soil is ready to go – make sure you are too!
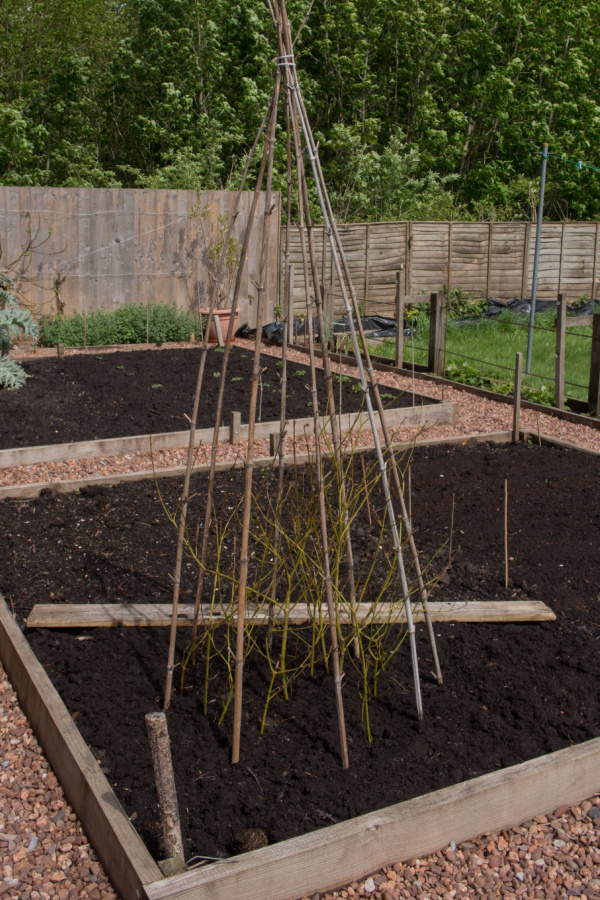
Now is the time to create a simple plan of what plants you want to grow in each raised bed. Be sure you will be rotating crops in new spaces. This helps to prevent disease and other growing issues with repeated plantings.
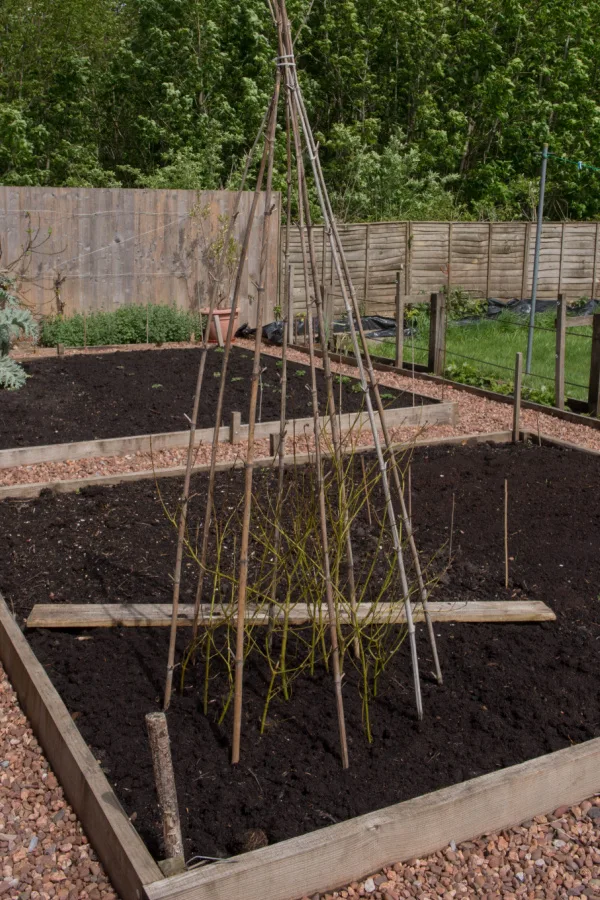
Once you know what crops will be going in each raised bed, you can go ahead and get your plant supports and trellises set up and attached to the beds. Doing this chore now before planting will allow you to bury the supports without worrying about damaging new roots or plant growth.
Here is to getting your raised beds ready to go – and to your best growing season ever!
Simple Garden Life
Follow Our Facebook Page For Even More Great Tips! Simple Garden Life Facebook Page
Simple Garden Life is a website dedicated to keeping gardening fun, simple and enjoyable! We publish two new articles each week along with a new garden podcast episode every two weeks. This article may contain affiliate links.