If you are looking for a great fall flowering plant to add big interest and color to your pots, containers and flower beds – then you need to grow asters – the perfect fall flowering perennial!
When other flowering annuals and perennials have started to fade, asters step in and really steal the show. With their star-shaped blooms that resemble small daisies, they are perfect for adding to your typical fall displays.
Unlike some of these seasonal plants you see for fall decorating in stores, asters aren’t just a great addition to this year’s fall display. They can also be overwintered for year after year of stunning displays once established. And it’s exactly why they are becoming more popular than ever!

Why Asters Are The Perfect Fall Flowering Perennial
Endless Varieties
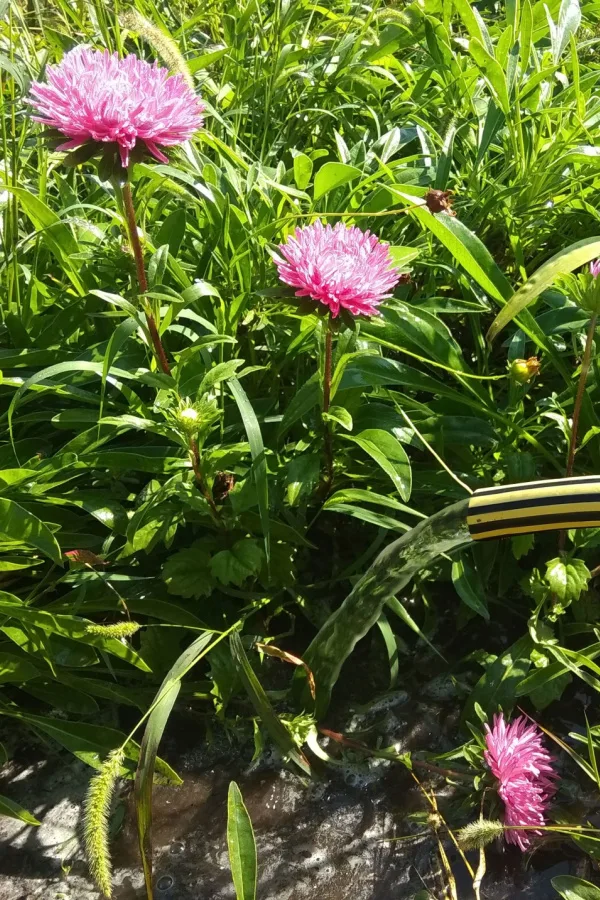
There are hundreds of different species of asters and many more different hybrids. Most varieties are grouped into two main categories: New York asters and New England asters – both of which are native to North America.
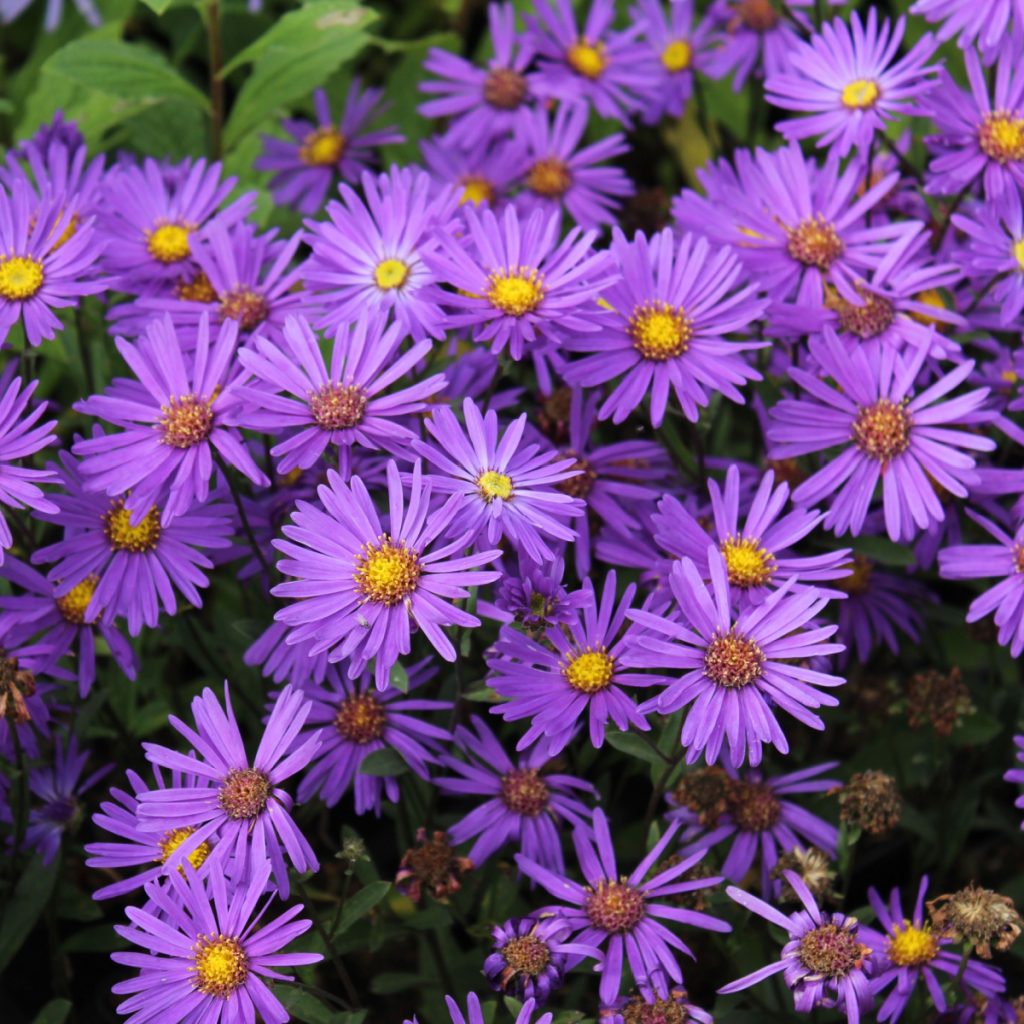
New York asters are typically shorter and grow to be around two feet tall. They feature thinner stems and smoother leaves. They bloom in the fall and their petals range in color from purple, blue, white, and pink.
New England asters are the tallest of the two types. Most grow up to be around 3 to 4 feet tall. They have woody, thicker stems with dense blooms. They bloom in the late summer and early fall, and their bloom colors range from purple, blue, white, pink, red, and orange.
Depending on the variety, plants that are taller need to be staked, while others might feature more mounding and compacted growth patterns. It’s always best to try to choose a growth habit that will work well, depending on your location and weather habits.
How To Plant, Grow & Maintain Asters
While asters can be planted directly in your flowerbeds or garden spaces, they also grow great in containers as well. In fact, growing asters in containers is a great way to add fall color to your deck, front porch, or any of the usual autumn decorating locations.

As for soil, asters need to grow in a loamy, more fertile soil that drains well. They often will suffer from root rot if your soil has standing water. That is why it’s important to choose a location where the soil drains soon after watering or receiving rain.
If your soil is dense like clay, then you will want to amend it with plenty of compost and other organic matter. On the other hand, you also want to avoid soils that are too loose with lots of sand. Amending your soil with compost will help asters take off. When planting in containers, always be sure to use well-draining potting soil.
Planting Asters – The Perfect Fall Flowering Perennial
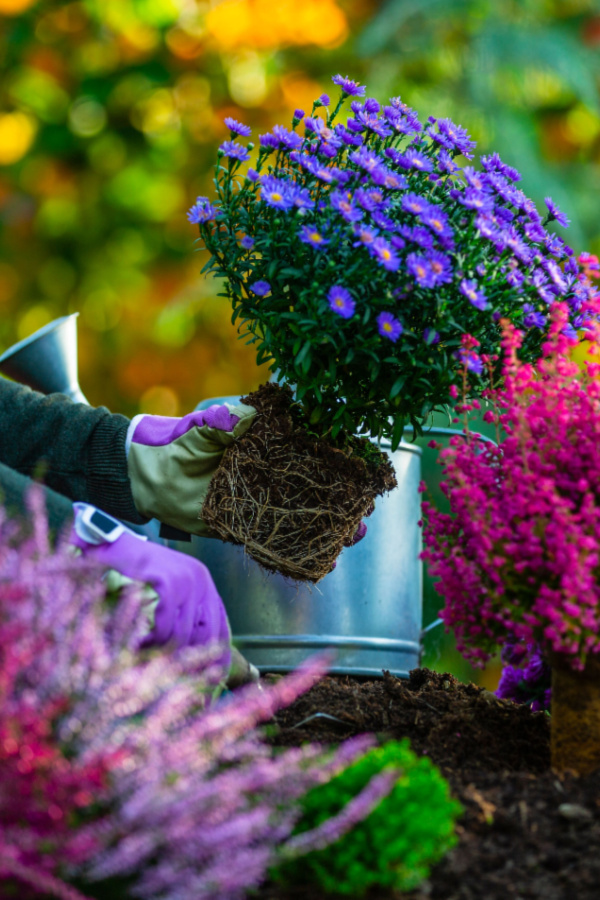
You can plant asters as seeds in the spring, but they take several years before they are mature and become established. Instead, most growers opt for picking up plants at nurseries or local garden centers. And they are usually readily available in the fall.
Choose a location that receives full sun. While asters can grow in partial shade, the plants will likely end up thin and spindly with few blooms. For transplanting young plants, choose healthy, vibrant plants that can bring a strong set of autumn buds and blooms.
Loosen the soil in the growing spot about 4 to 5 inches deeper and about an inch wider than the root ball of your transplant. Add a few inches of compost to help amend the soil and to give the young plants a head start at becoming established. Affiliate Link: R&M Organics Premium Organic Compost
Place your aster into the hole and backfill with soil. Water well and often until the plants are well established. Space additional asters about 1 to 3 feet apart. The actual spacing will depend on which variety you are growing, so be sure to read the plant’s informational tag.


Long-Term Care
One of the things that make asters such a great choice as the perfect flowering fall perennial is how easy they are to care for. Watering is really the only basic need. Once established, they need around one inch of hand watering or rainwater each week.
Be sure to water early in the morning to give plants a chance to dry out throughout the day, especially during the shorter daylight hours of and cooler nights of fall. Also, make sure to water asters at their base as opposed to overhead. Watering overhead can cause issues with powdery mildew and rust.
Mulching
Since asters like to be in moist soil, using natural mulch can help the soil retain moisture without the chance of overwatering. As an added bonus, using mulch will help prevent unwanted weeds as well.
Place several inches of mulch around each plant, being sure to avoid having the mulch actually touch the stems of the plants. Straw, shredded leaves, and wood chips all work well as natural mulches.
Starting in the spring, you can use an all-purpose fertilizer once or twice a month to help feed the asters. Continue fertilizing until they have started to bloom. This is usually around August, but the timing will vary depending on which aster variety you are growing. If you are just picking up your first aster plants in the fall – do not fertilize until next year.

Deadheading & Cuttings
It does help aster plants if you deadhead old and spent blooms. This allows the plant to put its energy toward creating new blooms. Simply use a sharp and clean pair of pruning shears and clip off the blooms where they attach to the stem.
You can also choose to cut off the flowers right before they are at their fullest to display as cut blooms. Include several inches of stem so the blooms can stand up in a vase or water container. The blooms should last around a week in a vase.
Propagating Asters
Another great reason Asters are the perfect fall flowering perennial is that they are easy to divide into even more plants – for free! It’s a great way to start new plants as opposed to purchasing new plants or planting seeds and waiting several years.
The best way to propagate is by dividing plants every couple of years. This should be done regardless of creating new plants every 3 to 4 years to help keep your growing location tidy and keep plants from spreading out too much.
Divide plants in late fall or early spring. This allows plants to become established before they need to start blooming in early fall.
Overwintering – Growing Asters For Years To Come
Unlike sensitive plants, asters are frost-hardy and can withstand close to freezing temperatures. However, you do need to take a few steps to prepare them for winter. See: How To Keep Potted Asters Alive This Fall – Save Your Asters For Next Year!
After your asters have finished blooming, it’s time to get them ready for winter. Water the plants well with about 2 inches of water a few weeks before your first expected freeze. Once you do get your first frost, you can then cut the plants down to a few inches above the soil line.
Heavily mulch with several inches of shredded leaves, straw, or other natural mulch products to help protect their roots during the harsh winter weather. Once spring rolls around again and the threat of frost has passed, you can either remove the mulch or thin it out some to allow plants to grow through as the weather warms.
Here is to bringing the beauty of asters into your landscape this fall!
Simple Garden Life
Follow Our Facebook Page For Even More Great Tips! Simple Garden Life Facebook Page
Simple Garden Life is a website dedicated to keeping gardening fun, simple and enjoyable! We publish two new articles each week along with a new garden podcast episode every two weeks. This article may contain affiliate links.