One of the best ways to keep your hostas healthy, bright and gorgeous all summer long is to fertilize them in just the right way – and at just the right time!
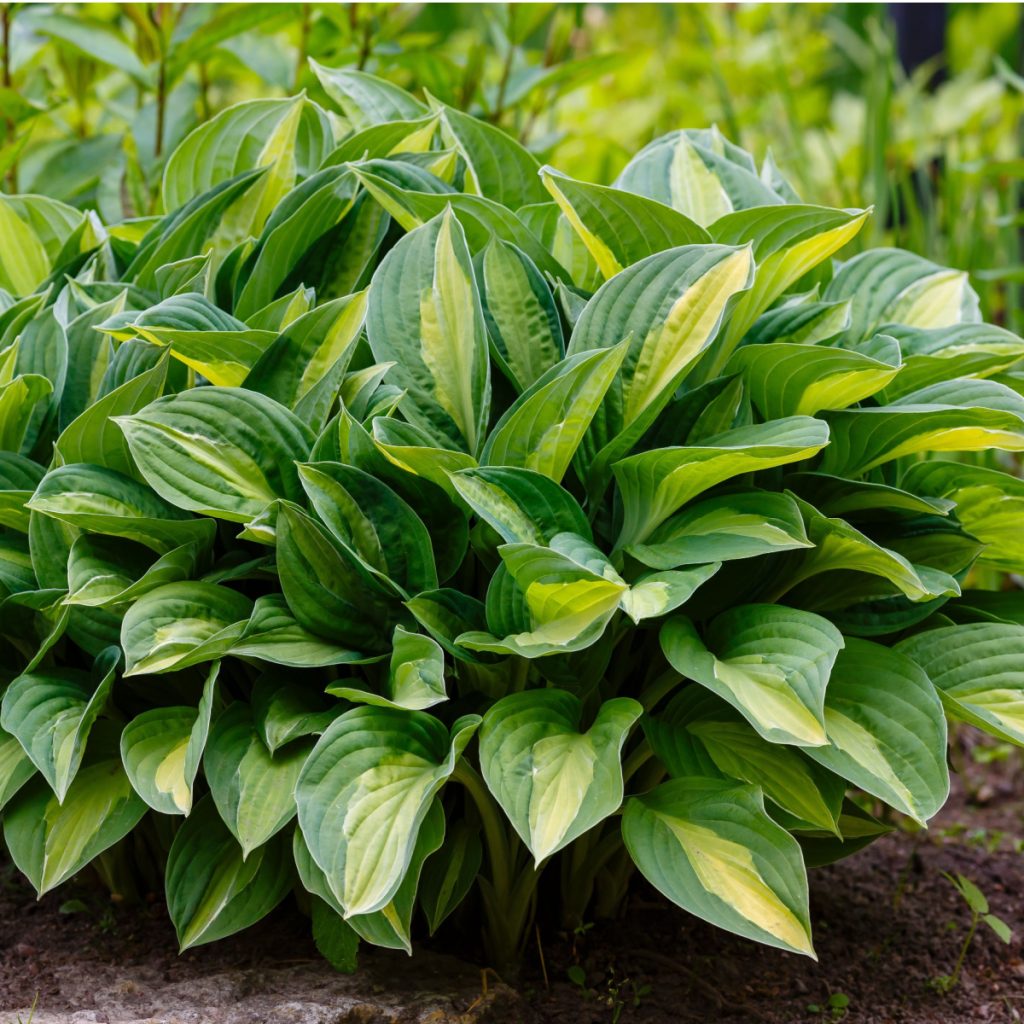
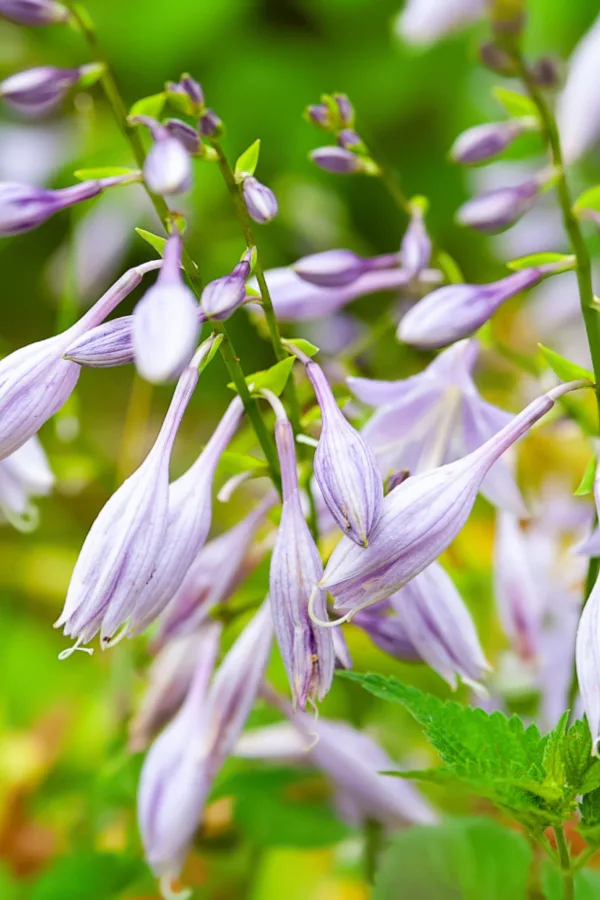
Unlike most perennials and annuals, hostas are almost always grown for their beautiful foliage. Although they do produce a long, slender stem of blooms in the summer, it is their incredibly colorful and large leaves that are really the star of the show.
With massive leaves that come in a variety of solid and variegated greens, whites, creams and blueish-green colors, they are simply perfect for brightening up the shadier portions of a landscape.

But if there is one trait of hostas that give gardeners fits, it’s that their amazing foliage often begins to fail long before fall arrives. In fact, for many, their hosta plants struggle just to make it through the middle of summer!
The good news is that with just the slightest of extra care and attention, hostas can keep their leaves strong the whole season through. And without a doubt – one of the easiest ways to ensure that is by giving them the perfect dose of energy!
How To Fertilize Hostas – The Simple Secrets To Keep Hostas Healthy & Strong!
While hostas are not heavy feeders, they do benefit greatly from an added boost of nutrients throughout the long summer months. In fact, providing them with the right fertilizer at just the right time throughout the growing season is actually one of the biggest secrets of all to keep them looking their best all summer long.
There are many variables when it comes to properly fertilizing plants and flowers. Even low-maintenance, light-feeding plants like hostas require the right set of nutrients to grow best.
With that in mind, here is a look at when, how and what to fertilize your hosta plants with for best success – and that success all starts with giving them a slow release granular fertilizer early in the growing season.

Spring Fertilizing – How To Fertilize Hostas
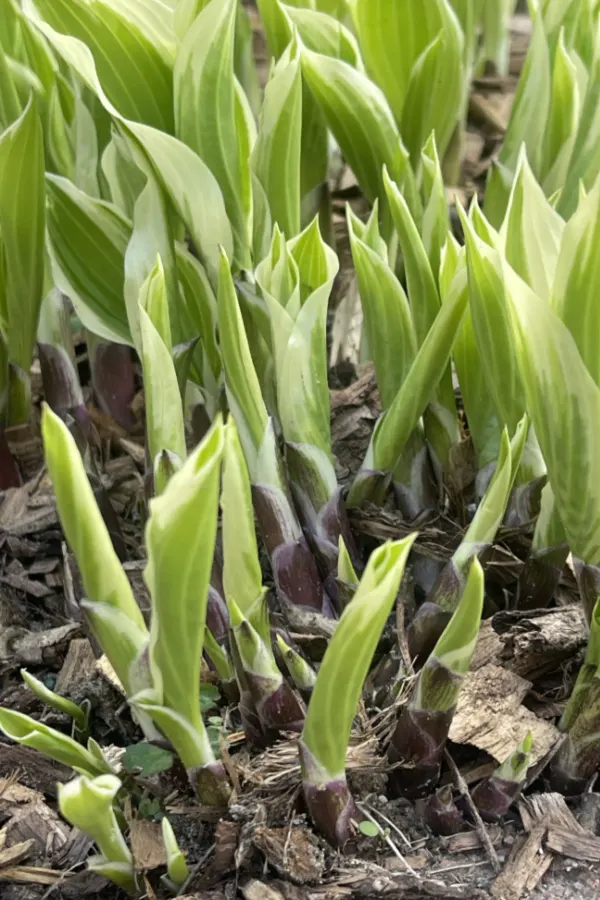
The best time to apply your first dose of fertilizer is when your hostas first start to emerge. For this application, a slow-release granular fertilizer works best.
Granular fertilizers release their energy slow and steady. This allows hosta plants to have enough nutrients and energy to produce early foliage growth. But it also helps prepare them for strong bloom sets in the summer too.
In the spring, look for a slow-release balanced fertilizer with an N-P-K ratio of 10-10-10 to 15-15-15. Balanced fertilizers have an equal amount of nitrogen, phosphate, and potassium which is ideal to help to get your hostas off to a great start. Affiliate Link: Southern Ag All Purpose Granular Fertilizer 10-10-10
Nitrogen works to help for strong foliage and stem growth. Meanwhile, an equal amount of phosphorous and potassium help with overall plant health – and with storing energy for the upcoming bloom session.


Using Granular Fertilizers – How To Fertilize Hostas
When putting down granular fertilizer, it’s best to always fertilize early or toward the end of the day. Avoid fertilizing during the middle when the sun is at its hottest. This will reduce any chance of burning the plant with too much energy during the heat of the day.
Apply the fertilizer at the recommended rate and then water it in. This helps to activate the fertilizer and puts it to work right away. Be sure not to get any granules on the young leaves since fertilizers can easily burn delicate foliage.
Summer Fertilizing – How To Fertilize Hostas
While early spring fertilization sets the stage for massive foliage growth, how you power your plants throughout the summer months is vital for keeping your hosta’s foliage strong.
Once late spring and summer hits, it’s time to start giving your hostas a boost of energy that can keep foliage strong – and that means hitting them with a fast acting liquid nutrient source every few weeks.
Just as with the spring feeding, summer fertilizers do not need to contain massive amounts of power – but they do need to provide consistent feeding of nutrients to keep plants healthy and strong.
Why is it important to switch to liquid fertilizer in the summer for hostas? It’s actually because of two very important reasons – the first being that liquid fertilizers absorb and help plants fast. And the second is that liquid fertilizers absorb both through the soil and the leaves, helping hostas to keep their foliage healthy.

Liquid Fertilizer – How To Fertilize Hostas
So what is the best liquid fertilizer to use for hostas? Again, it all comes down to selecting an energy source that is balanced.
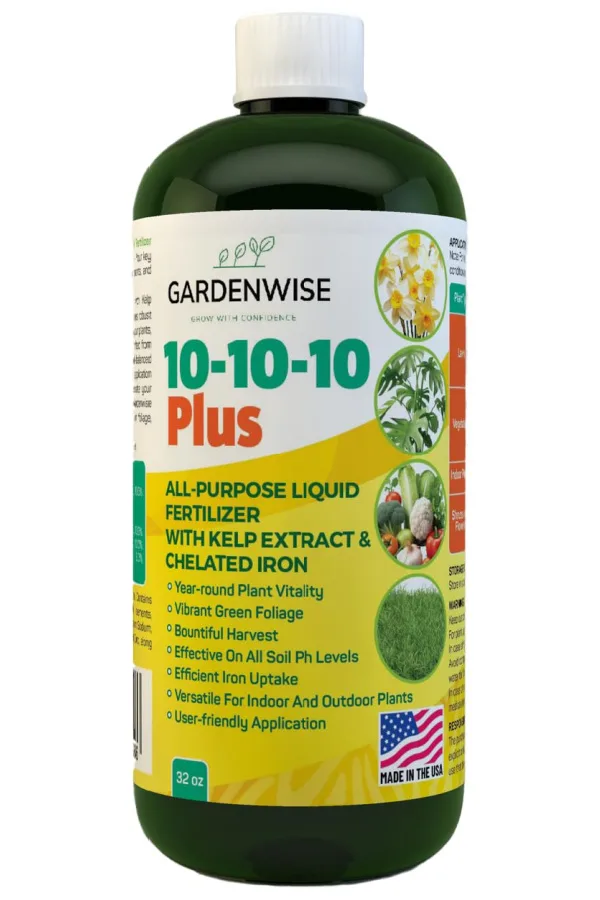
If using a commercial liquid fertilizer, look for a balanced fertilizer with equal amounts of nitrogen, phosphorous and potassium. Something in an N-P-K range of 5-5-5 to 10-10-10 is ideal. Product Affiliate Link: GARDENWISE 10-10-10 Plus All-Purpose Liquid Fertilizer.
If you want to go entirely organic, compost tea is another great solution. The best part is that it can be made with two simple ingredients: compost and water. Of course, if you have a compost pile at your disposal, it’s completely free to make as well.
If you don’t have your own compost pile, don’t worry. You can still make a great compost tea by using purchased or bagged compost. See our article: How To Make Compost Tea Fertilizer – And Use It To Power Vegetables & Flowers Naturally!
Whatever liquid fertilizer you use, apply it every 3 to 4 weeks throughout late spring and summer to keep your hostas full of energy.
Don’t Forget To Deadhead! – How To Fertilize Hostas
Beyond fertilizing your hostas, another big way to help your hostas stay strong is to remove their old bloom stems once they begin to fade. Hostas spend a lot of energy and resources to create blooms in the summer months. But they also use a lot of energy trying to push out old blooms.
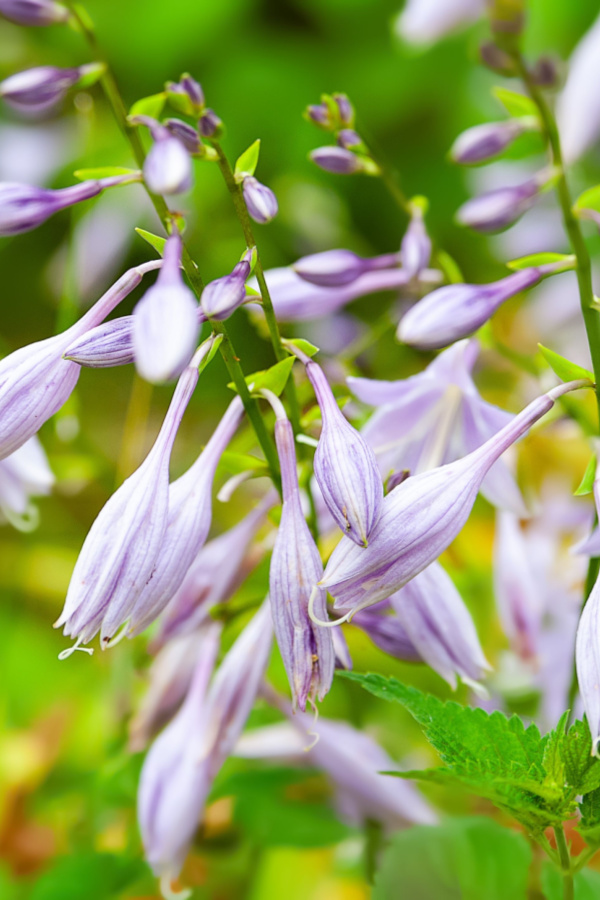
As soon as the flowering process is complete, cut the spent blooms off at the base of the plant. Even though the hosta blooms are dying, the plant will still use energy in order to maintain them. The sooner you remove the blooms, the quicker the plant can start using the energy for their foliage instead.
You may even choose to remove the bloom stems as soon as they begin to appear above the foliage. It won’t harm the hostas to do this. In fact, keeping the plant from creating blooms will allow it to focus on maintaining better foliage instead.
Fall Maintenance – Properly Fertilizing Hostas
The only time you don’t want to fertilize hosta plants is in the fall. Fertilizing at this point can promote late season root growth that can be susceptible to winter damage.
As summer turns to fall, cease all fertilizing efforts. And once the plant dies off, remove the foliage and put a few inches of compost or mulch over top to help it overwinter. Here is to giving your hostas the fertilizer they need this year to stay strong and healthy!
Simple Garden Life
Follow Our Facebook Page For Even More Great Tips! Simple Garden Life Facebook Page
Simple Garden Life is a website dedicated to keeping gardening fun, simple and enjoyable! We publish two new articles each week along with a new garden podcast episode every two weeks. This article may contain affiliate links.