Did you know that how you care for your clematis plants in the fall can be a major factor in how just healthy and strong your plants grow next spring and summer? Even more, it can also play a big role in how well they bloom – or even if they bloom at all!
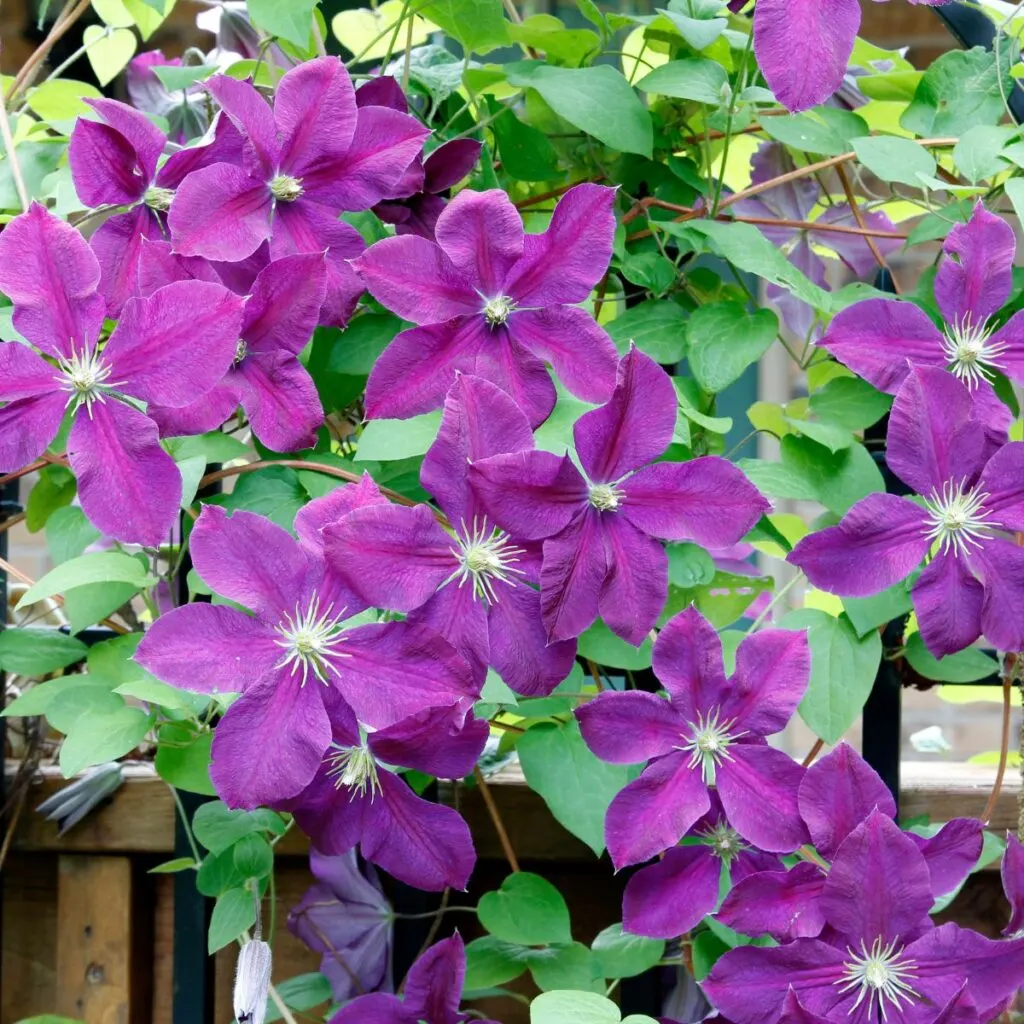
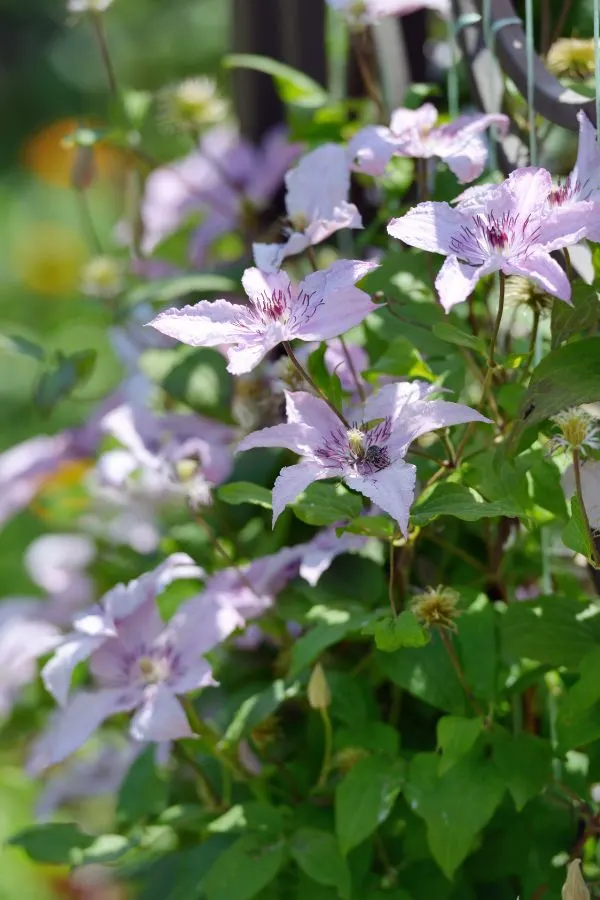
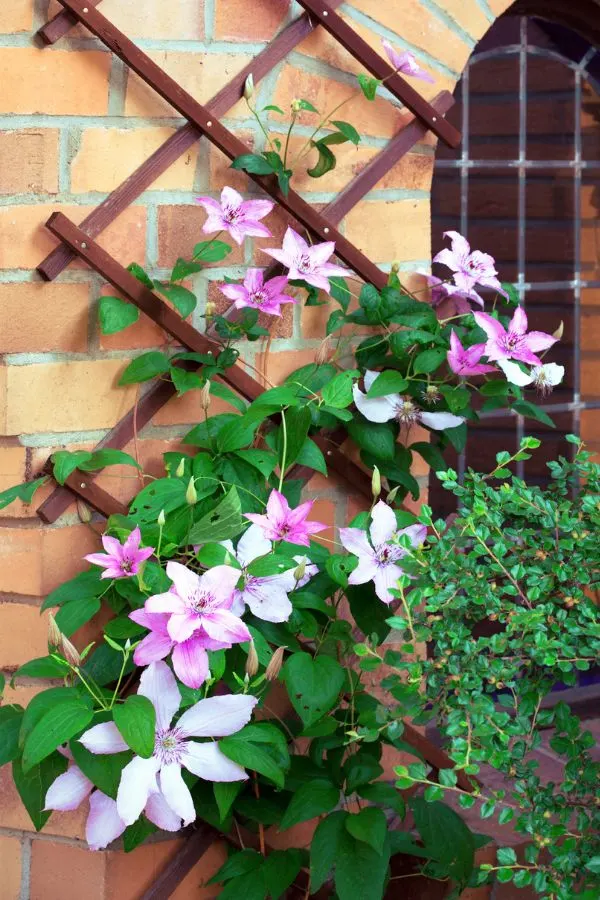
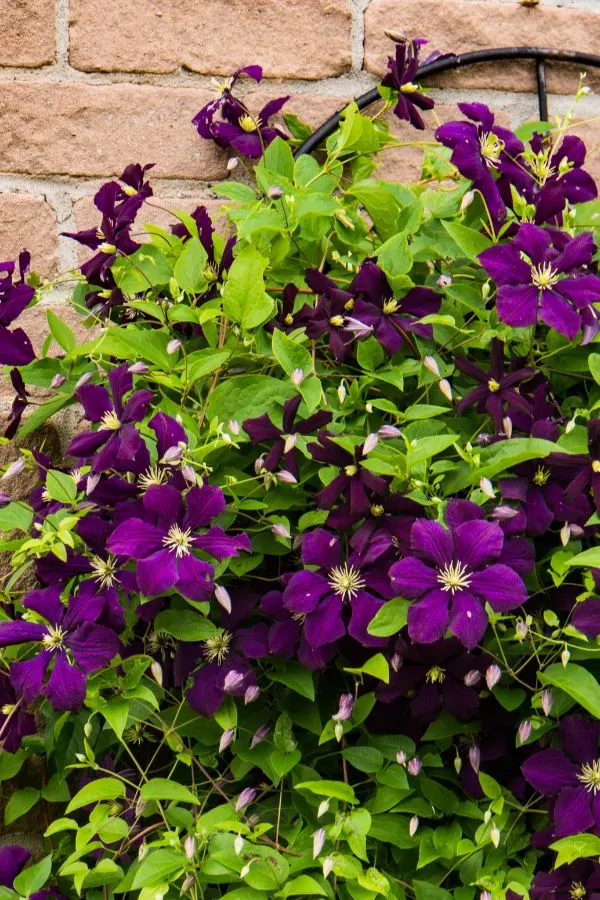
Clematis is a stunning vining perennial that graces the landscape with its colorful cool-toned blooms. With it’s gorgeous flowers that can range in hues of white, pink, purple, and blue, the perennial is notorious for adding climbing beauty with its vibrant foliage and bright flowers.
Most clematis plants bloom in late spring to early summer. Depending on the type and care, many can even bloom a second time in late summer or very early in the fall.

But as the days grow shorter and temperatures begin to dip in early fall, it’s important to give your clematis a little extra attention. Not only to help it brave the upcoming winter, but to also help it re-energize for next year.
With that in mind – let’s start with a look at the different types of clematis plants and how to provide fall care for each. One thing is certain when it comes to fall clematis care – the type you grow is important for knowing what it needs before winter!
The 3 Types Of Clematis Plants – Fall Clematis Care
Although there are hundreds of individual varieties, clematis comes in 3 main types, and each has its own unique blooming characteristics.
The first type of clematis is a spring bloomer. As its name implies, spring blooming clematis will bloom early in the season. Once the flowering is complete, spring blooming clematis will continue to maintain a thick coat of foliage until late fall.
The second type of clematis plant is what is known as a multi-bloomer. Multi blooming clematis will flower in late spring and then with proper care, produce a second blooming cycle in late summer or early fall. The last type of clematis is the summer or early fall blooming clematis. This type will flower only once, but always late in the season.

It’s important as fall approaches to know which type you have. Much like with hydrangeas, knowing the type of clematis you have will determine if and when you should prune. Because as you will see below, pruning at the wrong time can mean eliminating next year’s flowers!
Fall Clematis Care
Pruning Spring & Multi Blooming Clematis
One of the biggest mistakes gardeners make with clematis is to prune them at the wrong time. Spring and multi blooming clematis produce their blooms on old wood. These two types of clematis plants should not be pruned in the fall as it will remove the following year’s blooms.
Instead for spring and multi-blooming clematis, prune the plants immediately after they bloom. This will allow for new growth during the rest of summer or fall. And that new wood will become next year’s old wood that will produce the plant’s blooms.
Pruning Spring Clematis – Fall Clematis Care
For spring and multi-blooming clematis, the only fall pruning that should occur is to remove damaged, weak or dead limbs. Although extremely light shaping can be done on these two types of clematis, remember, every pruning snip could be potentially cutting off next years’ blooms.
On the other hand, if you have a summer or fall blooming clematis, this plant blooms on new wood that grows from spring until it flowers. For these types of clematis, fall is actually the ideal time to prune.

For those clematis that bloom on new wood (stems that grow in the current season), you can prune these back quite a bit. Try to cut about a third to half of the stems, leaving around 6 to 12 inches above the ground. This might sound like a lot, but it encourages fresh growth in the spring.
Mulching Matters – Fall Clematis Care
One thing that can help all clematis varieties in the fall is a good, thick layer of mulch. But again, how you mulch can make a big difference in helping your plants to grow better. In this case, the secret is adding a bit of power to the mulch!
Begin by clearing away any dead leaves, spent blooms and other garden debris from around your clematis. This tidying up isn’t just about aesthetics – it also prevents potential disease and pest issues from overwintering in the garden bed.
Once clear, begin by putting a few inches of compost or humus around the base of your clematis. Next, add an inch of hardwood mulch. Repeat this one more time to create a layered mulching that will both protect and power the fragile roots of the clematis plant over winter.
A good mulch layer helps retain moisture. This is especially important during the winter months when the soil tends to dry out. The humus or compost will slowly decompose and not only provide mulching protection, but also energy to the roots as it breaks down.
It is important when mulching to avoid piling mulch directly against the stems. This will prevent moisture buildup that could lead to rot, especially over the winter and early wet spring or fall.
Support and Shelter – Fall Clematis Care
Just like us, clematis appreciates a little extra shelter during the cold months. If you live in an area with harsh winter winds, consider placing a simple windbreak near your clematis.

This could be as easy as a wooden stake or two positioned on the windward side of the plant. This shield will help prevent the cold winds from drying out the plant and causing damage.
In addition, make sure any support system you have in place for your vines is strong. The winter wind can be harsh on the plant. But by securing it, you can give it the protection it needs to keep it safe.
Water Wisely – Fall Clematis Care
As fall sets in, your watering routine for clematis should be toned back. Clematis do not need as much water in the cooler months as they do during the hot summer. It is still important to keep the soil slightly moist if you experience long dry spells, but the key is to be careful not to overwater.
Gentle Wrapping – Fall Clematis Care
For some clematis varieties that are less cold-hardy, a gentle wrapping can provide an extra layer of protection to keep them safe.
For these situations, use burlap or another breathable material to wrap the plant, creating a loose cover. This helps shield the plant from freezing temperatures and frost. It is important to remember to remove the wrapping in the early spring to avoid trapping moisture and causing any unnecessary damage.

As the leaves change color and the air turns crisp, it’s time to show your clematis a little TLC. The steps of pruning, mulching and providing shelter really can make a big difference. Not just in the health and beauty of your vine, but how they bloom as well next season.
A little effort now will lead to a lush and vibrant clematis. And even better, one that will give you stunning blooms in the seasons to come. For more on perennial care, check out our Perennial Plants tab on the website.
Follow Our Facebook Page For Even More Great Tips! Simple Garden Life Facebook Page
Simple Garden Life is a website dedicated to keeping gardening fun, simple and enjoyable! We publish two new articles each week along with a new garden podcast episode every two weeks. This article may contain affiliate links.
