Did you know that you can divide and save your overgrown ferns this fall and keep them over the winter to enjoy again all next year? And even better – it gives you even more ferns – and all for free!
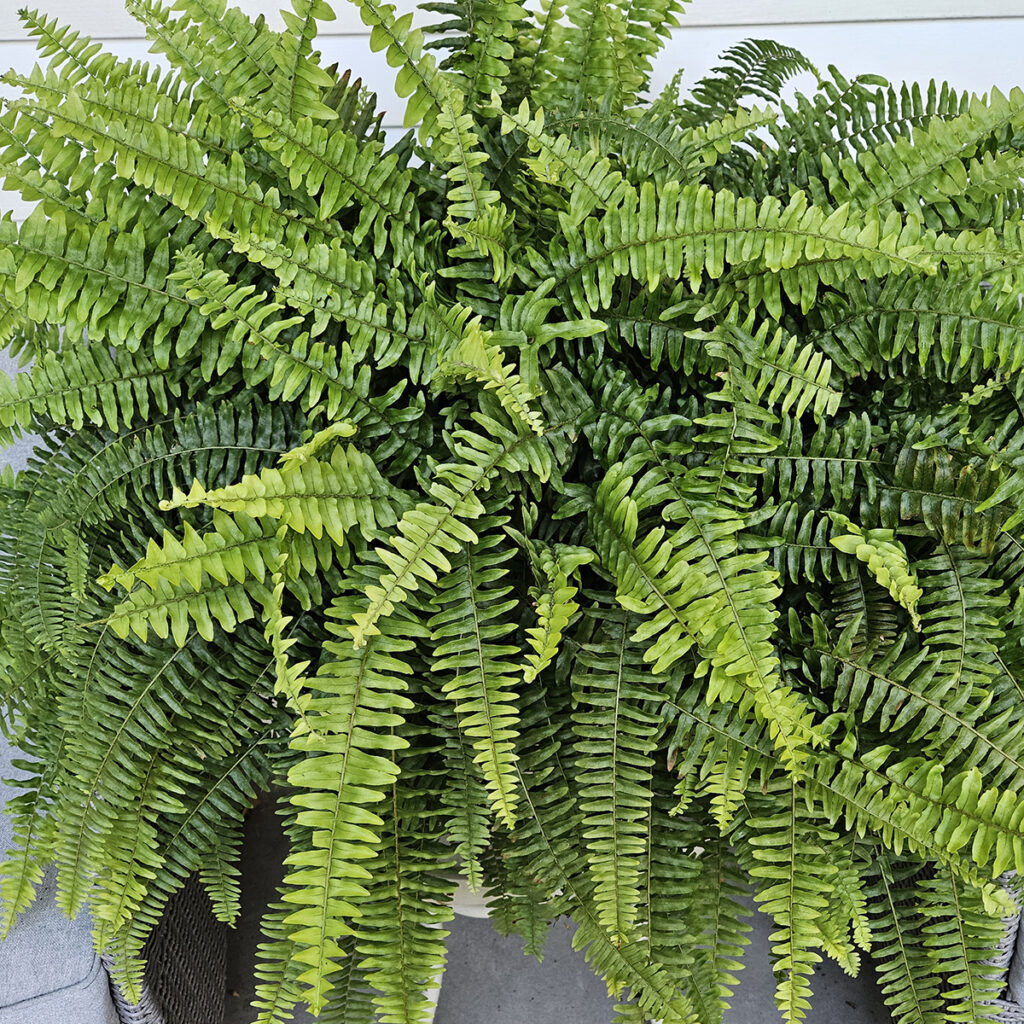
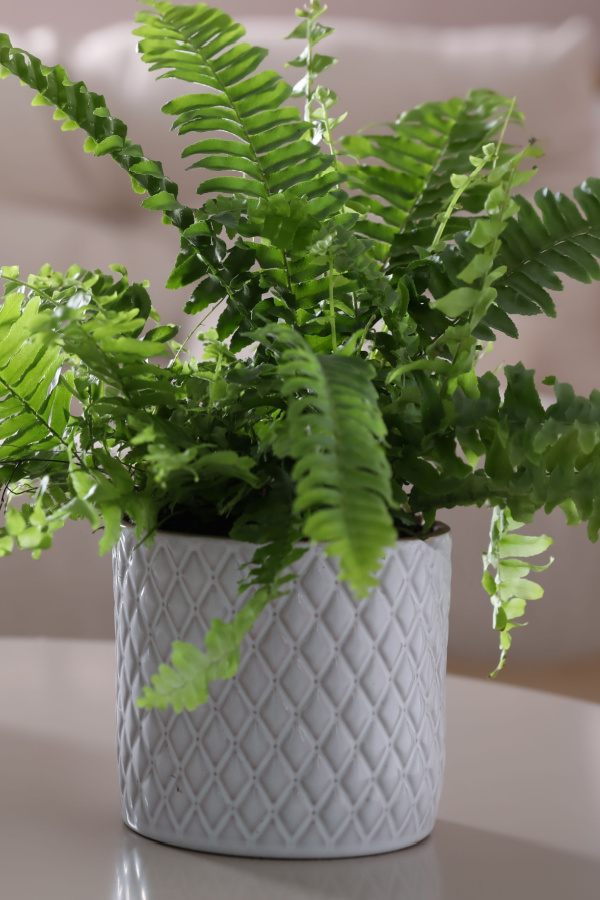
Ferns are the perfect low-maintenance plants that thrive in the warm summer months. They require very little care beyond basic watering and the right shady location to grow big and beautiful. In fact, these fast-growing plants often double or even triple in size during a single growing season.
By the time fall arrives, most ferns usually grow so well that they outgrow their container. And when they do, the plants unfortunately are often left root bound, making it a struggle for them to absorb moisture and nutrients correctly.

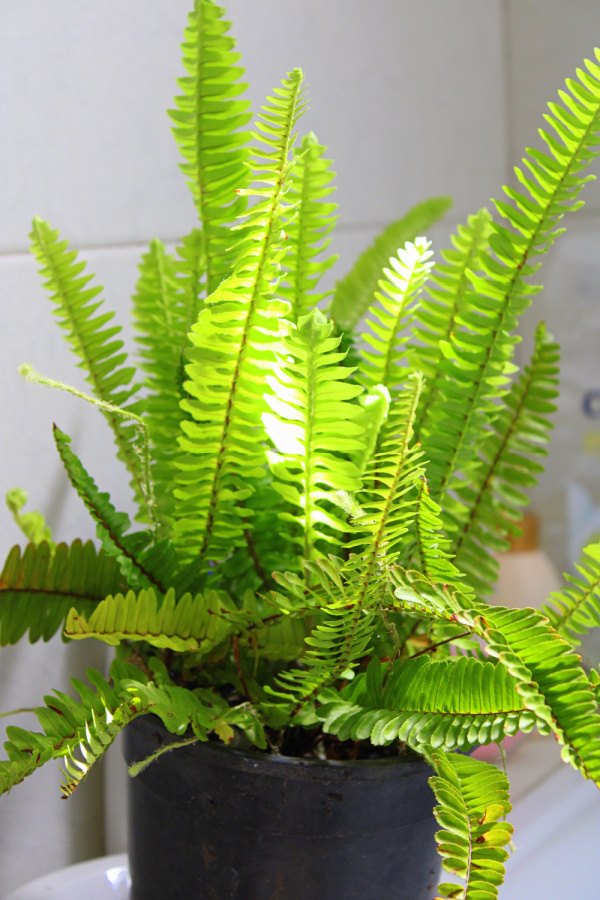
While you might think your only options are to toss your massive fern in the trash or attempt to bring the huge plant indoors, there is another choice – you can divide your ferns into multiple smaller, more manageable plants to save over winter.
Not only does this keep you from losing your beautiful ferns, but it can save big money in the long run. Let’s face it, purchasing new ferns each spring can get rather expensive. Especially if you have a whole porch to fill. Thankfully, saving ferns is a lot easier than you might ever think!
Benefits Of Dividing Ferns In The Fall
The best way to easily save your ferns over winter is to divide and transplant them. Once late summer and fall arrive, a fern’s roots tangle together. Even worse, the soil they grow in is almost nonexistent from the overload of roots.
Root-bound plants are simply not able to absorb water and nutrients correctly. So even if you decide to move your entire fern indoors during the winter, it will likely struggle to survive.
In addition to the health of the plants, it takes a lot of space to store huge ferns in your home. And not only will it take up a large space, big ferns can be quite messy with dropping their foliage. And that is exactly why dividing the plant into smaller, more manageable plants is the best option.

How To Divide Ferns This Fall – And Save Them Over The Winter!
Trimming Back
You can actually divide ferns any time during their growing season, but doing so in the fall gives you more manageable plants to overwinter.
A few days before you plan on dividing your ferns, stop watering them. This allows the roots to dry up and shrink a little bit, making cutting much easier. It also makes the soil easier to work with as well.
Next, you need to trim back the entire plant down to just a few inches of growth. This is best done using a sharp pair of garden shears, hedge trimmers, or scissors. While they might look a little rough, this step allows the new foliage to grow faster and makes transplanting much easier. All of the cuttings can be added to your home compost pile.
Then, turn the container on its side and pull the fern out. They typically come out pretty easily late in the season due to their entangled roots. However, you may need to use scissors to cut any roots that have grown through the holes of your container until your plant is free.
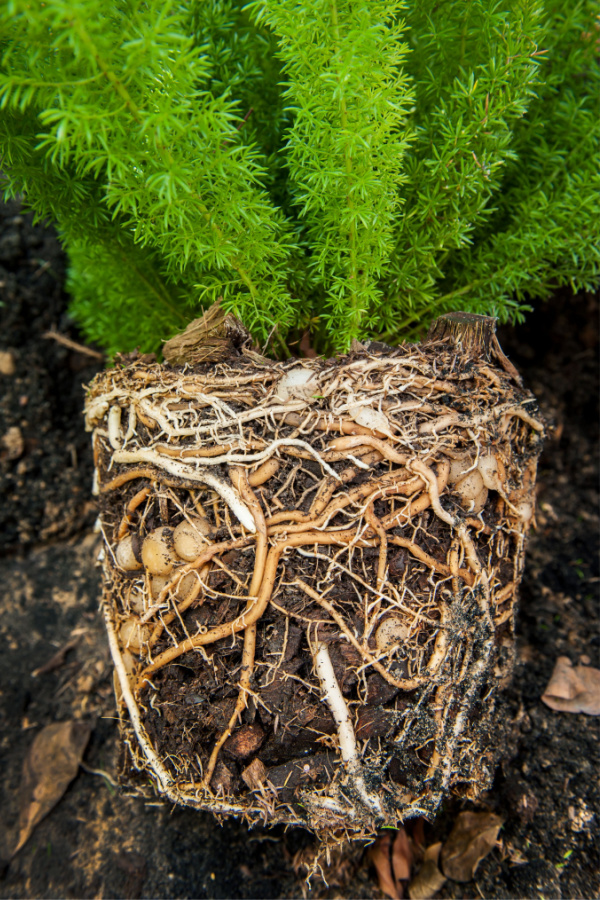
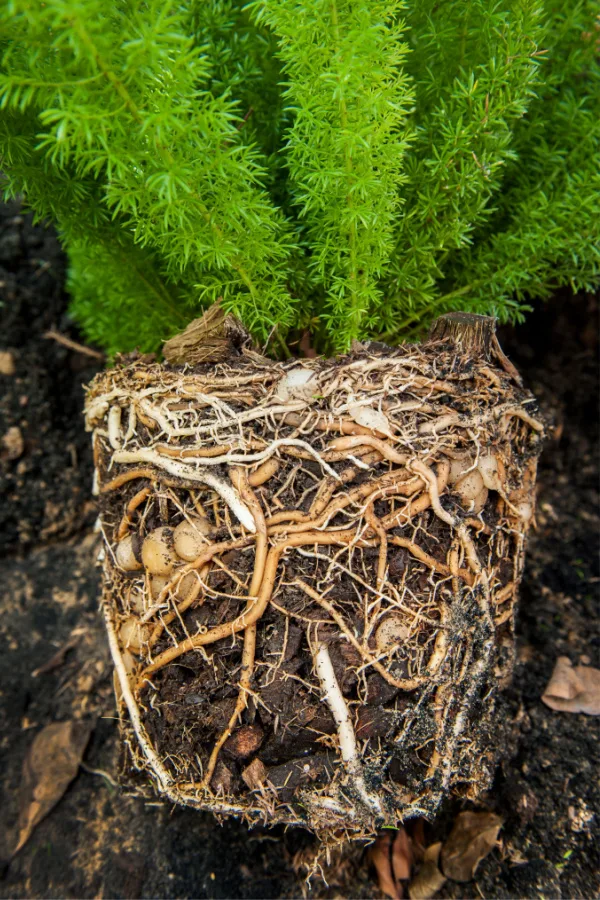
Don’t worry if you do end up damaging some of the foliage or roots a little. Ferns are actually quite tough and will heal quite quickly once in their new soil. Finish by shaking off any loose, excess soil.
Dividing Ferns – How To Save Ferns Over The Winter
To divide the plants easily and with the least amount of damage, use a sharp garden knife, shovel or spade. A serrated garden knife works great for this, allowing you to slice easily down through the tough, tangles roots. (Affiliate Product Link: Hori Hori Knife)
When cutting, divide the root ball into equal portions to create new plants. By cutting equal sizes, you will have similar size plants next year. You should be able to get 3 to 4 plants from one large fern. Make sure you are getting several fronds attached to a good amount of roots per section.
Re-Potting New Ferns
It’s now time to re-pot the smaller fern plants into separate containers. For this, you want pots that are slightly larger but not too big for the fern. Try to use containers that are about a quarter or a third larger than the size of the new plant’s root ball for best results.
Fill your container with a high-quality potting mix, leaving space for the root ball. Add your plant and backfill around the roots and up to the edges of the container. Press gently to pack the soil around the plant. Finally, give the fern a good drink of water and add more potting soil if needed.


You do not need to add fertilizer when you overwinter ferns. The potting mix will have more than enough nutrients to get the fern through the winter, especially if it goes dormant. In addition, too many nutrients for a fern at once can cause more issues for the plant than good.
Keeping Newly Divided Ferns Indoors
In the fall, keep your newly divided plants outside in a shady location as long as the weather is warm. This will help new growth begin before you have to bring the ferns indoors. You should start to see new growth appear in just a few weeks.
Once there is a threat of frost in the forecast, bring the ferns inside. It does not matter whether new growth has occurred or not at this point. Any type of frost will kill the ferns, so they must be kept inside in order to live.
Place your ferns in a location that moderate amounts of indirect lighting. A cool basement with a window well works perfectly for this. Even a corner of a room that has a bit of natural light coming in from a window is perfect for ferns.
You do want to avoid locations that have south-facing windows. In addition, do not place the ferns directly up against a window. The combination of the sun’s rays and the heat coming through the window can easily burn the new foliage.

Winter Care – How To Divide & Save Ferns In The Fall
Ferns are extremely easy to care for in the winter. In fact, the only real chore is to water them only when they need it.
Allow the soil to completely dry out between waterings. When watering, just give the plant enough water to make the soil moist and not overly wet. Ferns can benefit from a light misting on their foliage every week or two as well.
Once the weather starts to warm up and the threat of frost is gone in the spring, you can take your ferns back outside. Remember to place them in a shady location and bring them back indoors if the weather drops too low at night.
As spring warms up, you can give your plants a little boost with compost or worm casting tea. Compost tea is not only great for vegetable and flower plants, but most house plants as well. See: How To Fertilize Flowers With Compost Tea
This compost or worm casting tea will wake them and have your ferns looking amazing in no time – and all for free!
Follow Our Facebook Page For Even More Great Tips! Simple Garden Life Facebook Page
Simple Garden Life is a website dedicated to keeping gardening fun, simple and enjoyable! We publish two new articles each week along with a new garden podcast episode every two weeks. This article may contain affiliate links.