One of the biggest questions gardeners have when gardening in raised beds is figuring out what is the best way to fill their beds for success – and what materials should they be filling them with.
Raised beds are an amazing way to garden for so many different reasons. For those who don’t have space for a traditional garden, they can fit in the smallest of areas. And for those who might have mobility issues, they can make gardening so much easier on the back and knees.
Perhaps best of all, raised beds are easy to maintain. Because they are elevated above the surrounding surface, they tend to have far fewer weeds. The confined walls also hold in soil and mulch, making it easier to keep neat and tidy. And, of course, that added height also makes them easy to plant, water and harvest.
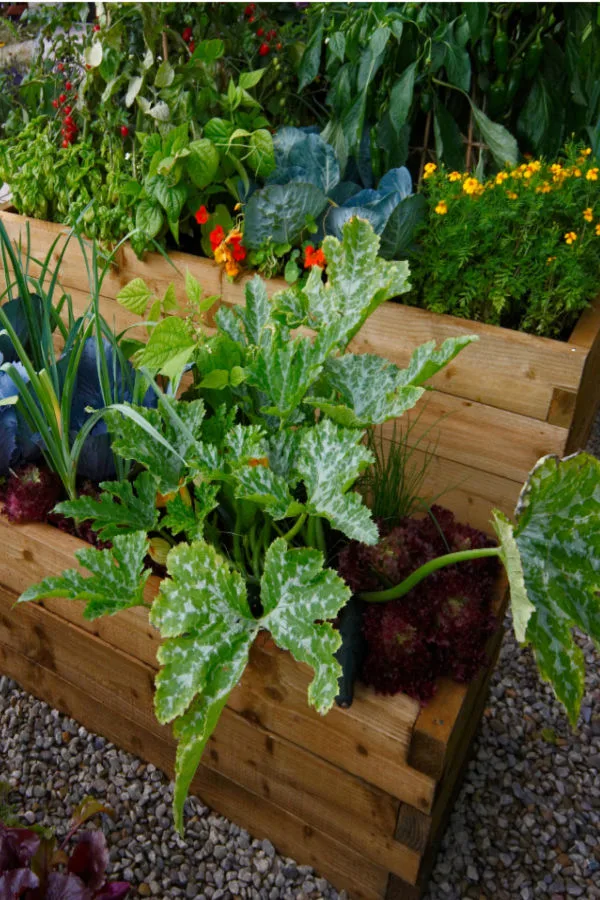
But when it comes down to growing successfully in raised beds, the first step to success is filling them up properly. And that is certainly where all of the questions start to arise:
- Should raised beds be filled with soil straight from the garden?
- Is it better to use potting soil?
- Can you use regular topsoil?
- Is it best to add compost to the mix as well?
- And finally, should anything be put in the bottom to help with drainage?
Creating Powerful Soil – The Best Way To Fill Raised Beds
All of the above questions above are excellent for sure. As are knowing the answers to them! What you use to fill your beds and how you fill them up will indeed have a tremendous impact on how successful the plants you grow in them will be. Not just for the coming year, but for years to come.
With that in mind, here is a look at the best method for filling up your beds, and why simply loading them full of only plain soil is not good for your plants – or your raised beds life and longevity either.
How To Fill Raised Beds
We will cover exactly how to fill your raised beds step by step in just a moment, but first, it’s important to know how plants grow in a raised bed set up versus a traditional garden set up – and why regular garden soil is never a good choice for your raised beds.
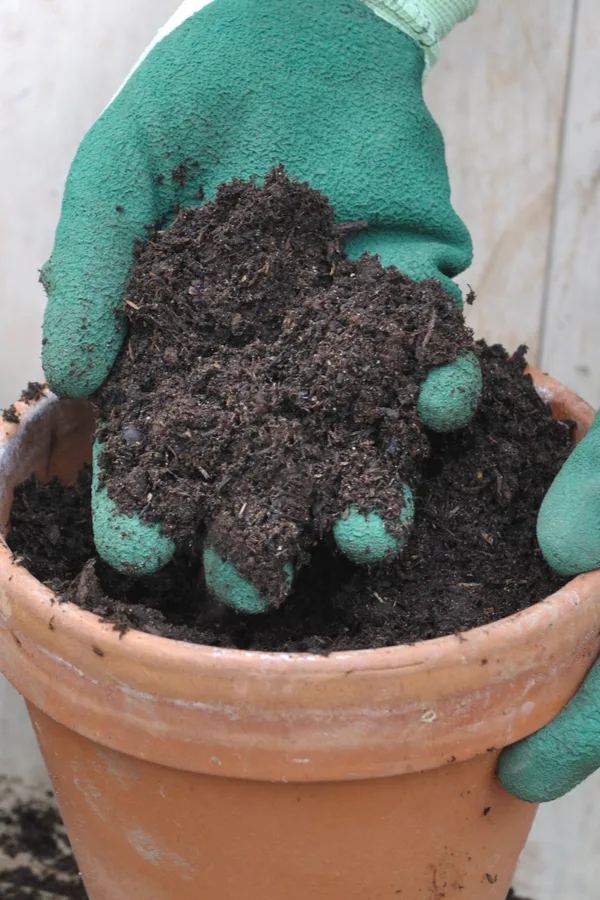
It’s important to think of raised beds just as you would a container or potted plant. This is because they both have limited soil capacity. To be successful, a potted plant needs to have great drainage as well as be loose and lightweight. In addition, it also needs to packed with nutrients.
That is exactly the same formula for success when growing in raised beds. The soil has to drain excess water away in quick fashion. If it doesn’t, plants can struggle to grow or even rot out in the soil.
Furthermore, if the soil is not loose and lightweight, the plants will have a hard time establishing roots. Heavier soil makes it hard for roots to expand. Even worse, it also makes it hard for them to absorb nutrients. Heavier soils also tend to have far less nutrients than lighter soils with added ingredients.
Last but not least, heavy soil can bow out, bend and even break the sides of raised beds. Especially if the beds are not built very strong or made from weak plastic, thin metal or wood. See: Our DIY Raised Bed Garden Box Plans – Simple, Strong, Beautiful – & Easy To Build!
What Not To Use To Fill Your Raised Beds – And What Works Best!
For all of the reasons above, filling your beds full from top to bottom with basic “dirt” or even soil from your garden is never a good idea. It’s not that you can’t use some regular soil in the process, but as you will see next, layering in organic materials and other soil boosters is the real key to growing success!
To work effectively, raised beds need to have at least 12 to 18 inches of workable soil. If your beds sit on the ground, as long as the soil underneath is workable, the sides of your beds can be a bit smaller – but having at least 12 inches to grow in is a must. 18 inches is even better!
How To Fill Your Raised Beds For Success – Step By Step!
Step 1 – Adding Organic Filler To The Bottom Of Your Raised Beds
Although you could fill your beds entirely with a fertile, loose potting soil, not only would it be quite expensive, it also doesn’t help create the best drainage situation at the bottom of the bed.
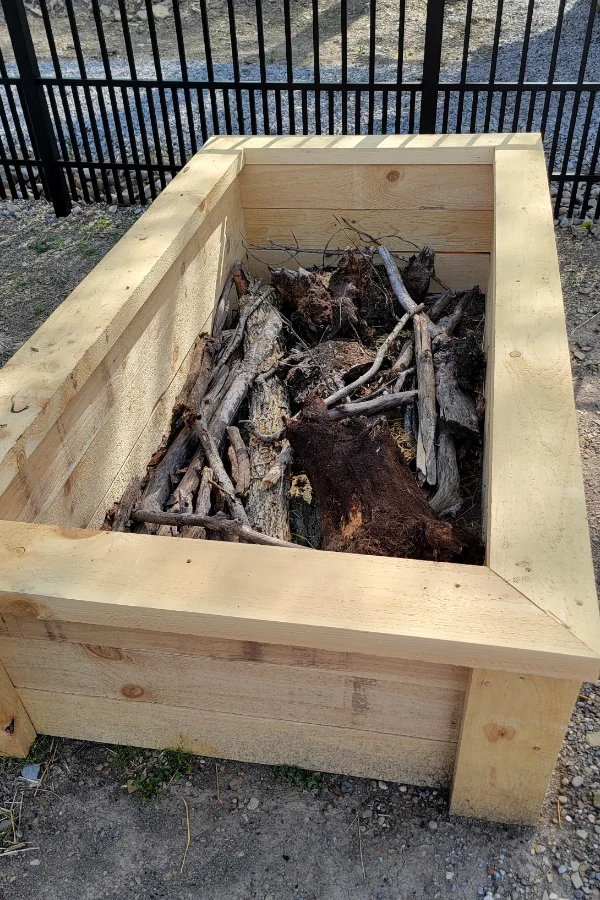
Instead, it is far better to fill the bottom 1/3rd of your bed with larger organic material. This will allow excess moisture to drain through easily. In addition, as the larger material breaks down over time, it adds even more nutrients to the soil.
One of the best materials to use for this are small logs, sticks and twigs. They can all often be found for free – and help fill your bed with excellent organic matter. Even better, they also provide great drainage at the bottom by keeping the soil from compacting down.
For larger, deeper beds, use large bark pieces, wood chunks and tree limbs to layer in the bottom 1/3rd. Don’t worry about stacking them neatly. In fact, tossing them randomly will create air channels that can help as the soil and other materials are added later.
Filling Smaller Beds
For smaller and less deep beds, small sticks and twigs are best to fill the bottom 1/3rd. This will still allow enough soil depth for growing the first year. When selecting wood species, maple, pine, oak, beech, fruit trees and most non-nut trees are fine to use. Avoid nut trees such as walnut and chestnut as they can prohibit plant growth.
If you do not have access to wood scraps, you can substitute hardwood mulch for the bottom 1/3rd area. The larger the mulch the better. Finely shredded mulch will be heavy much like topsoil would be. It also will not provide good drainage.
Step 2 – Compost / Straw / Grass Clippings – The Best Way To Fill Raised Beds
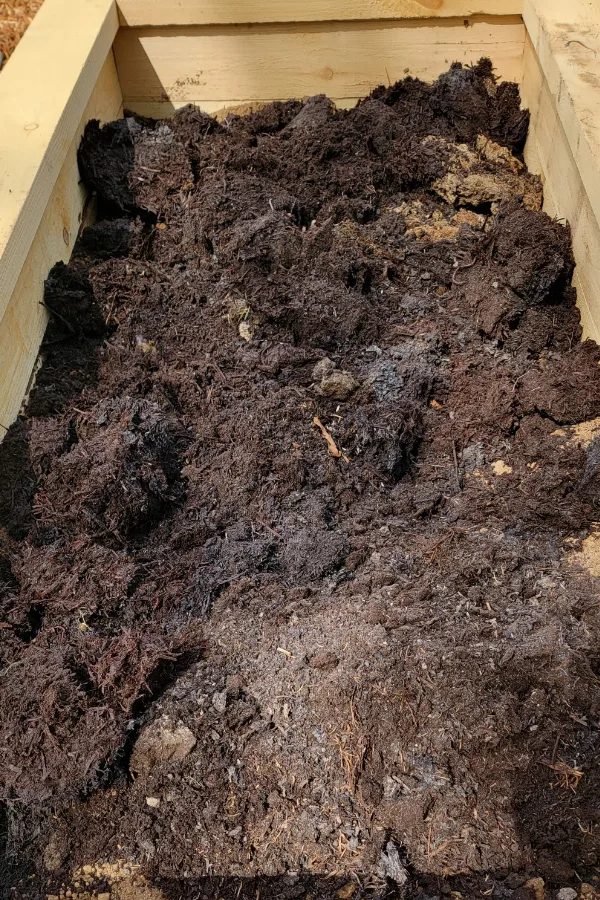
Once the organic layer of sticks, wood and bark is in place, it’s time to add even more long-term power. This can be accomplished with a combination of materials. Compost, straw, grass clippings and even aged manure are all excellent for this layer.
If you only have access to one of two of these, that is more than fine. The real key is to add more organic material to this layer before putting in the final layer of soil.
This layer should make up about 1/3rd of your total height. It is important that this layer of organic material is small enough to work down in between the hardwood layer. Together, they will allow for incredible drainage as well as a long term source of nutrients for plants as they break down.
Step 3) Adding The Soil – The Best Way To Fill Raised Beds
Now it’s finally time for the soil! For this layer, you need to be adding a lightweight, power-filled potting soil mix. Remember that your beds are in a confined space, so they need to have all of the energy possible right from the start.
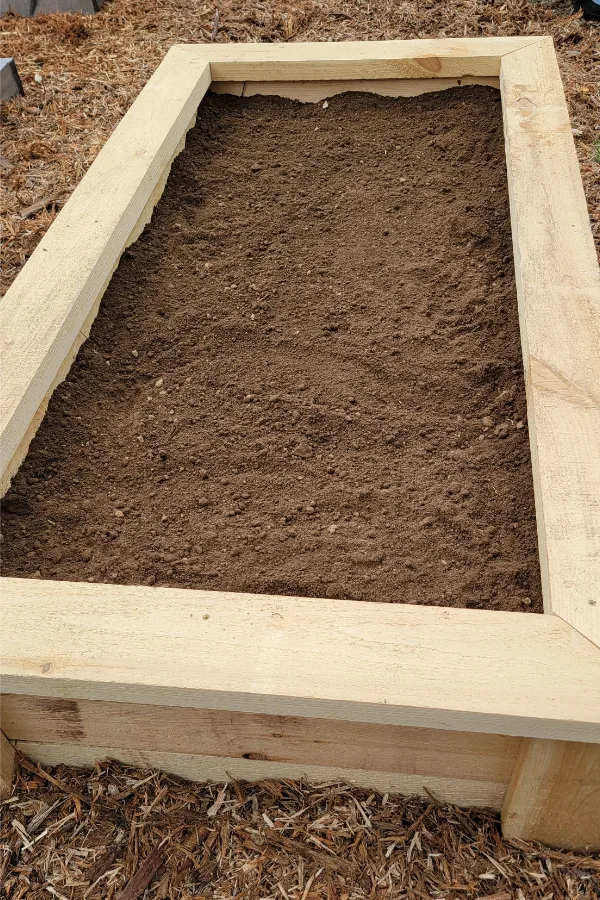
There are many great potting soils that are available for purchase. The key when selecting a good potting mix is to make sure it is lightweight and filled with organic power. Look for potting soils that contain compost, perlite, worm castings and other organic powerhouses.
The good news is that by filling 2/3rds of your bed with organic material – it can save big on the cost of adding a quality nutrient filled soil. But make no mistake, skimping on this step will severely impact your growing ability if it is a poor quality soil.
You can also create your own incredible potting soil mix by mixing compost, pulverized top soil, worm castings, perlite and coffee grounds. For more on that, be sure to check out our article and recipe for our Homemade Potting Soil Mix.
Never fill your beds completely to the top. Leave a few inches for mulch that can protect plants and help insulate the soil temperature. Here is to filling your raised beds for success, and enjoying years of fruitful growing for years to come!
Follow Our Facebook Page For Even More Great Tips! Simple Garden Life Facebook Page
Simple Garden Life is a website dedicated to keeping gardening fun, simple and enjoyable! We publish two new articles each week along with a new garden podcast episode every two weeks. This article may contain affiliate links.
