
If you want flowerbeds full of big, beautiful tulips next spring – the secret all starts in the fall with when and how you plant your tulip bulbs!
There are over 3,000 varieties of tulips! As well as having a variety of different bloom styles, tulips also come in a variety of different colors. They can range from red, orange, yellow, green, pink, purple, white – and even multicolored!
Tulips can range in size from 6 inches to around 2 feet tall. So there’s definitely a variety and style for every taste and location. But the real secret to success for great blooms is knowing when and how to plant in the ground in the fall.
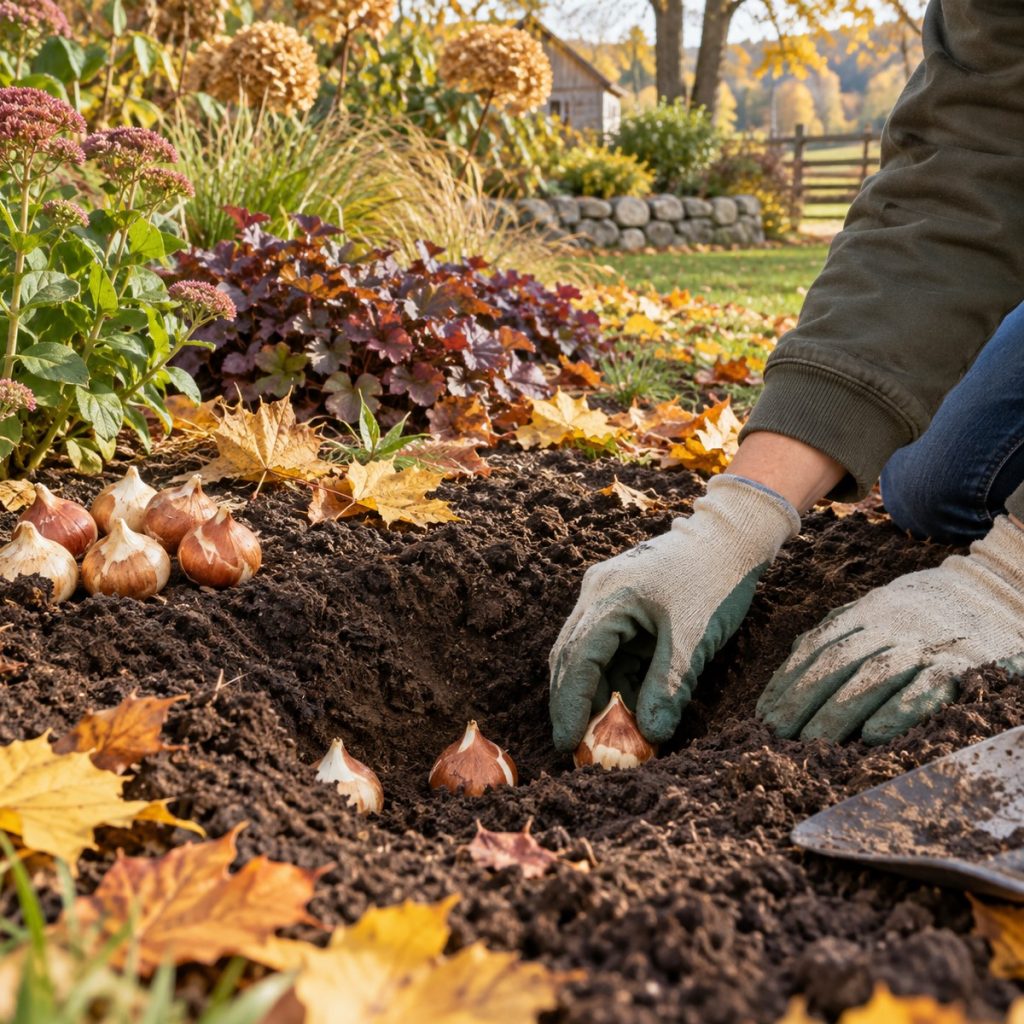
When And How To Plant Tulips In The Fall
When To Plant Tulips
Tulips need a stretch of cold weather to bloom, but planting too early can cause problems before winter even arrives. Waiting for the right time gives bulbs a chance to grow roots without sending up tender shoots.
Tulips are planted as bulbs instead of seeds. Once you receive the bulbs, you should get them into the ground as soon as possible. If you have to wait until it is cool enough, store bulbs in a paper bag in a cool place. Your fridge’s crisper drawer actually works perfectly for this. Affiliate Link: 35 Mixed Tulip Bulbs – Assorted for Spring Color – Perfect for Beds, Borders & Containers
Ideally, overnight temperatures should range from 40 to 50º Fahrenheit (4 to 10º Celcius) when planting. You can plant them as late in the Fall as possible as long as they are in the ground 6 weeks before the first hard freeze. This typically lands around September to October in the Northern states and around December or even later in the Southern, warmer states.
How To Plant
Tulips dislike being in areas of excessive moisture, so plant in an area with well-draining, fertile soil. The soil can even be slightly dry or sandy. Amend clay or dense soils with sand, compost, or other rough organic matter to allow for better drainage. Tulips also prefer neutral or slightly acidic soil. Soil temperatures should be at least 60º Fahrenheit (15º Celcius) or lower.
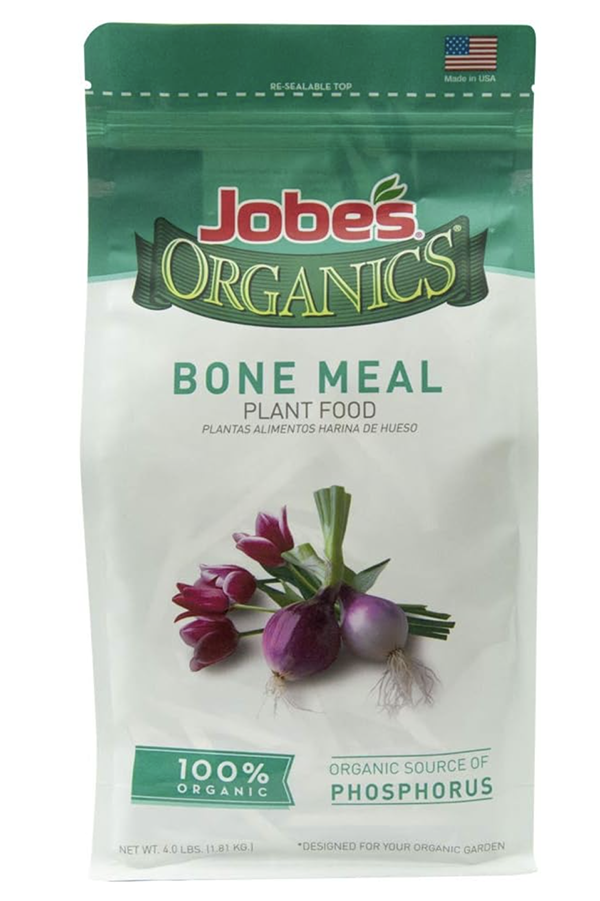
Choose a location that receives full afternoon sun (at least 6 hours). Before planting, loosen the soil to at least 4 to 6 inches deep, adding in a few inches of compost or worm castings. In addition to the compost or castings – this is the time to add bone meal! Bone meal is an incredible fertilizer for bulbs and can help boost much bigger blooms. Affiliate Link: Jobes Bone Meal Fertilizer

Place the tulip bulbs in fairly deep – about 2 or 3 times the height of the bulb. Put in about 1/2 teaspoon of bone meal for each bulb. And yes, bone meal really does make a difference for better and bigger blooms! Another rule of thumb is to plant them 3 to 4 times the width of the bulb (or around 6-8 inches deep). They can be a little less deep in clay or heavy soils.
Plant With The Points Up!
The bulbs need to be placed with the pointy end up and spaced about 2 to 6 inches apart. Cover with soil and press firmly. Water the soil just to help settle everything nice and tight around the bulb.
Some gardeners have issues with mice and moles eating the bulbs. If this is the case, consider adding in some type of thorny leaves, clean kitty litter, or crushed gravel into the planting hole before you cover it with soil.
Late Fall, Winter & Spring Bulb Care
Cover the newly planted bulbs with a couple of inches of mulch. Straw, pine chips, or shredded leaves all work excellent for this to help insulate the bulbs throughout the winter.
Water bulbs weekly if it doesn’t rain, but stop as soon as the ground freezes. As soon as the soil starts to warm up in very early Spring, you will begin to see green sprouts begin to form where you planted your Fall bulbs. You may even find that as the snow melts, the foliage has already begun to rise out of the soil underneath the blanket of snow.
Don’t be alarmed if you happen to get more snow after the foliage appears; they can handle a little bit of cold. Once the tulips have grown through the soil in the springtime, only water them in case of a severe drought Whatever rainwater they receive should be plenty to keep them blooming. Keep tulips away from irrigation systems as well since a moist bulb will equal a rotten bulb. Remember, tulips don’t like a lot of moisture!


After Bloom Care
In order to help tulip bulbs return the next year, you should make sure to deadhead spent blooms before they go to seed. It might sound counterintuitive, but you are wanting the plant to put its energy into the bulb for next year and not into seeds.
Wait until the blooms start to die off and cut only the spent bloom off with a pair of sharp gardening shears. Do not cut the green foliage or the stem. The green foliage is needed to gather energy for next year’s blooms. See our article: How To Know When To Cut Your Tulips Back – And Why It’s Later Than You Think!
After a few weeks, the foliage will start to yellow and brown and die back as well. It is now safe to cut the rest of the tulip plant back to the ground. Adding in a bit of compost into the top layers of the soil after the tulips are cut back will help nutrients get absorbed into the soil for next year.
Here is to knowing when and how to plant tulips this fall – and to big, beautiful blooms next spring!
The Simple Garden Life
Follow Our Facebook Page For Even More Great Tips! Simple Garden Life Facebook Page
Simple Garden Life is a website dedicated to keeping gardening fun, simple and enjoyable! We publish two new articles each week along with a new garden podcast episode every two weeks. This article may contain affiliate links.