What To Do With Your Clematis In November – How To Prepare Clematis For Winter!
Wondering what to do with your clematis in November before the cold of winter hits?
Knowing what to do with your clematis in November can make a big difference in how well it comes through winter and how it blooms next year. And one of the most important things you can do this month is surprisingly easy. Put away the pruners and give those vines a little more time!
By November, clematis can look as though it’s begging for a haircut. Many of its leaves turn brown, the vines look dry and tangled, and what was once the prettiest plant on the trellis suddenly looks like a mess.
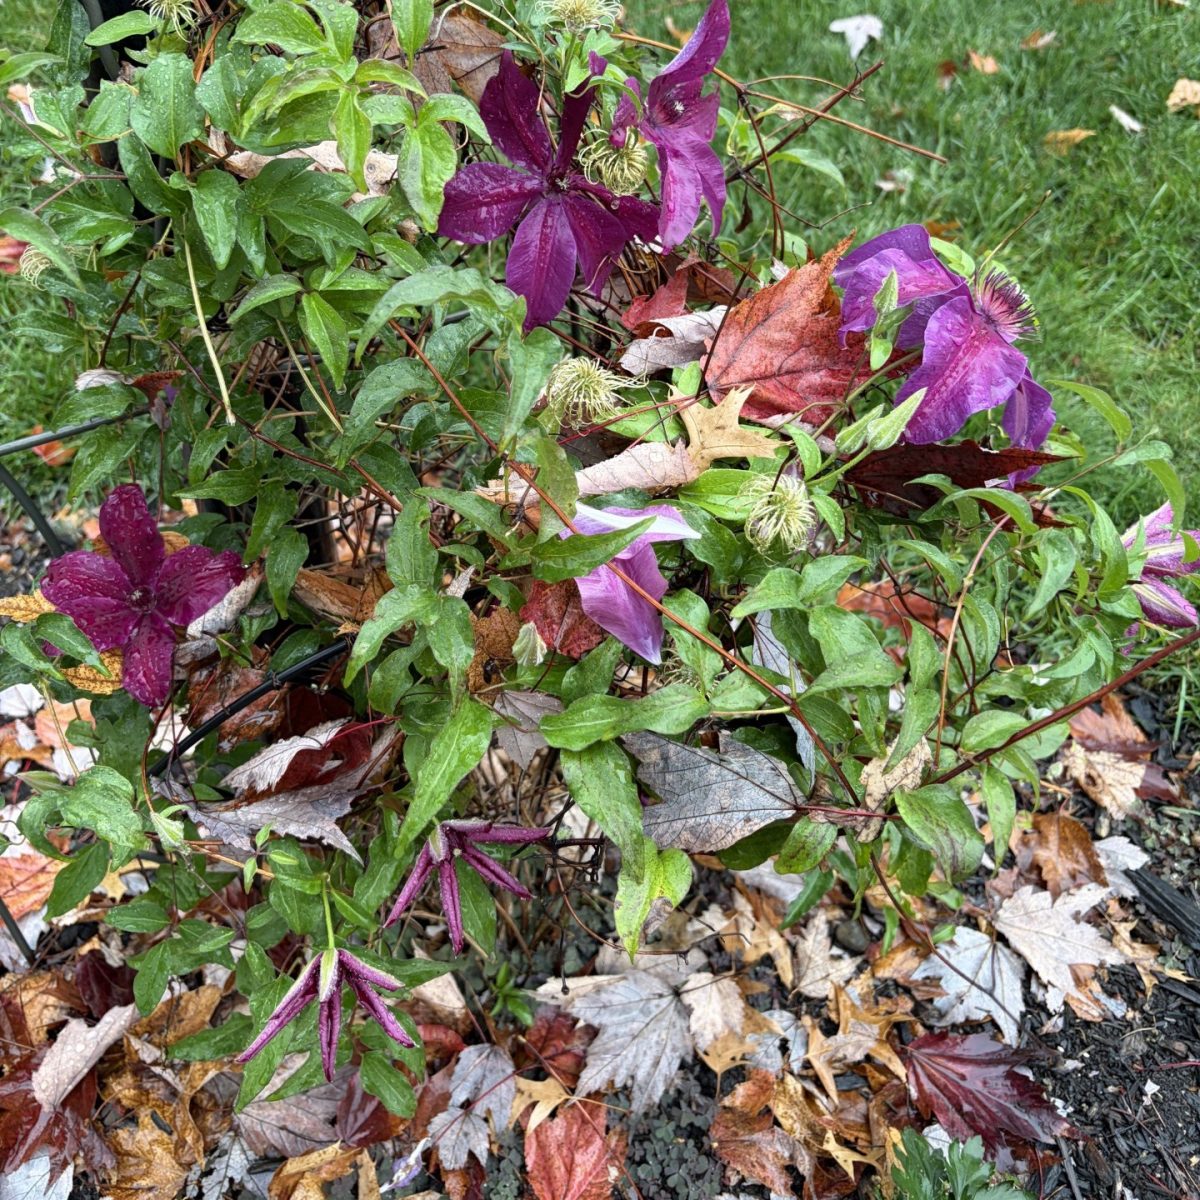
But depending on the variety you grow, those scraggly stems may be carrying next spring’s flower buds. Which is exactly why it's never a good idea to prune them late in the fall!
November Chores For Clematis
Leave The Vines In Place For Winter
November is a great time to clean up around the base, protect the roots with mulch, and make sure the vines are secure before winter winds arrive. And if you grow clematis in a pot, a little extra protection now can help it make it to spring.
But if there’s one clematis chore you can cross off your November list, it’s cutting the entire plant back. Some clematis varieties bloom on stems that grew this past season, and cutting those stems down now can take next year’s flowers with them.
Clean Up The Base Of The Plant
You can make a clematis look tidier in November without cutting it down. Start by picking up fallen leaves and loose debris around the base. It’s much easier to do this before everything gets wet and matted under the snow.
Take a moment to look at the stems where they come out of the ground. Clematis vines can snap easily, especially if you pull on old leaves that are still attached. If a leaf or a bit of tangled growth doesn’t come away easily, leave it for spring. You can trim off a dangling piece of broken vine with clean pruners if it’s whipping around in the wind.

If the plant had stems that blackened and collapsed during the growing season, collect any suspect leaves or stem pieces you find around the base and dispose of them with the trash. Keep that material out of your home compost pile.
A vine that simply turned brown as the weather cooled is doing what you’d expect from a deciduous clematis in late fall.
Mulch The Roots Before The Ground Freezes
A layer of mulch in November is especially helpful for clematis planted this year. A young plant has had less time to establish its roots, and repeated freezing and thawing can lift the soil around it.
Mulch slows those swings in soil temperature and helps hold moisture when the weather turns cold and dry.
Once the soil has cooled, spread about two to three inches of shredded leaves, shredded bark, or other loose organic mulch over the root area. If mulch is already in place, check its depth before adding more. You may only need to fill in a few thin spots.
Keep the mulch a couple of inches back from the stems. You want to cover the soil around the plant while leaving the crown, where the stems emerge, clear of damp material. Shredded leaves work well because they’re easier to spread around the base and less likely to pack into a soggy mat than whole leaves.
Listen To Our Garden Podcast Below

Check the soil before you mulch. If it’s dry a few inches down and the ground is still unfrozen, water slowly so the moisture reaches the roots. This is especially worthwhile for clematis planted under an eave or against a wall, where a good fall rain can leave the soil surprisingly dry.
Secure Clematis Vines And Check The Trellis In November
A loose vine can take a beating in a November wind. Check for long stems hanging free and tie them gently to the trellis with soft garden ties or strips of cloth.
Leave a little room in each tie so it can hold the vine without pinching it. Older stems can be brittle, so guide them only as far as they’ll move easily.
Check the support itself, too. Push gently on the trellis to see whether it rocks or pulls away from the wall. Tightening a loose bracket or securing a wobbly stake now is easier than trying to put a trellis back up after it falls with the vines still attached. Especially if it's in mid winter!
Give Potted Clematis Extra Winter Protection
Clematis growing in containers need a little more attention in November. In the ground, the surrounding soil insulates the roots. In a pot, the root ball can freeze from the sides as well as from the top, especially if it’s sitting on an exposed deck or patio.

In a cold-winter climate, one option is to move a dormant potted clematis into an unheated garage or shed that stays cold and offers some protection from severe freezes.
Check the potting mix periodically and give it a little water if it’s getting dry and the mix is thawed. The goal is to keep the root ball from drying out completely. Make sure the container can drain after you water it.
If the pot is too heavy to move, you can insulate the sides. You can do this with bags of dry leaves. Next, mulch the surface, keeping the stems clear.
If you have a spot with good drainage and the soil is still workable, you can also sink the pot into the ground up to its rim for winter. That gives the roots the benefit of the surrounding soil.
Save The Fertilizer For Spring
Skip all fertilizing of clematis in November. As clematis goes dormant, it needs less water and takes up fewer nutrients. A fall feeding has little immediate benefit, and can actually hurt the plant by forcing unwanted late growth.
Instead, early spring is the best time of all for fertilizing clematis. See our article: The Secret To Fertilizing Clematis In Early Spring - Get Bigger & Better Blooms This Year!
In spring, pull back any matted mulch, check the stems for swelling buds, and prune according to your plant’s group. Once growth is underway, you can add a light top-dressing of compost around the root zone if the soil needs it.
The Simple Garden Life
Follow Our Facebook Page For Even More Great Tips! Simple Garden Life Facebook Page
Simple Garden Life is a website dedicated to keeping gardening fun, simple and enjoyable! We publish two new articles each week along with a new garden podcast episode every two weeks. This article may contain affiliate links.