When you don’t have the space, resources or time to deal with traditional composting methods, hole composting is the perfect alternative!
With traditional composting, you need a dedicated space on your property that is usually at least a few feet wide in all directions. That can be a lot of real estate when you are limited on yard space.
In addition, some communities or home associations won’t even allow home compost piles within city limits for various different reasons. Maybe you are concerned with attracting hungry critters to backyards or the possible stench of using the wrong materials with compost piles.
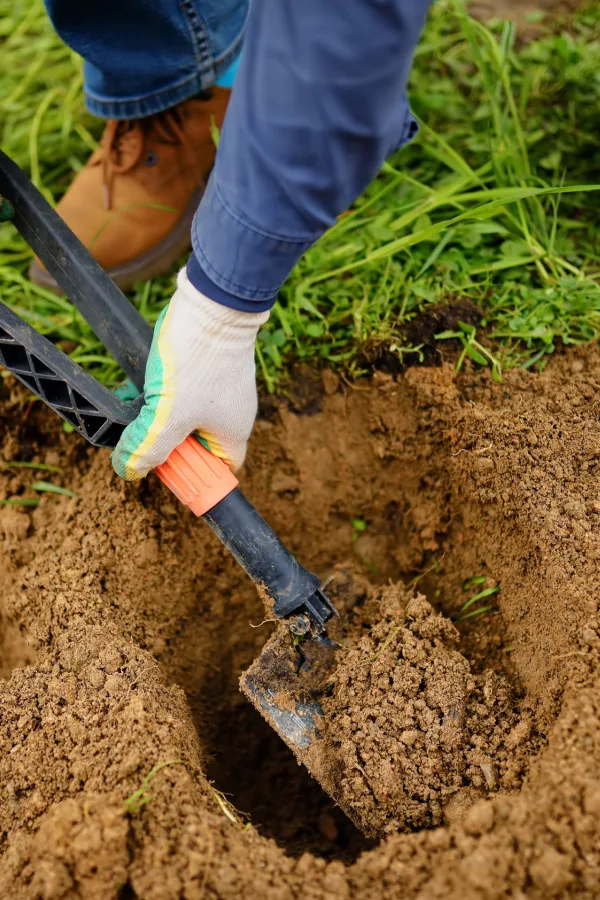
No matter the reason, you can still compost as long as you can dig in your soil. Hole or trench composting takes the main concepts of composting and puts it directly in the ground – literally!
All you need are a few kitchen scraps, a shovel or trowel, and a little bit of time. It’s a great way to reduce the amount of trash in landfills and improve your soil at the same time!
Composting Benefits
When you are an avid gardener, it’s no secret that the biggest key to a fruitful growing season starts with having rich, nutrient-dense soil that is packed with organic matter. The way to achieve this amazing “black gold” soil is by creating and adding compost.
Compost is essentially the organic matter that is left behind from the process of different materials breaking down. Whether you use a traditional compost pile or a hole composting method, the materials and overall goal are the same.
When you compost in holes or trenches, you are allowing the materials to decompose right there in your garden, raised bed, or any dedicated space on your property. All of those nutrients and organic matter seep right into your soil. This helps to power your plants without all of the (minor) hassles of traditional composting.
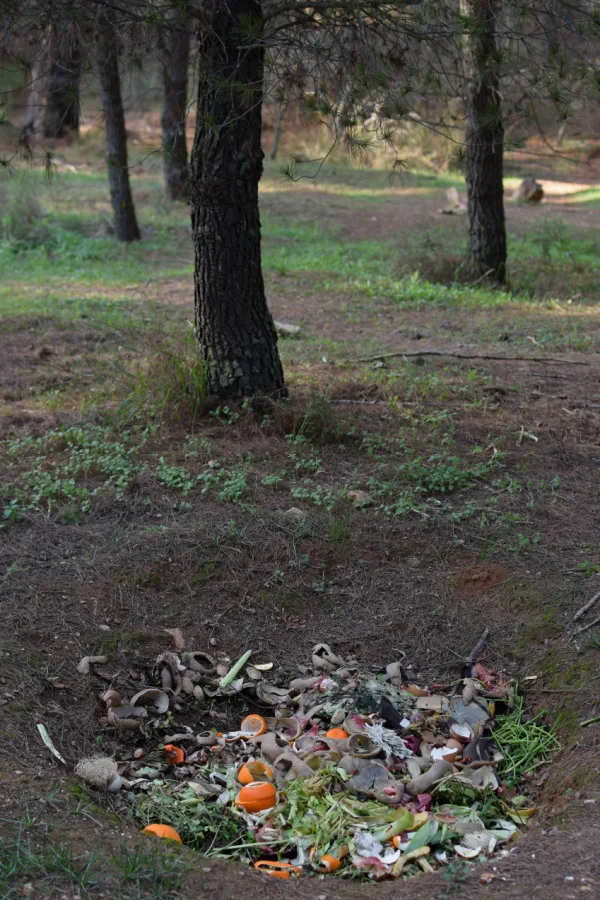
In addition with hole composting, you will be able to compost smaller amounts of materials at a time. There are also no worries about needing to turn the materials, adding the right amount of moisture, or even the unfortunate stench of decaying materials. (Please Note: A traditional compost pile shouldn’t have a rotten stench either, but you can read more about that HERE.)
How To Do Hole Composting
There are a few different methods and ways of doing hole composting. Some of these methods will depend on the space available for digging. It will also depend on your garden setup, when you are planning on doing the composting, and your location.
Your Climate
One thing to keep in mind is the time of year you plan on composting. Hole composting can look different depending on what your winter climate is like.
If you live in a location with mild winters, you can compost and work the soil at any point. However, if you live in a location where your soil freezes in the winter, hole composting won’t be possible. At least not right away.
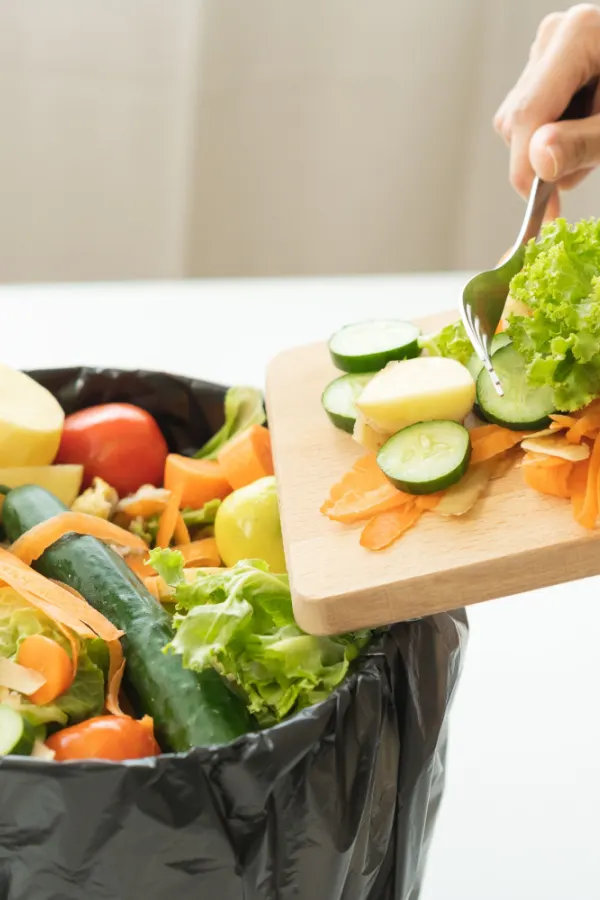
Just because your ground is frozen though doesn’t mean that you can’t still compost. The best thing you can do is gather up a few inexpensive 5-gallon buckets that have snap-on lids. Keep one of them in your garage or in an easily accessible location near your kitchen area.
As you go to prepare your meal, simply toss those kitchen discards into the bucket and close the lid tight. Once you get a full bucket, move it outside. The colder temperatures will prevent it from smelling or rotting too quickly. When the ground thaws out enough for digging, you can then empty those pre-filled buckets into the holes.
Another option for locations with cold winters is to dig your holes or trenches ahead of time. Do this when the ground is still workable in the fall. Simply cover the holes with a thick board and a few cement blocks. As your bucket fills up, dump the materials into the hole and cover it again. Add your soil to the top as soon as the weather warms some.
The “Dig As You Go” Hole Composting Method
One of the easiest methods of hole composting is to dig as you go. Once again, use your 5-gallon buckets to gather your compostable materials, keeping them in your garage or back porch. Once you have a bucket full of kitchen scraps, egg shells, coffee grounds, etc., it’s time to dig that hole.
Choose any location on your property to dig your hole. During the offseason, a location where you plan to grow vegetables or plants in the following spring is a great choice. Dig a hole that is about a foot deep and wide enough to allow you to dump the contents of your bucket. Allow about 6 inches to spare on top for covering with dirt.
Then, simply dump your compostable materials into the hole. Finish by adding back 6 or so inches of soil on top and tamping down. Keeping the items this deep in the ground allows the materials to still get warm enough to break down while hopefully keeping scent-conscious animals from investigating and digging around for a snack.
Side Dressing Hole Composting Method
You can still do hole composting during the active growing season, too. It’s a great way to slowly fertilize your growing plants all while adding organic matter to the soil.
To side-dress existing plants, dig your holes or trenches away from the roots of the plant. You want to be as careful as possible to not damage any established roots.
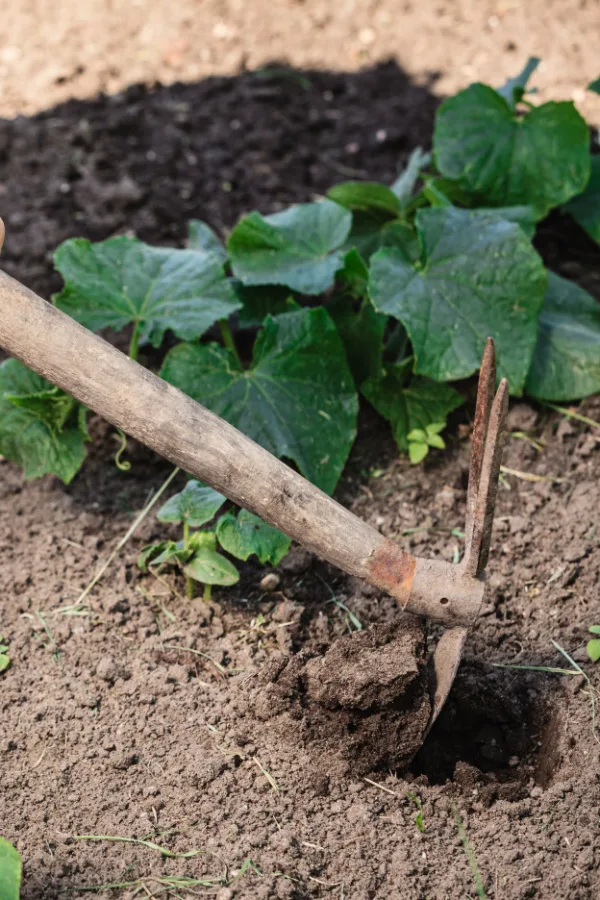
Bury the compostable materials the same way you would above, only adding a small amount at a time. As the materials break down, they will help to feed and power the already growing plants. And, all without you doing any additional work!
Hole Composting Rotation
If you have the luxury of having an empty space when doing your crop rotation from year to year, consider using that spot as your hole composting location. Whether that is a full raised bed or simply an empty growing row that you don’t have plants or seeds going in for a few months, use the space for your hole composting.
Use the same technique that you would use for the above “Dig As You Go” method, only use this one dedicated space. Having a dedicated space for an entire year is a great way to compost larger quantities of materials all at once.
For example, maybe you have just cleaned out some of your early spring crops with the intention of giving that space a break for the remainder of summer. Use this area to add all of those grass clippings, newspapers, shredded leaves, garden scraps, etc. at once.
Or, mark off sections and fill each one up as you gather enough kitchen scraps. When next year comes around, the materials should be broken down and turned into wonderful organic matter and nutrients to power your plants.
Materials For Hole Composting
Just like with traditional composting, there are items that work better than others when it comes to being able to be properly broken down in a reasonable amount of time. Always remember too that the smaller the pieces are when added to your holes or trenches, the quicker they will be able to decompose.
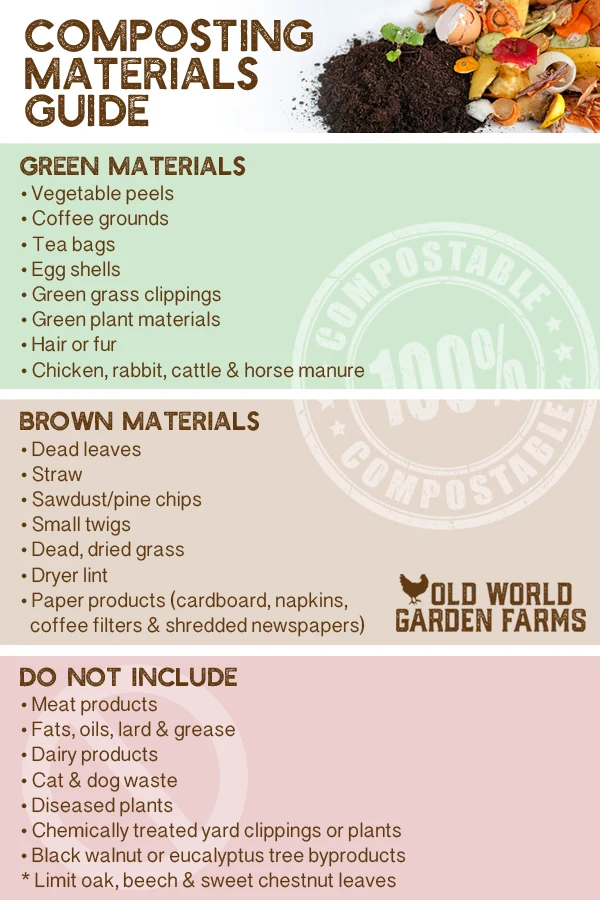
What To Include
Kitchen scraps are one of the best types of items to include for hole composting. Items like vegetable peels, fruit cores, bread heels, coffee grounds, and crushed egg shells are all excellent examples.
Lawn waste like grass clippings, shredded leaves, straw, green plant material, sawdust, and wood chips are also perfect additions. Even torn up newspapers, old tissues, coffee filters, tea bags, and farm animal droppings can all go in.
What NOT To Include
Avoid using items like pet or human waste, any types of seeds or seed heads, large branches or sticks, magazine pages, and diseased plant matter. Also, err on the side of caution and don’t add cooking oils, meats, and dairy products as well.
With a little bit of patience and some minimal digging, you can still create that amazing black gold by hole composting – No large piles or weekly maintenance needed!
Follow Our Facebook Page For Even More Great Tips! Simple Garden Life Facebook Page
Simple Garden Life is a website dedicated to keeping gardening fun, simple and enjoyable! We publish two new articles each week along with a new garden podcast episode every two weeks. This article may contain affiliate links.
