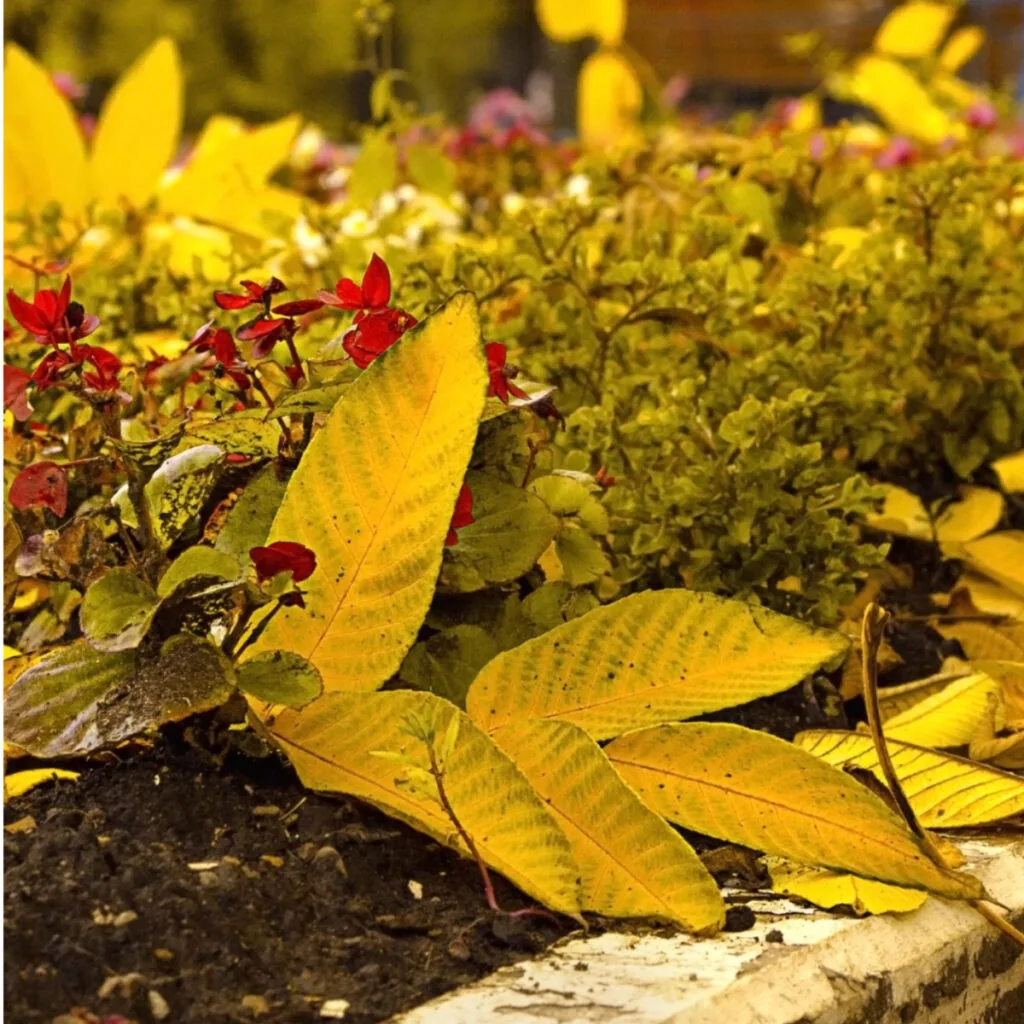
When you clean out and properly mulch your flowerbeds in the fall – you can all but eliminate next year’s weeds now – and in the process, set the stage for incredibly productive, low maintenance flowerbeds that can be the envy of your neighborhood!
If there is one common mistake that many gardeners make in their flowerbeds, it is failing to give their beds the same attention in the fall that they do in early spring. But believe it or not, fall care can actually be even more important than spring care. Especially when it comes to eliminating weeds for next spring and summer.
Although mulching flowerbeds in the spring is an annual ritual for gardeners, it is in the fall when it can truly work wonders for your bed spaces. Not only to protect plants for winter, but more importantly, keep bed spaces safe from weeds and weed seeds.

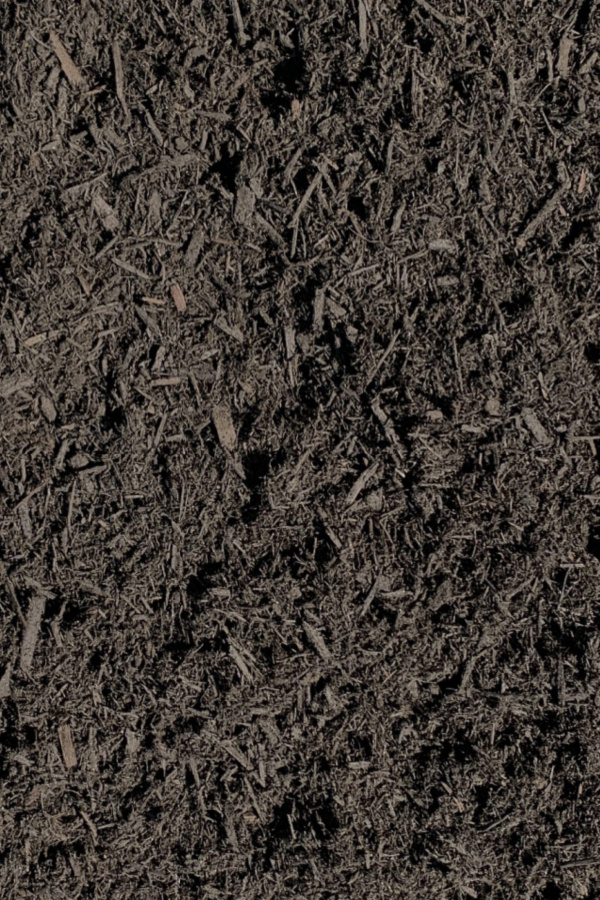
By the time fall rolls around, most flowerbeds lack the thickness of mulch they need to protect plants and stop weeds. Good mulch, as it should, breaks down over time. As it does, it provides valuable nutrients back to the soil. But if it’s not replaced – trouble looms.
To be effective, mulch should be a minimum of four inches thick, with six inches being ideal. At this depth, weed seeds that blow in can’t work down to find soil to germinate. That thickness also helps snuff out any seeds that may be in the soil below, not giving them the light they need to germinate.
Why Fall Mulching Is A Must – How To Clean Out & Mulch Fall Flowerbeds
Unfortunately, by fall, most of any spring mulch put down is all but gone. And all of that barely covered soil creates an easy path for weeds and weed seeds to take hold. Even worse, it is in the fall when nearly every plant growing begins to produce large amounts of seed.
They do this in order to survive and carry on their species. Sunflowers slowly mature their giant seed heads. Coneflower, black-eyed Susan and daises all turn their spent blooms to seed as well. And yes, unfortunately, weeds also do the same!

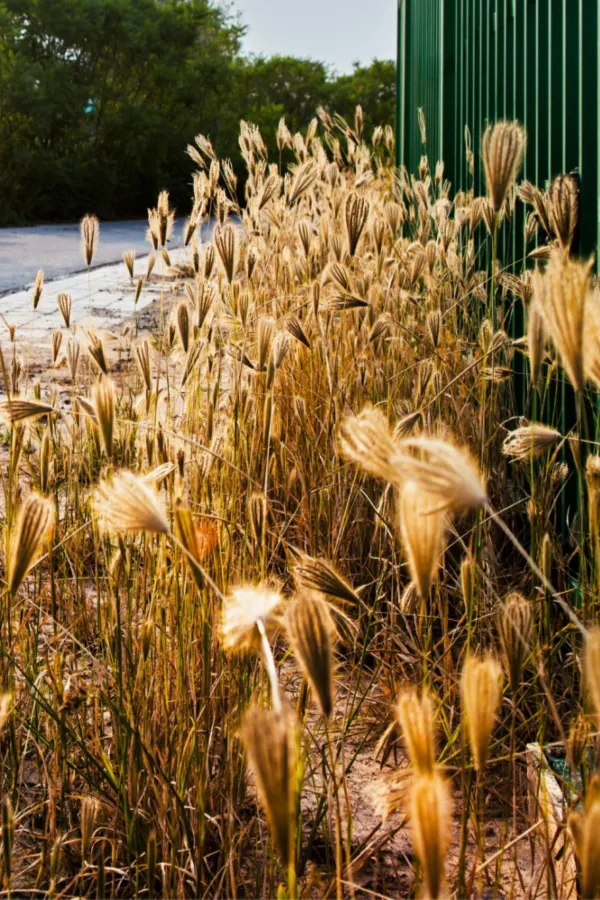
If left bare or barely covered, the soil in flowerbeds becomes an easy target in the fall. When warm enough, weed seeds can blow in, germinate, and take hold right away. But for most weed seeds, they simply find a home in the dirt to hide out until next spring. There, they safely overwinter to become next year’s weeding nightmare for you!
The good news is that by simply applying a thick fall coating of mulch, you can stop the cycle. But as you will see, how and when you apply it is vital for stopping weeds for good!
How To Clean Out & Mulch Fall Flowerbeds – 3 Simple Steps To Weed Free Success
#1 Cleaning Out Flowerbeds In The Fall
The first order of business in fall flowerbeds is to clean up your beds. Allowing plants to remain “as is” through the fall and winter can bring huge problems to your beds.
As mentioned above, annuals, perennials and weeds all form seed heads late in the season. And allowing any of these to remain means having thousands upon thousands of seeds dropping into your beds. And although a few volunteer plants and flowers might seem nice, having hundreds to weed out is not.
In addition to dropping seeds, allowing the foliage of annuals and herbaceous perennials to remain is an issue as well. Herbaceous perennials are perennials that die back to the ground completely each year. Not only is leaving all of that decaying plant matter unsightly, it can also harbor pests and disease too.
Dying plant matter is an open buffet for a long list of insects. It gives them both a source of food and cover, allowing them to build their populations, lay eggs in the soil, and then come back in even greater numbers next year to attack your plants.
All of that decaying foliage is also the perfect spot for mildew, mold and disease to fins a home as well. That is exactly why clearing it out is a must!
Clearing & Cutting Back – How To Mulch Fall Flowerbeds
Begin by pulling out any annuals. It is bets to pull them out entirely, roots and all. This plant matter is great for the compost pile, but make sure to first cut off and discard the seed heads.
Listen In To Our Podcast On How To Eliminate Weeds In Flowerbeds Below!
Next, cut back any perennials that die back to the ground. This includes hostas, daylilies, black-eyed Susan, coral bell and many other common herbaceous perennials. Again, remove any seed heads first, but put the rest of the dying foliage into your compost bin.
Before mulching, now is the time to dig up and divide any overgrown perennials. By doing so in the fall, plants such as daylilies and hostas have a chance to establish new roots in the soil. This means that come next spring – they will be ready to grow right from the start. (See: How To Divide Hostas In The Fall)
Mulching For Success – How To Clean Out & Mulch Fall Flowerbeds
Once all of your beds have been cleared out and cleaned up – and you have divided and transplanted any overgrown plants, it’s time to mulch! See: How To Divide Your Perennials In The Fall – Create More Plants For Free!
Don’t Disturb The Existing Mulch
It is often at this point when many gardeners make another critical mistake in their fall flowerbeds. And that mistake? Raking or turning over the mulch that is already in their beds!
Some gardeners like to do this to freshen the old layer of mulch up. Others stir the old mulch in place of putting down a new layer of mulch. Unfortunately, both of these scenarios only create more weeds. And a lot more of them!
Turning the mulch in your flowerbeds at any time is never a good idea. When mulch is turned, all of the weed seeds that have been lying harmlessly on top can easily make their way to the soil. And once there, they germinate!
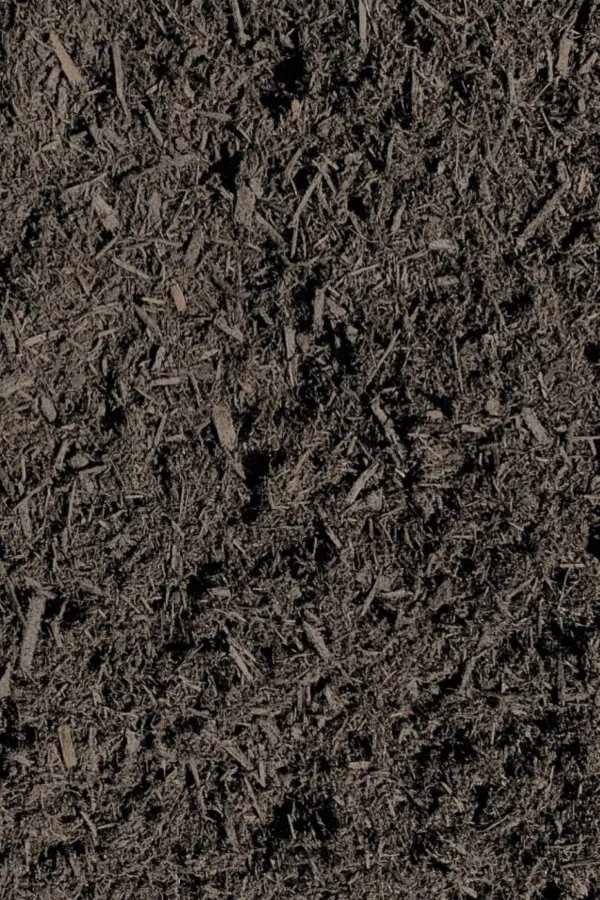
When working in your flowerbeds, always try to disturb the layer of mulch as little as possible. And when you put new mulch on – simply put it right over the top and let it be. This one little step can save you hours upon hours of weeding this fall – and all of next year!
Finally, don’t skimp on the mulch. Top off your mulch so that you have a good four to six inches of weed fighting protection all fall and winter long.
For more simple tips and tricks to getting your flowerbeds ready for the upcoming winter season, be sure to read our article How To Prepare Flowerbeds For Winter – 3 Must Do Chores For Great Beds Next Year!
Here is to cleaning up your flowerbeds this fall, and to mulching them to stop next year’s weeds now!
Follow Our Facebook Page For Even More Great Tips! Simple Garden Life Facebook Page
Simple Garden Life is a website dedicated to keeping gardening fun, simple and enjoyable! We publish two new articles each week along with a new garden podcast episode every two weeks. This article may contain affiliate links.