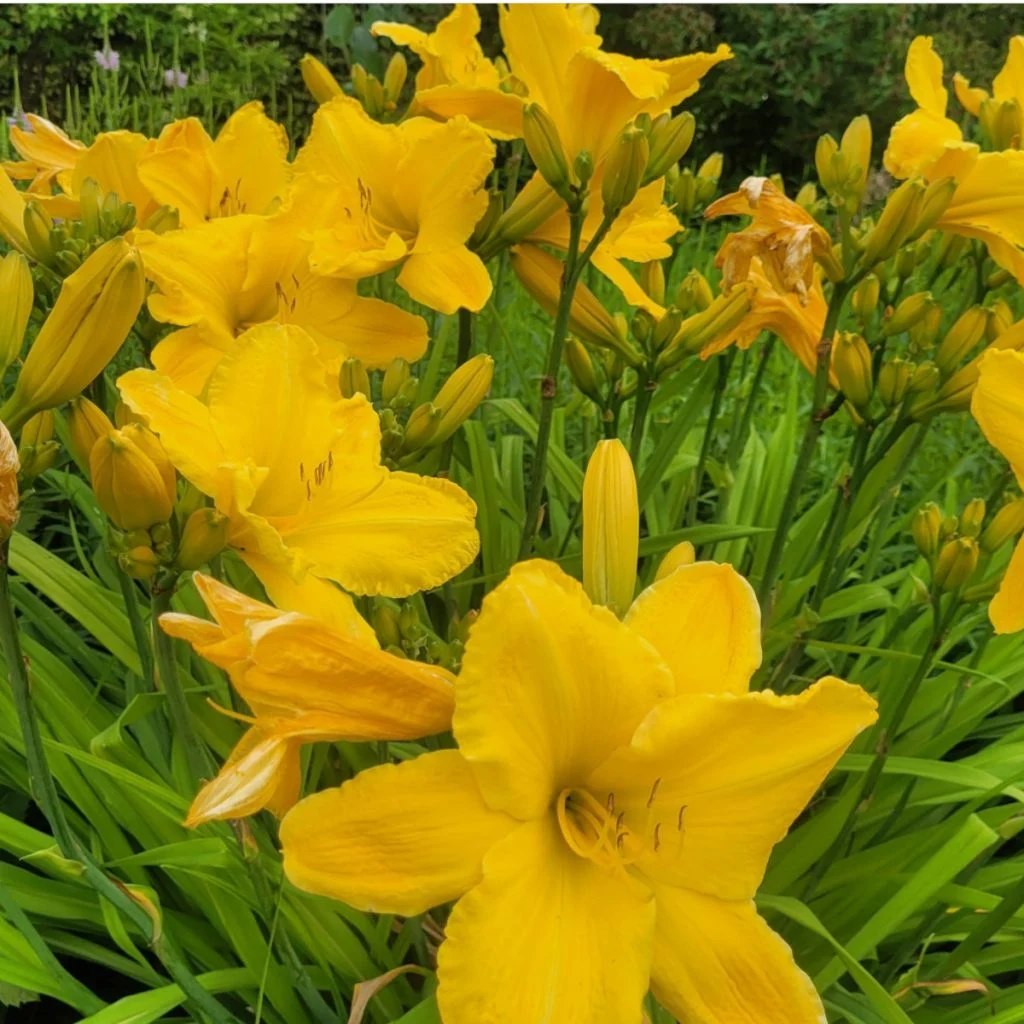
Did you know that by performing just two simple tasks to your daylilies in the fall, you can set them up for bigger blooms next spring and summer?
As it turns out, fall is actually the perfect time to provide a little care for the daylilies growing in your flowerbeds. As the cooler autumn temperatures settle in, a little bit of work now with your daylilies will pay big dividends for your plants next year – and beyond.
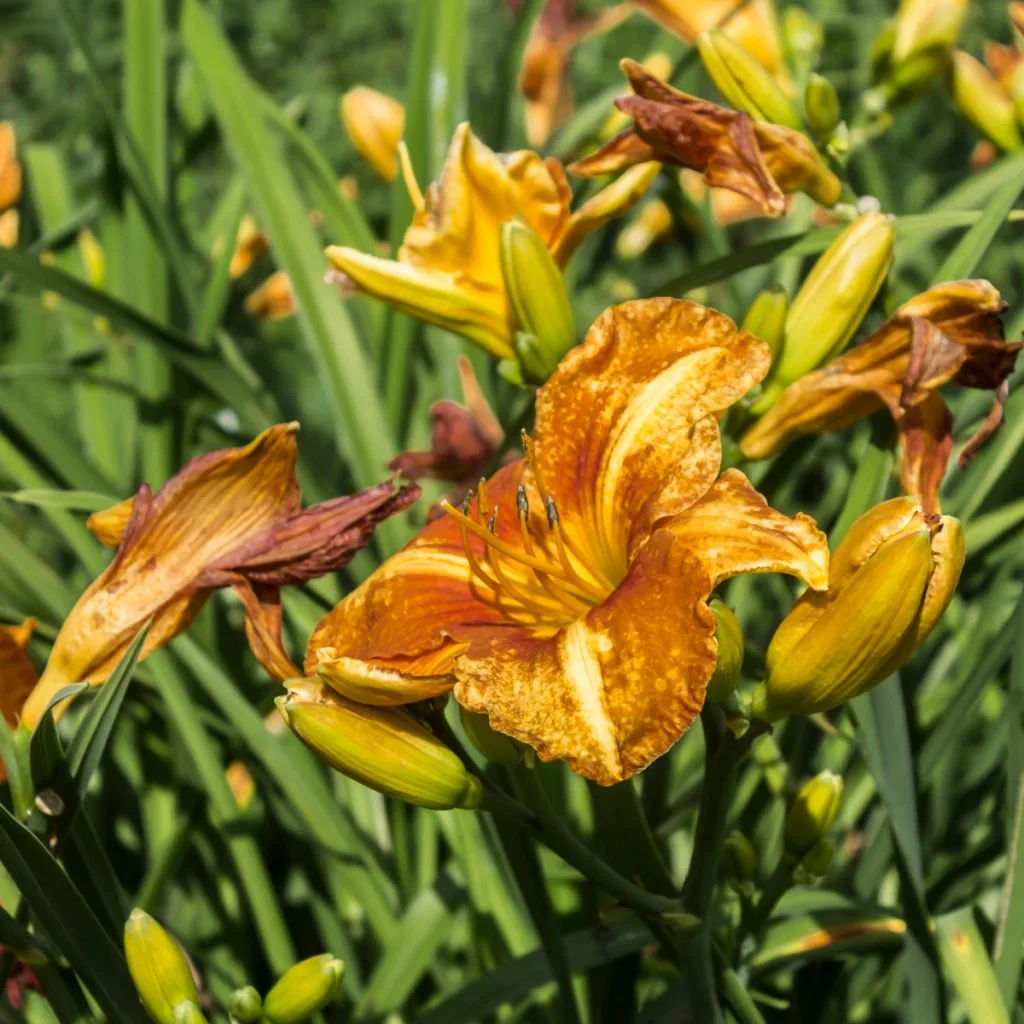
One thing is for sure, as fall arrives in earnest, even the mighty daylily begins to show a little wear and tear. After performing and blooming strong throughout the spring and summer months, its foliage begins to slowly fade.

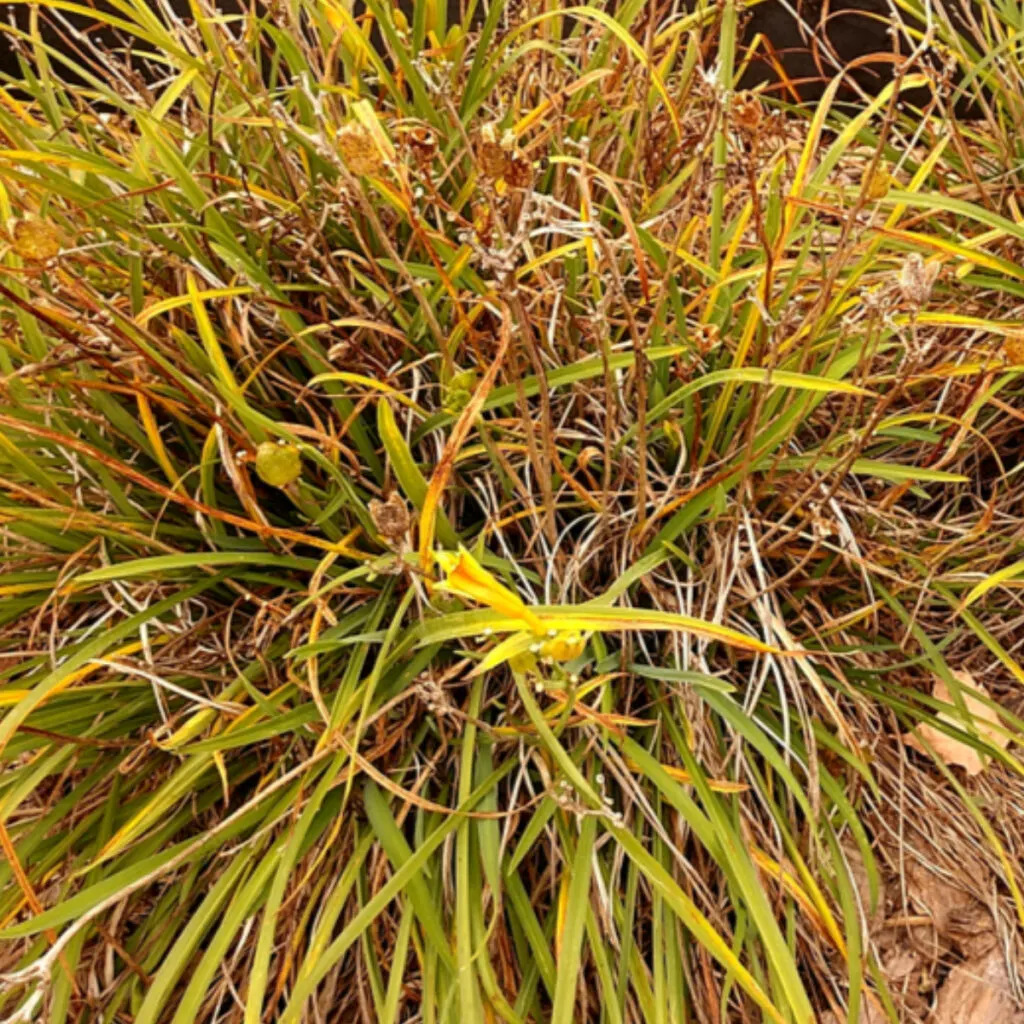
The once green and bright, the plant’s grass-like blades begin to brown off more and more with each passing day. In addition, its blooms dwindle as well – and instead of producing additional flowers, the stems begin to form seed heads that are anything but attractive.
It’s at this point that gardeners need to give a little care for their daylilies before winter arrives. The good news? It couldn’t be easier!
Fall daylily care isn’t difficult or time consuming. But it is important. In fact, not only can the proper care in the fall prepare them for the upcoming winter ahead, it can also help to keep your plants strong and healthy.
What To Do With Daylilies In The Fall – Fall Daylily Care
#1 Cutting Back Daylilies In The Fall
One of the best things you can do for daylilies late in the growing season is to cut them back. Not only will cutting back the dying foliage help clear out and tidy up your landscape in the fall, it can also help keep pests and disease from finding a home in your flowerbeds.
Foliage and old blooms that slowly decay and remain in place make excellent cover for pests. Not only does it provide a food source, the dying plant matter gives them a place to hide and lay eggs. Those eggs can then overwinter – and hatch next year to then feed on your flowers.

That same dying and decaying foliage is also a perfect place for mold, mildew and disease to find a home as well. And that is exactly why removing it as it fails can help both your daylilies and surrounding plants.
Finally, and equally important, allowing the seed heads and dying foliage to remain means that the plant wastes energy on developing those seeds. Energy that could be saved to help promote stronger root growth – and propel more blooms next season!
How To Cut Plants Back
Cutting back daylilies in the fall is quick, simple and straightforward. As soon as the plants begin to brown off, simply take a sharp pair of hand-held hedge trimmers and slice the foliage and stems back to an inch or two above the soil line. Affiliate Product Link : Fiskars Hedge Trimmers
Allowing a few inches to remain has several advantages. First, a few inches of plant matter helps protect the root zone underneath for winter. Especially when you apply a few inches of mulch around and over the top of the leftover foliage.
Leaving a bit of foliage above the soil also allows you to know where your plants are located. That can be helpful in the fall or early spring if you happen to be transplanting or planting other flowers into your bed spaces. As for the foliage and stems you cut off – they make for an excellent addition to compost bins.

#2 Dividing & Transplanting Overgrown Daylilies
The second fall task is taking care of any daylilies that have grown too big.
Cutting back your daylilies in the fall makes it incredibly easy to divide and transplant daylilies that have become too big for their space. And dividing and transplanting in the fall versus doing so in the spring or summer months has a few very important built-in advantages for your plants.
Although daylilies can be cut back at any point of the growing season without worry – doing so in the fall gives them the chance to still bloom strong the following growing season.
Unfortunately, dividing the flowering perennials in the spring or summer often means sacrificing same season blooms. This is because the plant simply burns too much energy on regrowing. And when it does, there is not enough left to produce new flowers.
But by dividing in the fall, the plant is able to establish new roots in the soil before winter. Then, when spring arrives, it takes off with gusto – with plenty of power to produce blooms right away.

How To Divide & Transplant
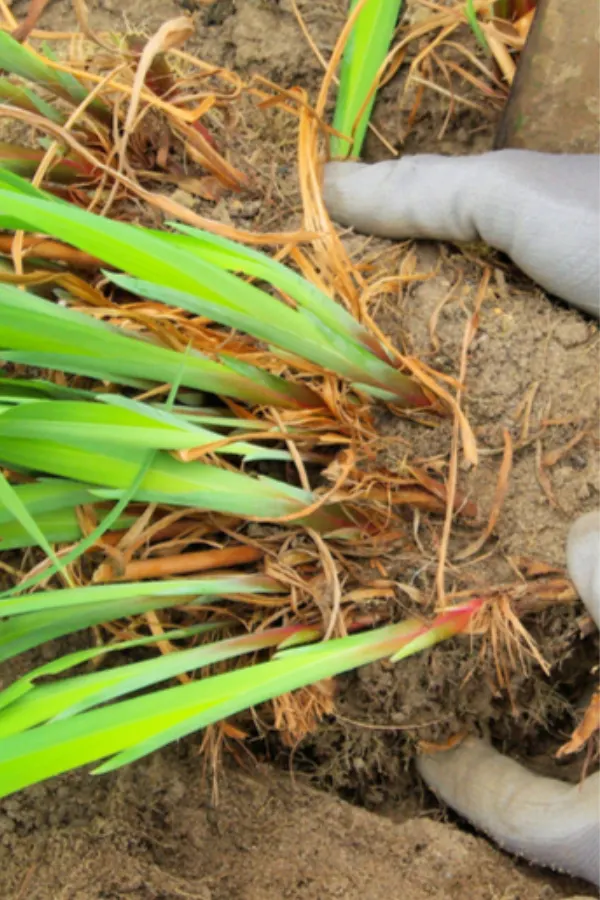
Once plants have been cut back, simply dig around the plant’s perimeter with a sharp shovel. Next, take your shovel a bit deeper and lift. Daylilies, unless they are extremely old and large, have fairly shallow roots. This makes them pop from the ground quite easily.
Once out of the ground, turn the plant over to the root side. Doing this makes it easier to cut equal transplant section from the existing plant. To divide, take a garden knife or shovel and slice down through the roots. No need to worry about damaging roots – daylilies are tough and survive with ease.
All that is left is to plant the transplants back into the soil. Dig planting holes an or two deeper than the root section. Fill the bottom of your planting hole with compost and then place the plant in so that the crown of the roots are just below the surrounding soil surface. Fill in around the plant – water – and you are all set!
Fertilizing Daylilies
The one thing you do not want to do with your daylilies in the fall is give them additional power in the form of fertilizer. Beyond putting a bit of compost in the planting holes of new transplants, or placing a little compost mulch around existing plants, it’s best to not give daylilies any extra energy in the fall.

Late fertilizing promotes unwanted late growth. And that growth can drain energy from the root structure, leaving it more vulnerable to winter damage.
So why doesn’t compost harm daylilies in the fall? Although compost is full of nutrients and energy, it releases slowly and gently over time. Slow enough that the energy really doesn’t soak into plants until the following spring as it comes out of dormancy. Which, as it turns out, is perfect for getting daylilies off to a great start!
Here is to taking time out this fall to give a little care to your daylilies before winter. And, of course, to getting them ready to bloom big and bright all next spring and summer! For more fall plant care information, be sure to check out our article on: How To Prepare Peony Bushes In The Fall For Winter – 3 Must Do Chores!
Simple Garden Life
Follow Our Facebook Page For Even More Great Tips! Simple Garden Life Facebook Page
Simple Garden Life is a website dedicated to keeping gardening fun, simple and enjoyable! We publish two new articles each week along with a new garden podcast episode every two weeks. This article may contain affiliate links.
