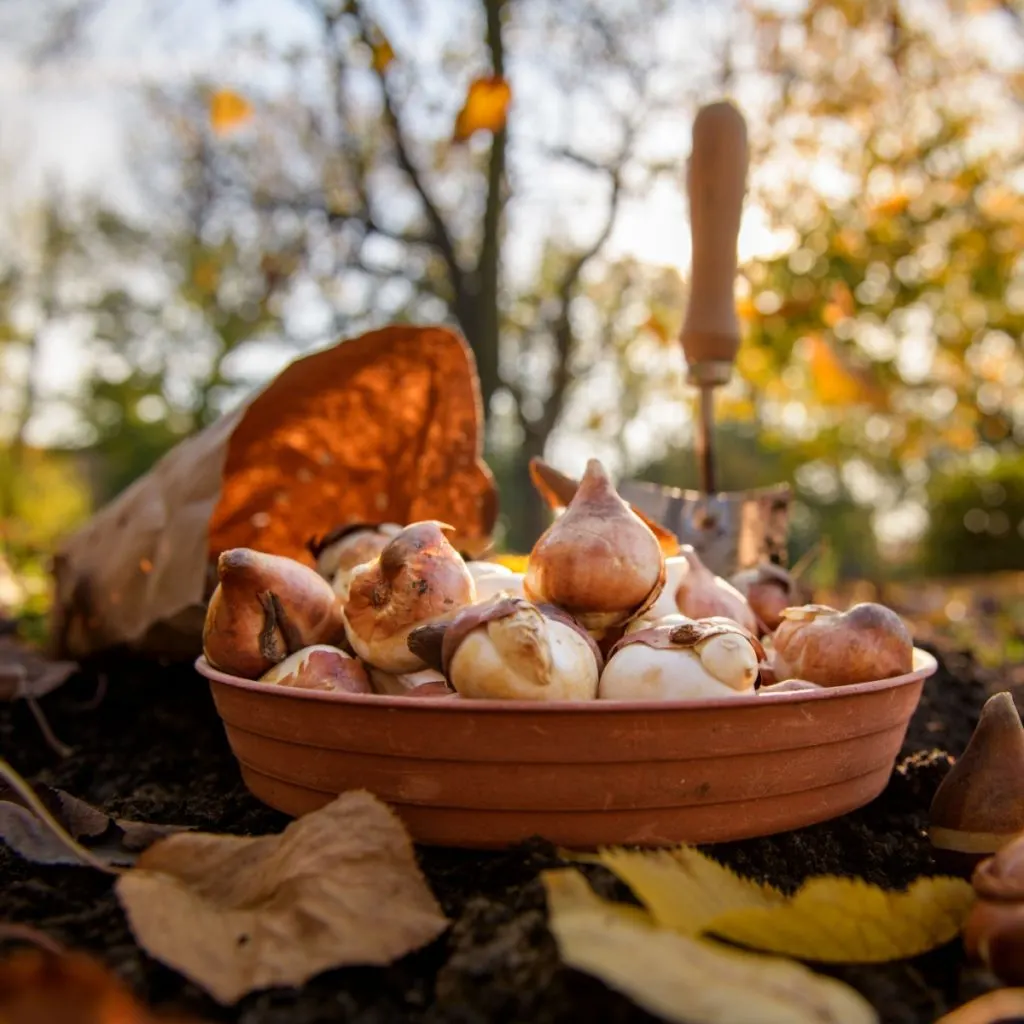
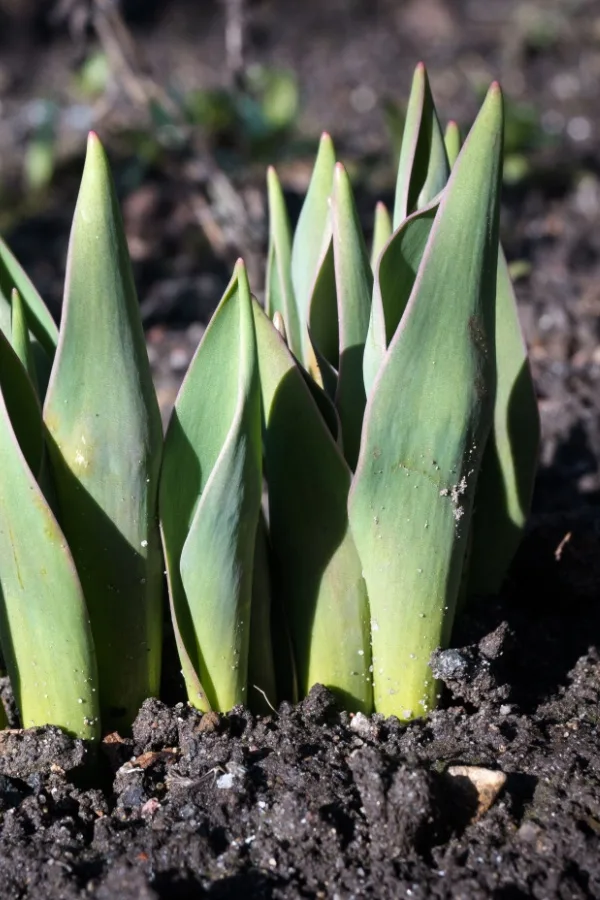
If you are looking to enjoy beautiful tulip blooms in the spring, fall is the time to get them in the ground – but how you go about planting them can be the difference between flowers that thrive – or those that struggle to even sprout!
Tulips are one of the first flowers that come up from the ground in the early spring months. One thing is for sure, with their bright bloom colors and green foliage, they are certainly a welcoming sight after a long, bleak winter. But as beautiful as tulips can be, they often frustrate many gardeners.
All too often, tulips either fail to come up in the spring, or do so with lackluster results. But here’s the good news – tulips don’t have to be frustrating! In fact, with just three simple planting secrets, you can all but ensure to have big, bright beautiful blooms in early spring – year after year!

3 Simple Secrets For Planting Tulip Bulbs In The Fall
#1 Time Your Planting Perfectly!
One of the biggest keys to success is getting tulip bulbs in the ground at just the right time. Unfortunately, planting too early in the fall can have devastating effects on your tulip bulbs – as can getting them in the ground too late!
If you plant tulips too early, they can start to prematurely sprout and grow. Early in the fall, the soil is still fairly warm and favorable to promoting new growth. And if the bulbs do sprout, the tender growth leaves the bulbs vulnerable to freezing out.
Planting too early can also lead to bulbs rotting out before winter arrives. The cooler temperatures and overly wet and damp conditions fall brings can have bulbs sitting in moist soil for too long before they go dormant, causing them to rot in the process.
Chill Hours Required – 3 Simple Secrets For Planting Tulip Bulbs In The Fall
On the flip side, if you plant the bulbs too late in the fall, you run into another big issue that can cause tulips to fail to bloom in the spring – which is not letting them get cold long enough.

Tulip bulbs require a certain amount of “chill hours” to bloom. This time frame allows the bulbs to store nutrients and energy to produce new growth in the spring. Without enough chill hours, the bulbs simply won’t have enough energy and resources to sprout, let alone push out blooms.
In the case of tulip bulbs, they require about 14 weeks with soil temperatures at or below 40º Fahrenheit. For proper planting, plant your tulip bulbs when the soil has reached a temperature of around 55º. This usually ends up being about 4 to 6 weeks before your first hard freeze.
This ideal temp is cool enough not to promote growth while still giving plants plenty of chill hours. As for checking the soil temperature, it’s easy to do using an inexpensive soil thermometer. Product Link: Urban Soil Thermometer
#2 Planting The Right Size Bulbs – 3 Simple Secrets For Planting Tulip Bulbs In The Fall
The next big secret when planting tulips is to plant the ideal type and size of bulbs! There are many different varieties and colors available as well as those with different blooming periods, but the real key is to make sure the bulbs are large enough to provide big blooms.
Be a bit particular about which individual bulbs you choose. Small, inferior bulbs will often result in plants with little blooms. Smaller bulbs also have a much higher chance of rotting after planting.

When purchasing tulip bulbs, also look for the firmest bulbs. They should not have any blemishes or soft spots. This can indicate rotting has already started or will soon. Don’t always be tempted to purchase cheap bulk packs of mixed bulbs at big box stores. They often include smaller bulbs that might not grow as well or produce strong, healthy stems.
No matter where you purchase your bulbs, always be sure to pick varieties that are specific to your location and climate. Affiliate Product Link: Rembrandt Tulip Mixture – 30 Perennial Tulip Bulbs
#3 Plant At The Proper Location & Depth – 3 Secrets For Planting Tulip Bulbs In The Fall
Last but not least, it’s vital to make sure you are planting your tulips at the right depth! Once you have your bulbs and the soil is at the right temperature, start by selecting a location that receives full sun for the best possible blooms.
Prepare the planting location by loosening up the soil where the bulbs will be. This will allow the bulbs to quickly and easily push out roots once the soil warms up.
One of the biggest keys to getting tulip bulbs to sprout quickly and easily is to plant the bulbs at the proper depth. How deep you go will vary for each bulb because it is based on each bulb’s individual size.

Getting Bulbs To The Right Depth – Planting Tulip Bulbs In The Fall
A basic rule of thumb is to create a hole that is about three to four times as deep as the bulb is wide. So a bulb that is 1 inch wide will need a hole that is three to four inches deep.
As for the width of the hole, allow for an extra half inch around the entire bulb. This allows each bulb to have plenty of room to grow when the soil warms up in the spring.
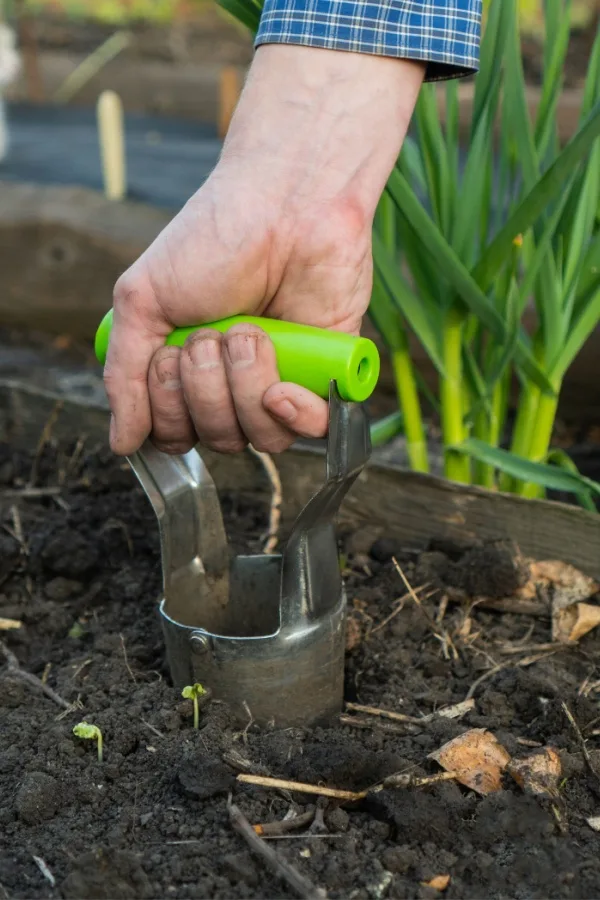
You can use a hand trowel or a bulb planter to make quick work of planting. Most of these tools will have a ruler guide printed on them. A drill with a long auger bit also works well but is a bit harder to control the depth or size. Product Link: Edward Tools Bulb Planter
Adding Compost – 3 Simple Secrets To Planting Tulips In The Fall
Once your hole is made, it’s time to add some power. You can do this by mixing equal parts of compost with the soil. The compost will work to provide the bulbs with the energy and nutrients needed for the best early growth possible.
Water the planting site well and continue to water about once a week for the first couple of weeks, then stop until spring. Top the area off with mulch for added protection. Now it’s time to sit back and await the stunning blooms that will appear once spring arrives.
And once those tulips start to fade, be sure to allow them to completely die back to store back energy for the next year’s blooms. See our article: What To Do With Tulips After They Bloom.
Simple Garden Life
Follow Our Facebook Page For Even More Great Tips! Simple Garden Life Facebook Page
Simple Garden Life is a website dedicated to keeping gardening fun, simple and enjoyable! We publish two new articles each week along with a new garden podcast episode every two weeks. This article may contain affiliate links.
