Growing sedum in the fall is the perfect way to add colorful autumn blooms to your property. Paired with other fall favorites like chrysanthemums or ornamental peppers and kale, they will warm up your landscape in preparation for winter.
Sedum is an easy-to-care-for leaf succulent that is the perfect choice for even the most novice gardener. It has the ability to grow in most conditions that other plants would struggle in.
Most varieties are able to handle very hot and dry climates as well as poor soil quality. As long as the soil is well-draining and the climate is not overly damp and humid, then sedum can thrive.
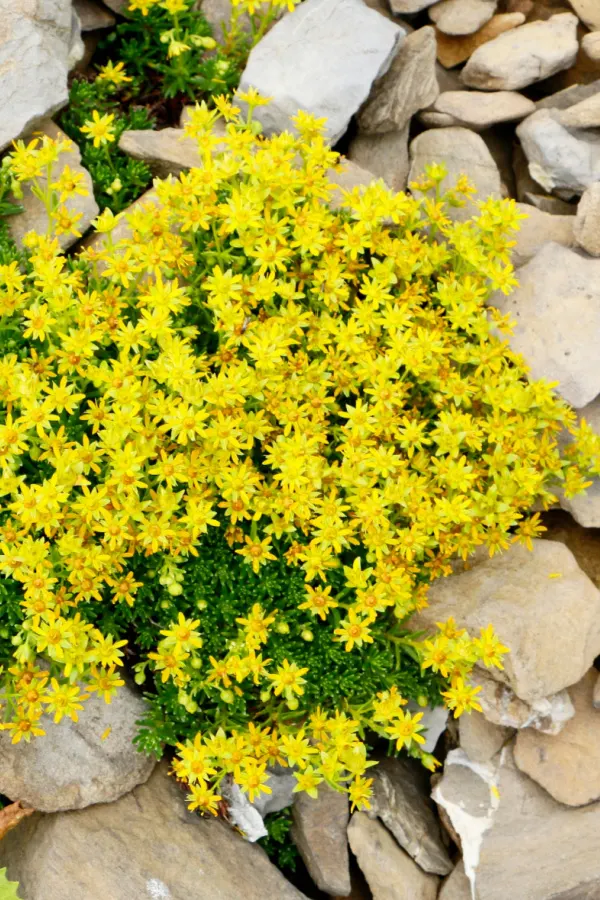
Speaking of varieties, there are so many that it’s easy to find one that would work for your specific growing location. From perennial shrubs to creeping ground covers to annuals, there’s sure to be a sedum variety just right for you!
Read below to find out why you might want to add this easy-care plant to your property and how to make sure it thrives throughout summer and during these cooler months.
3 Main Types Of Sedum
Often referred to as “stonecrop,” sedum is mainly grouped into three main categories: creeping, trailing, and tall.
Creeping or low-lying sedum varieties are a type of ground cover that tend to spread out around 3 feet. Their leaves are spiky or rounded and can be in various different colors. They produce star-shaped blooms in the summer months in oranges, pinks, yellows, or white.
Trailing sedum is typically used for containers and hanging baskets. It is also a great addition for cascading over retaining walls or other natural rock features on your property. The blooms range in color from pink, yellow, or white. This group is often clumped with creeping or low-lying sedum since they, too, bloom in the summer.
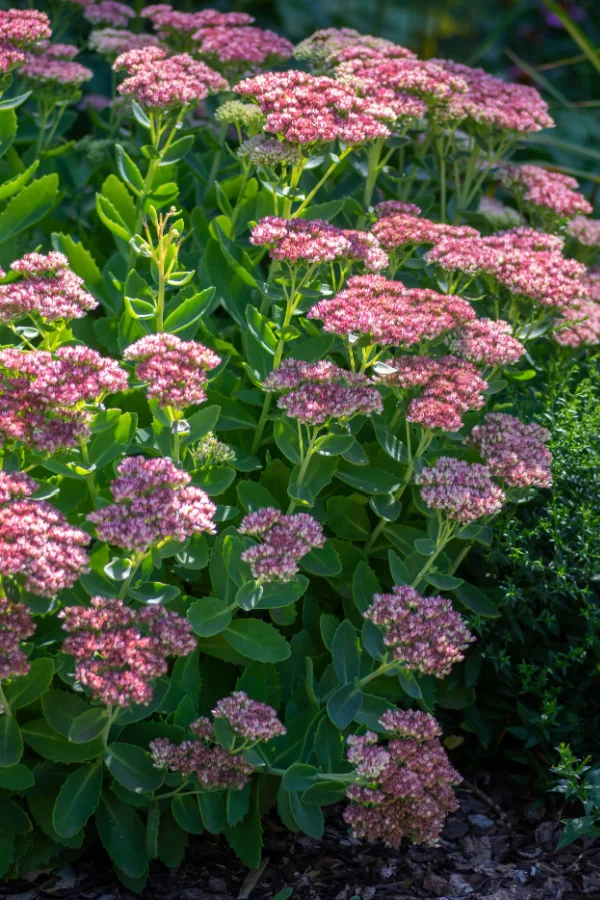
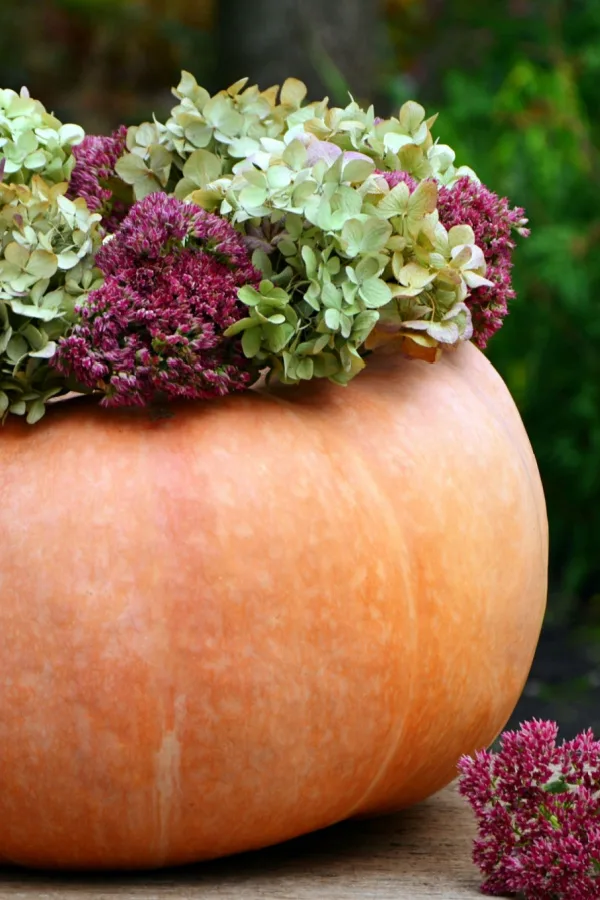
Tall or upright sedum, on the other hand, has more of an upright growth habit. They can grow up to one to two feet wide as well as tall. These varieties have thicker leaves and their blooms appear during in the fall – making them a great choice for autumn displays. The flower can be in shades of purple, pink, or white.
How To Plant, Grow, and Maintain Sedum For Spring Or Fall Blooming
Soil Requirements for Sedum
As mentioned earlier, the condition of the soil isn’t really too important with sedum. If you have heavy soil like clay, consider amending it with sand or perlite to help increase drainage. Even soils that are rocky work well as long as it can drain well. They are hardy in growing zones 3 through 10.
Avoid overly rich and nutrient-dense soils since this can cause plants to become leggy. This is especially an issue with tall sedum since the upright growth can become too top-heavy once the blooms appear in the fall.
Planting Sedum – The Beauty Of Sedum In The Fall
It is not recommended to grow sedum from seeds. Instead, you can pick up a transplant from most garden centers when spring rolls around. Or, ask around and see if a neighbor or family member has a cutting they can give you.
Planting Transplants In Containers Or The Ground
Choose a location that has at least 6 hours of sunlight each day. Some sedum varieties can still grow in partial shade, so be sure to refer back to your plant’s information tag. A lack of sunlight will result in a reduction of blooms.
Sedum will grow best when planted in the spring, even with fall-blooming varieties. Wait until the threat of frost has passed before transplanting.
Amend the soil if needed. Carefully remove the transplant and loosen the roots so they can spread out slightly. Create a hole that is slightly deeper and wider than the root ball of the transplant. Place in the ground with the top of the root ball level with the top of the soil. Backfill with soil and lightly tamp down to help remove any air pockets. Water well.
Spacings between your sedum plants will depend on the variety you are growing. Tall sedums will not spread out as much as creeping sedums will, so that is something to keep in mind.
Long-Term Care – How To Grow and Maintain Sedum
Watering
Water the transplants for the first few weeks to help them become established. Avoid any pooling or standing water since this will increase the chances of root rot.
Sedum plants store water in their thick leaves, which allows them to thrive in dry conditions. Once the plants are established, only water them in long stretches of hot weather with no rainfall. Otherwise, the regular rainfall you receive should be sufficient.
Fertilizing
Just like you don’t want to plant sedum in overly rich soil, you also don’t want to fertilize them either. Just another reason why sedum is such an easy plant to grow and maintain!
Pinching, Pruning & Deadheading – The Beauty Of Sedum In The Fall
Tall, fall-flowering sedum plants can benefit from pinching back in the spring. This lets the plant send out additional stems at the point of the separation, allowing them to grow bushier and more compact than when left alone.
Simply use your fingernails or a small pair of pruners to clip off the stems prior to plants flowering. Clip right above a set of leaves, being sure to leave several inches of stem and leaves still intact.
After Sedum is done blooming, you can prune back the plants to help maintain their shape and prevent spreading, but this isn’t a requirement for healthy plants. For perennial varieties that die back in the winter, be sure to remove any dead growth in early spring prior to blooming.
Deadheading also isn’t required. In fact, you may wish to leave tall sedum flowers in tack after blooming in the fall since they eventually turn into attractive seed heads for the winter months.
Pests & Issues
As with most plants and flowers, sedum can be susceptible to slugs, snails, mealybugs, whiteflies, and other insects. Also, be careful to avoid excess watering that can result in root rot.
Since sedum is not completely deer-resistant, consider planting it near other disliked plants like coreopsis, black-eyed susans, coneflowers, or allium.
Propagating – The Beauty Of Sedum In The Fall
Sedum is easy to propagate. You can even use those cuttings you created in the spring when you pinched back plants.
Be sure to use clean and disinfected pruners to cut off a 4 to 6-inch piece of stem from a healthy sedum plant. Remove the bottom few leaves, leaving only the top ones intact. Let the cutting sit in the shade for a few hours, creating a callous on the tip.
Place the stem into a pot filled with loose, well-draining potting soil and water well. Keep the soil moist but avoid over-saturating it.
After a couple of weeks, you should start to notice new growth happening, which lets you know that the cutting has taken root. These rooted cuttings can now be planted or transplanted using the tips mentioned above.
Companion Planting – The Beauty Of Sedum In The Fall
Play around with the heights and textures of the various sedums by pairing summer bloomers with coneflowers, black-eyed Susans, salvia, and lavender. Since the summer blooming sedum typically is shorter, use it in front of taller plants.
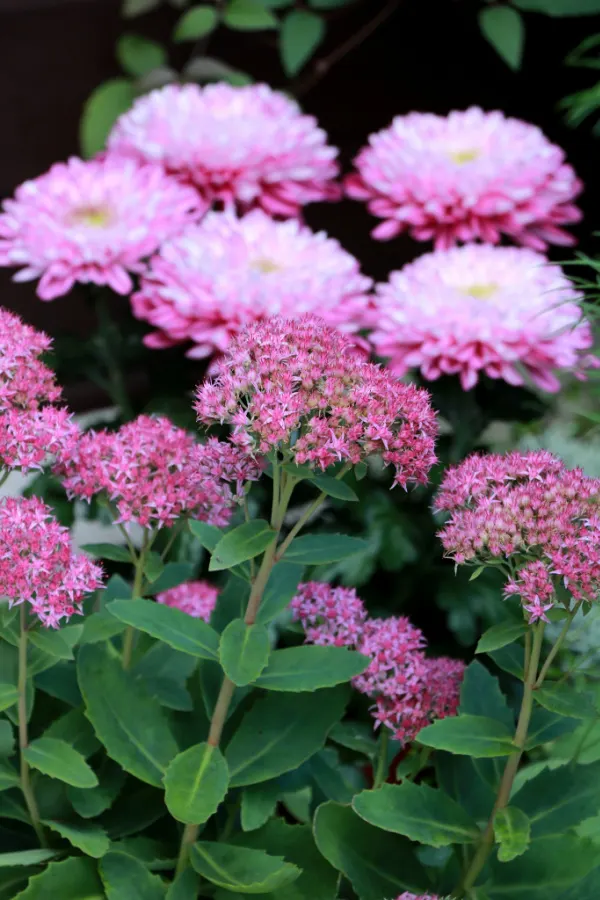
For fall sedum bloomers, pair them with purple fountain grasses, ornamental kale, hardy chrysanthemums, or other unique fall plants. They are a great choice for adding texture and color to your typical autumn favorites.
With these simple tips and suggestions, you can enjoy growing this low-maintenance flowering succulent on your property. Whether you are after summer or fall blooms, sedum has you covered! To find out what to do with sedum at the end of the fall season, see What To Do With Sedum After It Blooms – How To Care For Sedum In Late Fall!
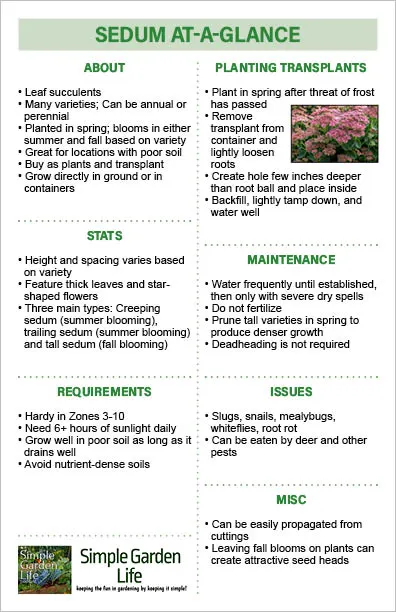
Feel free to download, print out, or save the Sedum At-A-Glance sheet (shown above). It is sized for half-letter printing but can be scaled if needed.
Follow Our Facebook Page For Even More Great Tips! Simple Garden Life Facebook Page
Simple Garden Life is a website dedicated to keeping gardening fun, simple and enjoyable! We publish two new articles each week along with a new garden podcast episode every two weeks. This article may contain affiliate links.
