This week’s podcast and corresponding article cover seven big planting day secrets that can help get your garden off to an incredible start – and have you on the way to an amazing harvest this year!
What you do prior to and during planting day will affect the health and growth of your garden more than you might think. Not only can planting right help your plant’s grow better, it can also affect how much work you will need to put into the garden later.
One thing is for sure, it doesn’t have to be overwhelming. Gardening doesn’t have to be overly complicated or stressful. In fact, the seven simple secrets below will actually help to make your gardening process run smoother – and create less work for you in the long run.
You can listen in to our complete podcast below, or read on for our full-length article. Be sure to check the resource links at the end of the article as well. They are full of great additional reads and links!
Our Seven Biggest Planting Day Secrets
Most of these tips aren’t difficult or hard to accomplish, but they will make a big difference to your garden’s success through the growing season. By following each one, you will be on your way to a healthy and wonderful gardening season this year!
#1: Start With A Plan – 7 Planting Day Secrets
Before you even purchase that first seed packet for the year, you need to start with a plan. Think about what types of crops you want to plant and why.

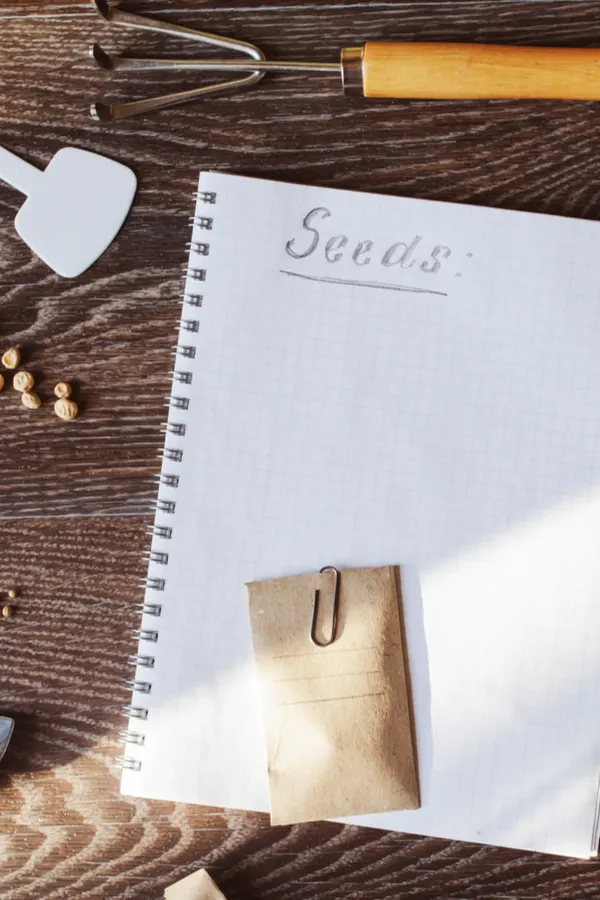
Make a list of which vegetables you or your family will really consume or plants that you just want to try growing this year. Then, research when those crops need to be planted in order to give them enough time to grow and produce fruit or vegetables.
Most crops won’t grow at the same rate and be ready for harvesting at the same time. Also, consider which vegetables you are going to plant via seeds and which you will plant as transplants. Not all plants can grow quickly enough to start out as seeds once the soil temperatures reach a certain temperature.
Those vegetables (like tomatoes and peppers) will need to be started indoors prior to your last spring frost date or purchased from local garden centers.
Crop Rotation Is Important
If you have had a garden before, you also have to consider crop rotation. Most crops shouldn’t be planted in the same location as the previous year. Draw a physical sketch to help you plan out your garden for this year.
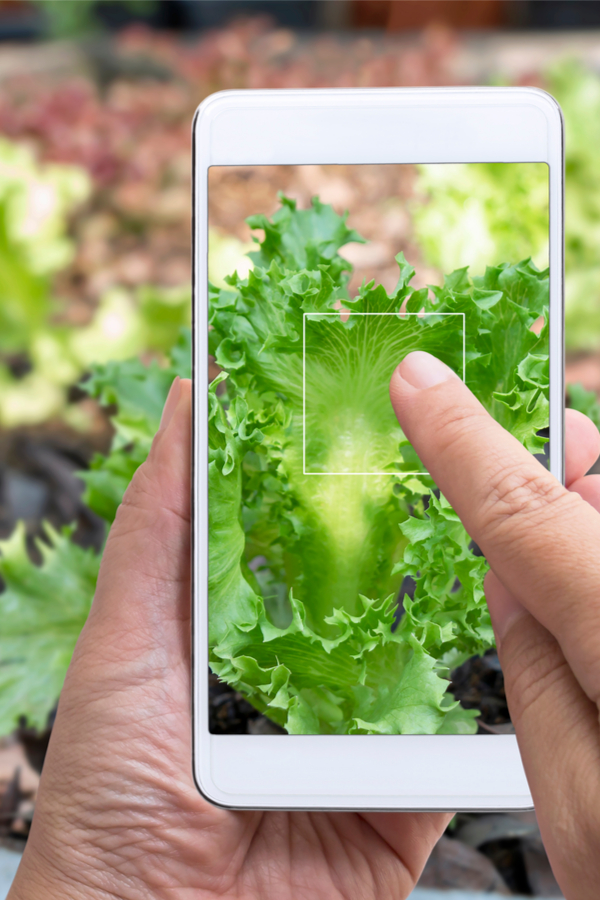
Don’t worry, no one will be grading you on your art skills! Use photos of last year’s garden to help you design and plan for this year’s garden as well. All those photos you took on your phone last year will finally pay off!

Finally, stick to your plan when it’s time to purchase seeds and plants. It can be so tempting to just add another seed packet or grab a few more varieties to try out this year while shopping. Resist the urge, and you won’t be stuck trying to fit everything in.
#2: Don’t Plant Too Early – 7 Planting Day Secrets
A lot of your gardening success will depend on when you finally do plant those crops in the ground. But be warned: DON’T PLANT TOO EARLY! We know it is tempting to want to get out there and start getting your hands dirty, but it pays to wait.
With the exception of cold weather crops like sugar snap peas, radishes, lettuce, etc., most crops won’t germinate or be able to handle colder soil temperatures.
Allowing the soil to warm up to at least 60 to 65 (F) degrees for most transplants will allow them to really take root in the soil. For seeds, it will help aid and speed up germination.


If you plant summer crops into cold soil, you are more likely going to end up with transplants that will rot off or have stunted growth. In addition, your seeds will likely start to mildew before they even get a chance to germinate.
Another good tip is to avoid purchasing your plants too early. Seeds are fine to grab several months in advance. But it can be difficult to keep transplants alive for weeks before getting them into the ground.
Even though garden centers may already be selling young plants, hold off until your soil reaches the perfect temp before purchasing.
#3: Put In Stakes, Tomato Cages, Trellises & Supports Before Planting – 7 Planting Day Secrets
Some crops are going to need staking or support throughout the entire growing season, not just when the crops get top heavy. Other plants are vining crops that need to be trained early to grow up trellises.
Tomatoes and peppers are plants that need to be staked in order to keep them off the ground and healthy. Cucumbers, vining beans, and peas need to have some sort of trellis to allow the foliage to stay off the soil and allow for better airflow.
While it might seem a little silly to have large tomato cages sitting around tiny transplants, you need to get those stakes and supports into the soil prior to planting. If you wait until the plants have taken root and are larger, it’s going to be a lot harder to get the cages around the expanding plants.
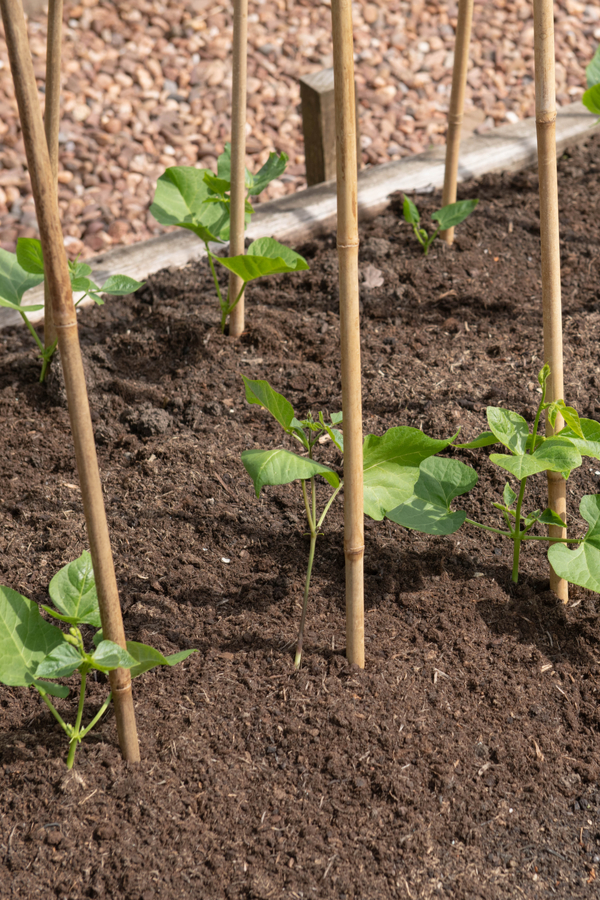
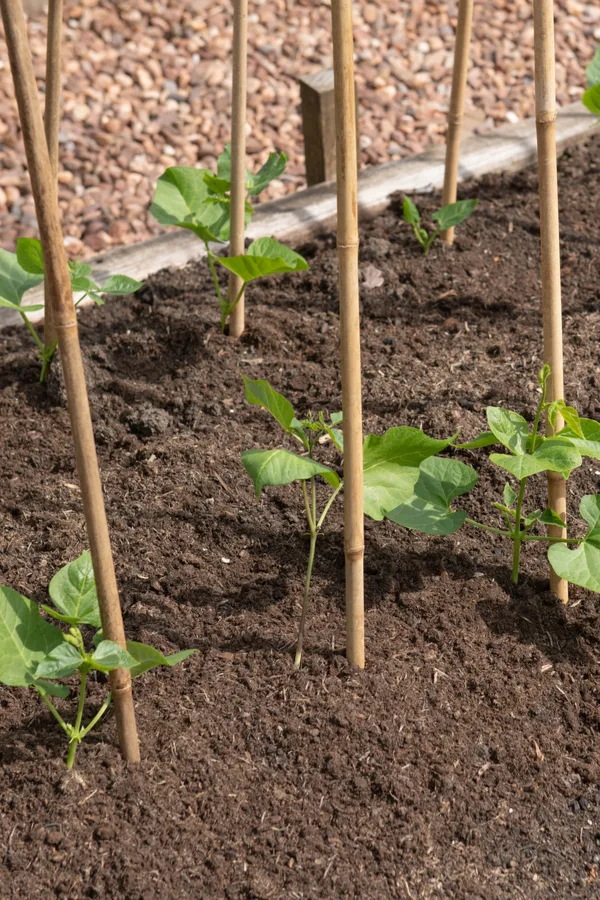
In addition, you run the risk of damaging their roots as you drive the stakes into the ground later. Young plants have very fragile root systems and foliage that can easily be broken or cut. By placing your stakes, cages, trellises, and supports into the ground prior to planting, you also reduce the amount of foot traffic that causes the surrounding soil to become compacted.
How far apart you place these supports and trellises will depend on the variety of plants you are growing. For example, large heirloom slicing tomatoes and cherry tomatoes are going to need a lot more room than smaller bush varieties like Romas and bell peppers.
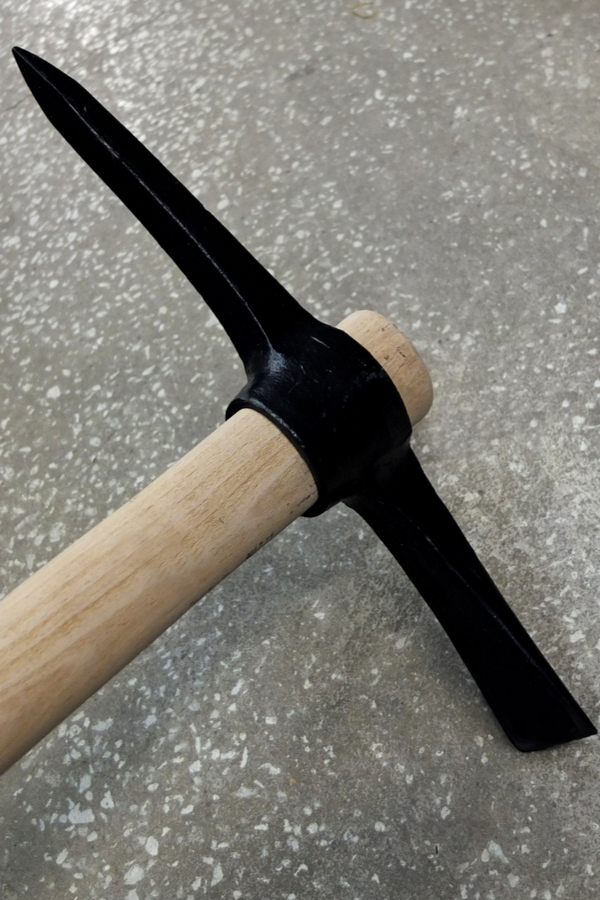
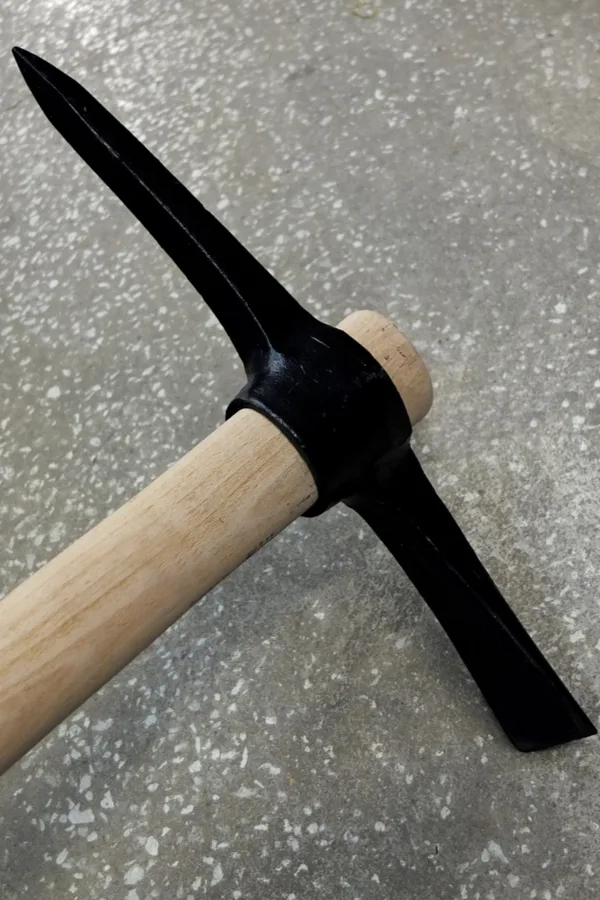
#4: Use A Post Hole Digger And Mattock For Planting – 7 Planting Day Secrets
There’s no doubt that planting the garden can be back-breaking work. However, that isn’t the case when you use a post hole digger for your transplants and a mattock for your seeds.
Both of these tools are simple to use, effective, and fast. In fact, you won’t believe how fast! A post hole digger can quickly create a planting hole that is around 8 to 10 inches deep. The width will be around 6 to 10 inches, depending on the size of your digger. It’s the perfect depth for adding in a few inches of compost prior to adding in your transplants.
If you use a shovel for your planting holes, you will end up disturbing an excess amount of soil. It will also cause you to end up with a hole that is a lot wider than you really need. The width created from a post hole digger is perfect to allow plenty of early root growth without being oversized.
And, let’s not forget how the post hole digger will save your back than using a hand shovel!
A mattock works perfectly for planting seed crops. It allows you to quickly create smaller furrows or rows for seeds. Simply use the pointed end to drag and create your furrow. Or, you can use the larger end for larger furrows.
You also won’t disturb too much soil like you would when using a hoe, and are better able to control the depth as well when using a mattock.
#5: Fill Your Planting Holes & Furrows With Power! – 7 Planting Day Secrets
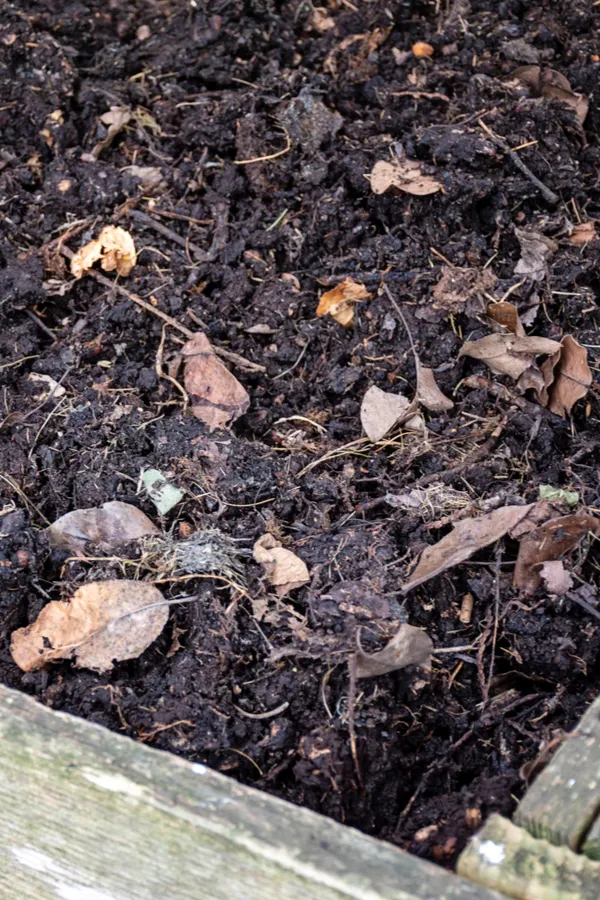
After creating your hole, you want to add in a few additional natural supplements to power them up. These nutrients and soil builders will help to get your plants off to an amazing start.
In each of your transplant holes, add compost, crushed egg shells, coffee grounds, and worm castings. It is the magic combination that will provide your new plants with additional calcium, nitrogen, micro-nutrients, and organic matter.
We add about 1 cup of compost, 2 to 4 crushed eggshells, 2 tablespoons of coffee grounds, and a quarter cup of worm castings to each hole prior to planting. It sets the stage for big growth and an amazing harvest!

When planting transplants, be sure to loosen the plant’s root ball prior to placing it in each hole. This allows the roots to spread out and grow. Also, ensure that you are burying some of the plant’s stem under the soil line as well.
This is especially important for tomato plants. Back fill with soil, being sure to break up any large clumps as you do. Lightly tamp down without compacting the soil too much. Pushing down too hard can suffocate young roots.
Compost For Your Seed Crops
For seed crops, be sure to fill your furrows with compost. You will need to vary the depth of your furrow depending on what you are planting. Be sure to read the back of your seed packet for specific information.
If your packet says to plant seeds half an inch deep, make your furrow at least 1.5 inches deep. This way, you can add in that extra inch of compost prior to planting. You can plant the seeds closer together than the pack says. Just be sure to thin seedlings once they are a few inches tall to the packet’s recommended spacing distance.
#6: Mulch Those Plants! – 7 Planting Day Secrets
Adding an organic mulch around your crops after planting is one of the best things you can do to ensure gardening success. It will not only benefit the crops, but it will benefit you as well. Items such as straw, shredded leaves, or even grass clippings are the perfect choice for natural mulches.
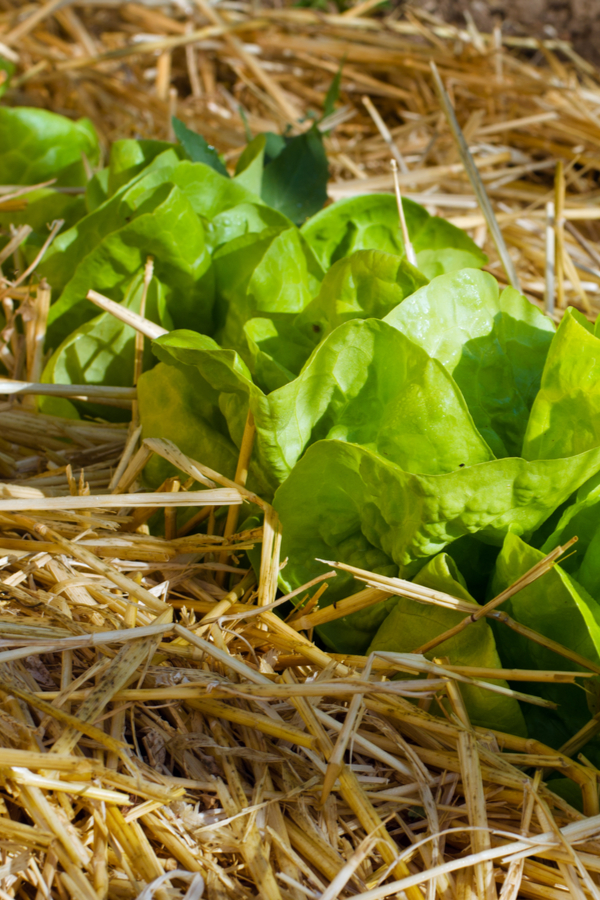

Mulch will help to insulate the soil in case of a late-season frost. It does this by regulating the temperature of the soil. It will also help to keep competing weeds at bay, leaving you with fewer weeding chores during the growing season.
Using an organic mulch will also help to retain moisture for seedlings and transplants. Be sure to add at least 3 to 4 inches of mulch for best results. You may need to add additional mulch throughout the growing season as it starts to naturally break down.
The best part is that this natural mulch doesn’t need to be removed at the end of the growing season. It will just help to improve the organic matter of your soil for next season’s crops.
You can also create what’s called a compost “power ring” around your transplants. Create a circle of compost around the plant’s root zone. Make the circle around 8 to 10 inches in diameter, and about 1 to 2 inches deep.
Then, put your natural mulch over the top of your compost ring. Every time it rains or you water your plants, the roots will receive a light dose of nutrients from the compost ring as it leaches into the soil.
#7: Water SMART – 7 Planting Day Secrets
Inconsistent and over or under watering are often one of the biggest reasons crops fail. Young transplants need to be watered frequently for the first few weeks. After planting, these crops are often in a state of shock, so proper watering will help them establish quickly.

Check the soil’s moisture level by using your finger. Insert your finger into the soil around the base of the plant. If it is dry an inch or two below the surface, it’s likely time to water. Check young transplants daily for the first few weeks.
Once these crops become established, you can dial back on the watering. When you do water, however, do so deeply. Depending on size, each plant should get around a quarter to a half of a gallon of water each week. Be sure to factor in natural rainfall into this total to ensure that you aren’t over watering.
By not watering every day or so, you are forcing the plants to work a little bit at finding water. Their roots will have to travel down deeper into the soil which will result in better stability for the plant. In addition, this creates more roots and the plant will be able to absorb more nutrients deep in the soil.
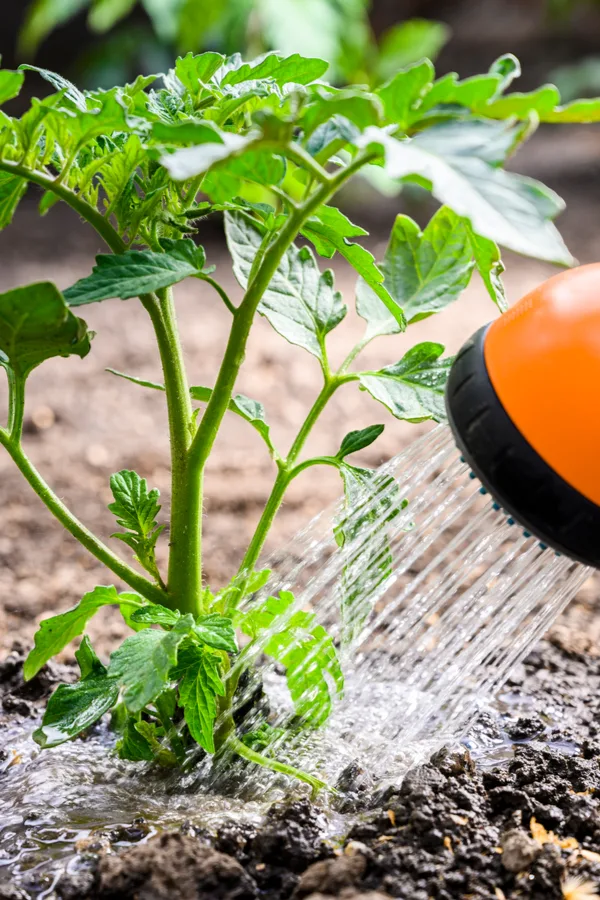
Water At The Base
Water at the base of the plant and do so early in the morning for best results. Never water during the heat of the day if you can avoid it. In addition, avoid using overhead sprinklers.
These can create droplets on the plants which can quickly evaporate instead of being absorbed by the plants. Also, the additional moisture on the foliage can cause mildew to form. This increases the chance of disease as well.
Follow Our Facebook Page For Even More Great Tips! Simple Garden Life Facebook Page
Simple Garden Life is a website dedicated to keeping gardening fun, simple and enjoyable! We publish two new articles each week along with a new garden podcast episode every two weeks. This article may contain affiliate links.
Product Links (Affiliate):
Article Links:
The Easiest Way To Plant A Garden Ever! Planting With A Post Hole Digger
How To Make Compost For A Great Garden – Inexpensively & Easily!
3 Simple Tips For Planting A Successful Garden Quick & Easy! With Video
How To Keep Your Garden Weed Free – 4 Simple Steps To Eliminate Weeding Chores!