One of the most challenging tasks for any gardener is actually one of the easiest ones to perform. That task is the process of thinning out your seed crops after they germinate.
If you plan on having a garden this year, your budget can start to add up quickly. Especially if you are purchasing your vegetables as young plants. Thankfully, it is much less expensive to start those vegetable plants out as seeds instead.
Another great advantage to starting plants out as seeds is that you are able to purchase a wider array of plant varieties that you otherwise wouldn’t be able to find in your local garden nursery. This opens up your harvest to a wider array of flavors, colors, and planting options.

In addition, unlike transplants, you can save seeds for multiple years. Have a bunch of seeds left over from a previous year after planting? Use them this growing season instead. To learn more about storing seeds and how long seeds can last, check out “How To Store Extra Seeds Properly.”
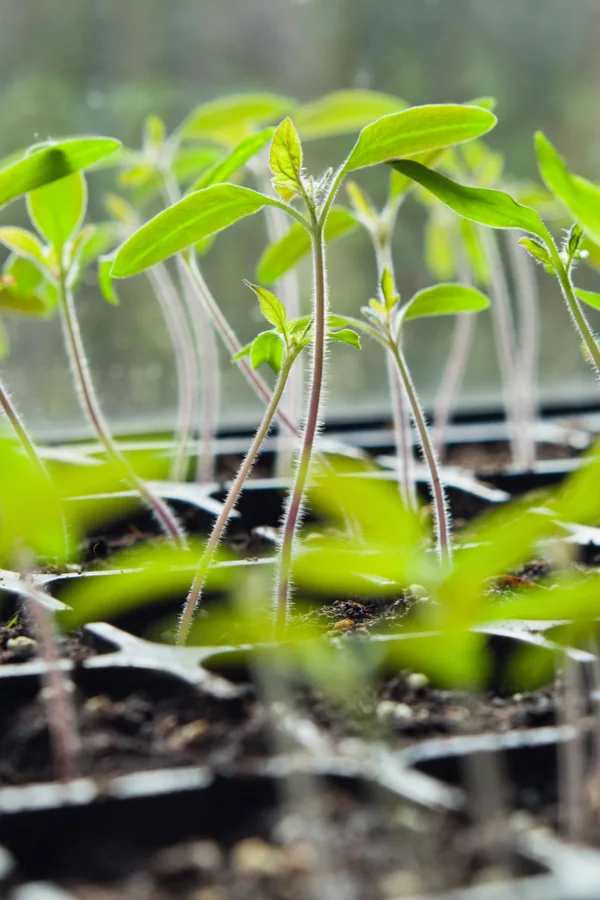
However, it is difficult to get the proper spacing needed for the plants to really flourish via seed. Maybe the seeds are so tiny and hard to handle. Or maybe you decide to plant additional seeds to help guarantee germination. No matter the reason, spacing can become an issue with planting crops by seed.
Problems With Improper Seed Spacing
When plants grow too close together, there are many issues that can occur. First off, the plants will have to compete for vital nutrients and minerals from the soil. In addition, the plants will have to fight for sunlight and water as well.
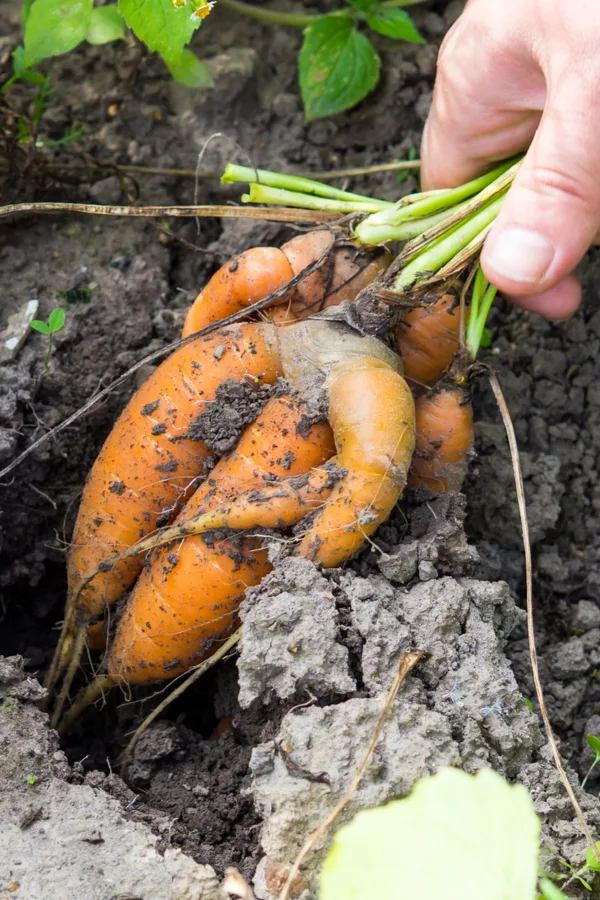
In addition, failing to give mature plants the proper spacing can potentially ruin some crops, especially root vegetables. The vegetables can become tangled and twisted together, resulting in deformed and smaller yields. These crops will not only be undesirable, but they are very difficult to harvest as well.
If you are starting your seeds indoors, spacing can be an even bigger issue. Plants sitting too close together in a single cell will end up with improper air circulation. This can cause mold issues with your soil. And mold can mean big trouble for young seedlings and plants.

The plants will also likely become root-bound as well. This means that their roots start to grow together and become tangled with one another. Reduced air circulation, mold issues, and bound roots can cause stunted growth as the plants start to mature. In some cases it can even cause total plant failure.
In order to have healthy plants, whether they are planted in the garden or started indoors, you will likely need to thin your seedlings after they germinate. It’s a mentally daunting task for gardeners but one that is extremely easy and simple to do with a few key tips.
How To Thin Seed Crops
What Does It Mean To Thin Seeds?
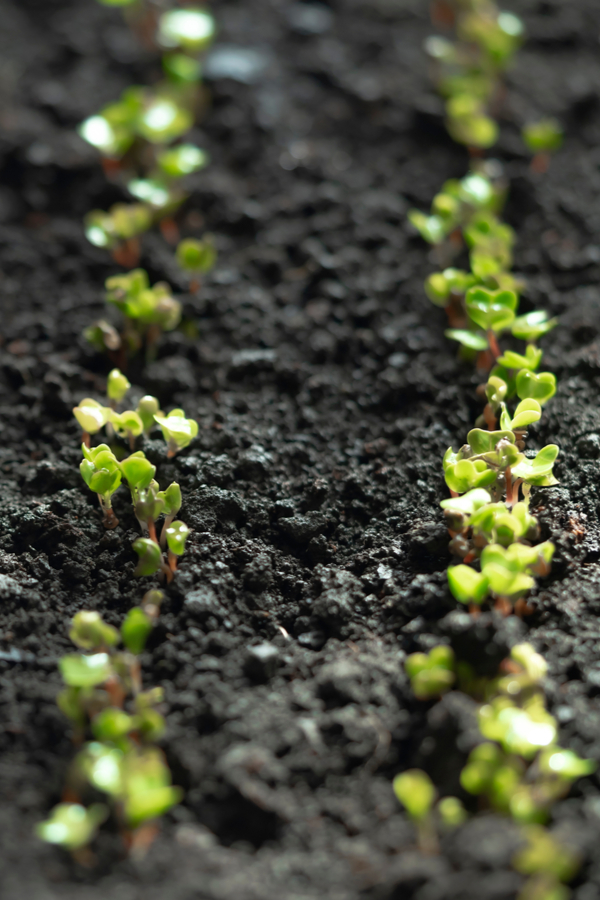
Thinning is the process of removing unwanted plants so the minimum spacing can be achieved. When seedlings are very small, you can thin them by simply pulling up unwanted plants.
However, once they start to grow their first set of true leaves, seedlings should be thinned by cutting the stem off at the base of the plant. This is to avoid disturbing the delicate root systems that are already growing.
Thinning seedlings also allows you to choose the healthiest and strongest plants to grow to maturity, especially if you are starting seeds indoors. After thinning plants properly, all you’ll have to worry about is keeping your garden weed-free!
What Is Proper Seed Spacing
When it comes time to plant seeds in your garden, you have to take into consideration the mature size of whatever plant you are growing.
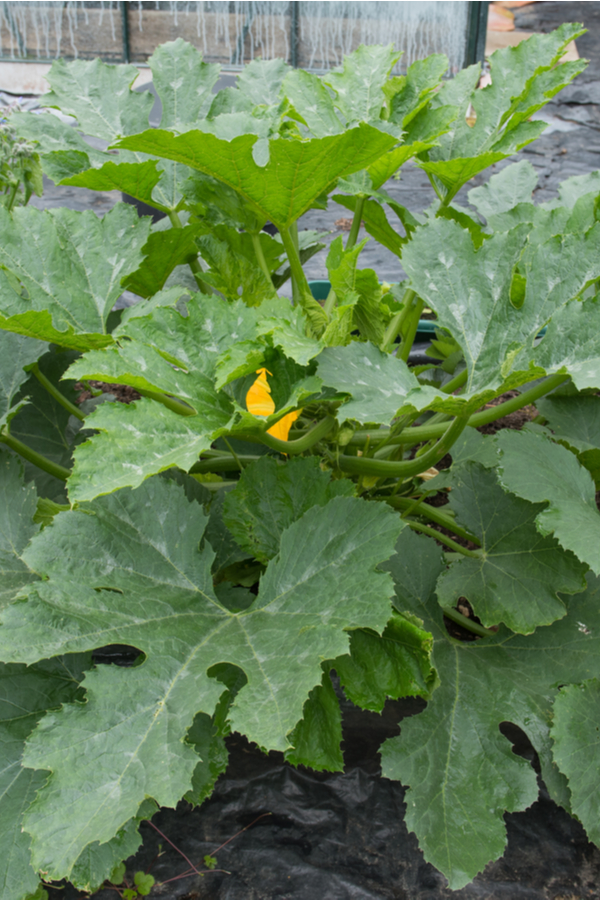
It might be hard to imagine that a single tiny zucchini seed will produce a plant that can grow up to 6 feet long for vining varieties. But in order to have a healthy, mature zucchini plant, you will need to space their seeds an appropriate distance apart when planting.

Luckily, you don’t have to have spacing distances memorized. Seed companies often print the spacing requirements on the back of each seed packet. They will likely instruct you to plant additional seeds close together – but to then thin seeds after they are a few inches tall.
If you can’t find your seed packet or the information is missing, you can usually find the spacing requirements on the company’s website. Here are a few of the most commonly seed spacing requirements after thinning:
Bush Beans – 3 to 4 inches
Carrots – 2 to 3 inches
Corn – 6 to 8 inches
Green Onions – 1 to 2 inches
Peas – 2 to 3 inches
Radishes – 2 to 3 inches
Spinach – 4 to 6 inches apart
When starting seeds indoors in containers, it’s ok to plant a few seeds in each growing cell. Just be sure to thin so there is only one plant per cell for best results.
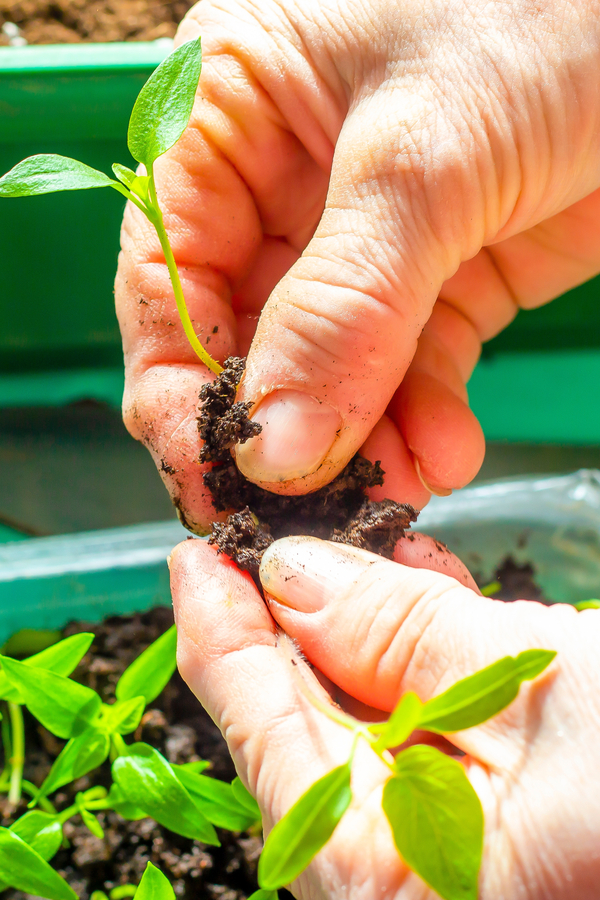
Thinning By Pulling Seed Crops
For younger seedlings, you can sometimes just pull the plant up from the soil or container by using your fingers. This works best for seeds started indoors in containers.
Thin these seedlings right after their cotyledon leaves appear. The cotyledon leaves are the first leaves to appear after a seed germinates. These leaves eventually fall off after the true leaves of the plant appear.

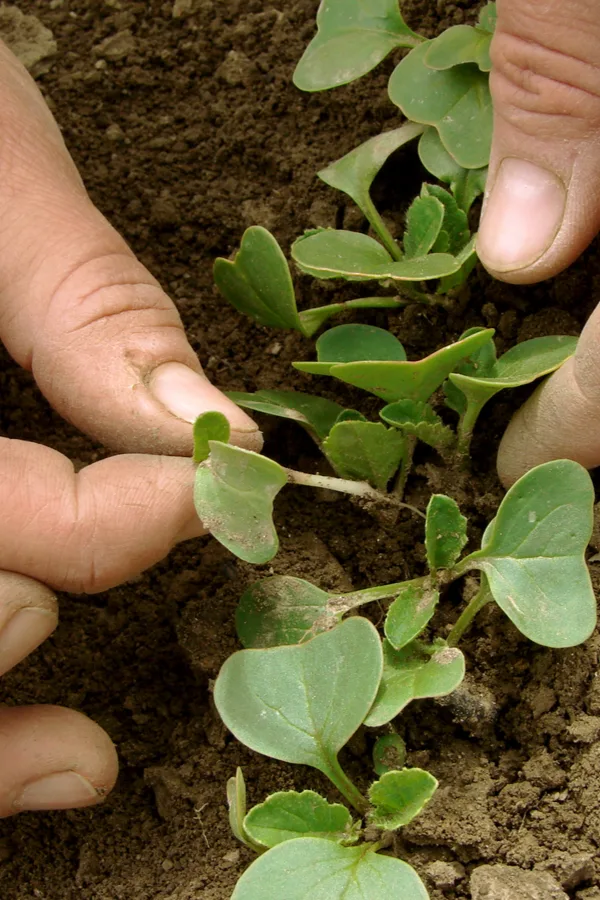
Moisten the soil prior to thinning to make removal easier. Grab the seedling between your forefinger and thumb at the base of the plant and give it a gentle pull.
If the unwanted seedling comes up with little resistance, its roots should still be intact. You can replant these seedlings into their own containers or another location in the garden if wanted. Keep in mind that it might be hard for these seedlings to establish since their roots have already been disturbed.
If you are finding that there is resistance when pulling, you might be better off cutting the stems instead, as mentioned below. This will ensure that the roots of the seedling you are keeping remain intact and undisturbed.
What To Do With The Thinned Seedlings
Some seedlings are actually edible and you can add them to soups, salads, or even stir fry meals. These tiny seedlings are “microgreens”. Lettuce, broccoli, cauliflower, cabbage, spinach, kale, beets, chard, pumpkin, and sunflowers can all be consumed as microgreens after thinning.
Be sure to avoid consuming plants of the nightshade family however since their sprouts are considered poisonous. These include tomatoes, peppers, and eggplants. Toss these seedlings into your compost bin or trash.
Thinning By Cutting Seed Crops
You might want to wait to thin seedlings until they have their first set or two of true leaves. The advantage of doing this is that you will have a better idea of which plants are going to be the healthiest and strongest. If you choose to wait, it is best to just cut the plant off at the base.

With indoor started seeds, choose the seedling that has the healthiest looking leaves and the thickest stem to keep for each cell. Thin out any frail, thin, or yellowing plants first.
Keep in mind that the tallest plants might not be the healthiest. These tall, thin plants are called “leggy”, and they often struggle to survive once they are planted outdoors in the elements.
If all of the plants look healthy, you will just have to make a choice of which one must go, which can be a bit tough for sure to make. For seedlings planted in your garden, use the proper spacing guidelines for the variety of plants you are growing to help you choose which ones to thin.
The Process
Use a pair of scissors, pruning snip, or small gardening shears for cutting. Ensure that the blades have been disinfected with a small amount of rubbing alcohol prior to use. Cut the stem off at the base of the plant, right where it meets the soil line. Unfortunately, you cannot replant these discarded seedlings.
Another Option For Thinning Seed Crops, But Proceed With Caution
For indoor started seeds, you can attempt to separate seedlings. However, keep in mind that it usually isn’t successful, and you often end up having both plants die instead of just the unwanted seedling.

To separate seedlings, carefully slide the plants and soil out from the growing container. Gently start to remove the excess soil from the roots, being careful not to break them. Carefully pull one seedling from the other so that they are two separate plants. Replant each seedling into its own container.
Not only is this process of separating seedlings tedious and messy, but it often ends up with undesirable results. As hard as it might be to do, your best result will be to either pull or cut the extra seedlings.
To Conclude…
While thinning seed crops might be a difficult task for gardeners to perform, it is vital for the success of your growing plants. Instead of feeling like you are “killing off” perfectly good plants, think of it as a way of ensuring that those plants left behind have their best possible shot at a long, healthy growing season – Which in turn means a better harvest for you!
Follow Our Facebook Page For Even More Great Tips! Simple Garden Life Facebook Page
Simple Garden Life is a website dedicated to keeping gardening fun, simple and enjoyable! We publish two new articles each week along with a new garden podcast episode every two weeks. This article may contain affiliate links.