When it comes to how to plant and maintain a crop of home-grown potatoes, there are a few simple tips & tricks that can make growing your own potatoes easier than you might have ever imagined – and lead to a deliciously big harvest too!
Potatoes are one of those crops that are certainly always readily available at your local grocery. But the potatoes available are unfortunately often limited to basic varieties that either store or travel well. But when you grow your own, you open your world up to all kinds of tasty options.
In fact, there are over 100 different potato cultivators available for home gardeners to try out and experiment with growing. And the wide range allows you to choose the perfect potato based on your baking needs as well as storage needs.
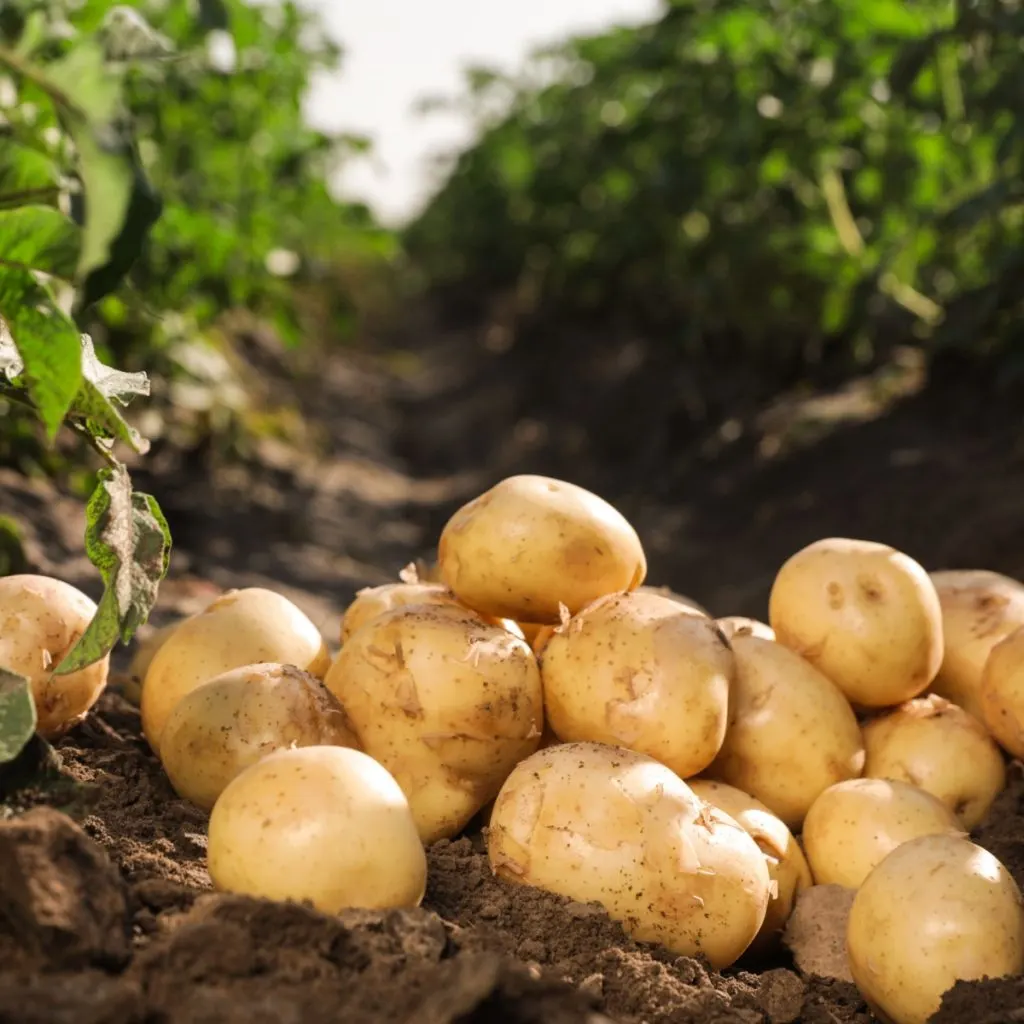
Potatoes often get a bit of a bad rap for being difficult to plant and grow – but the truth is, they are a rather forgiving crop perfect for experienced growers or first-time gardeners.
Not only can they do well in a wide variety of soil conditions, they also can be harvested at different stages throughout their lifecycle, giving you a long, lasting vegetable to use all summer. And perhaps best of all, they store well too – letting you have fresh grown potatoes right on into winter!
Here is a look at how to plant potatoes this year with ease – and success!
How To Plant Potatoes – The Simple Secrets To Growing Potatoes!
Selecting Seed Potatoes
Unlike tomatoes or peppers that are grown from tiny seeds, potatoes are grown from “seed” potatoes or the “eyes” of a potato. Seed potatoes are certified disease-free – and produce mature plants from buds which are often know as the eyes of a potato.
One of the biggest mistakes gardeners often make when growing potatoes is to use a potato from a store. While they might turn into mature plants, commercial potatoes are often sprayed with growth inhibitors that will limit or slow down sprouting. They also often have been sprayed with pesticides and other chemicals as well.
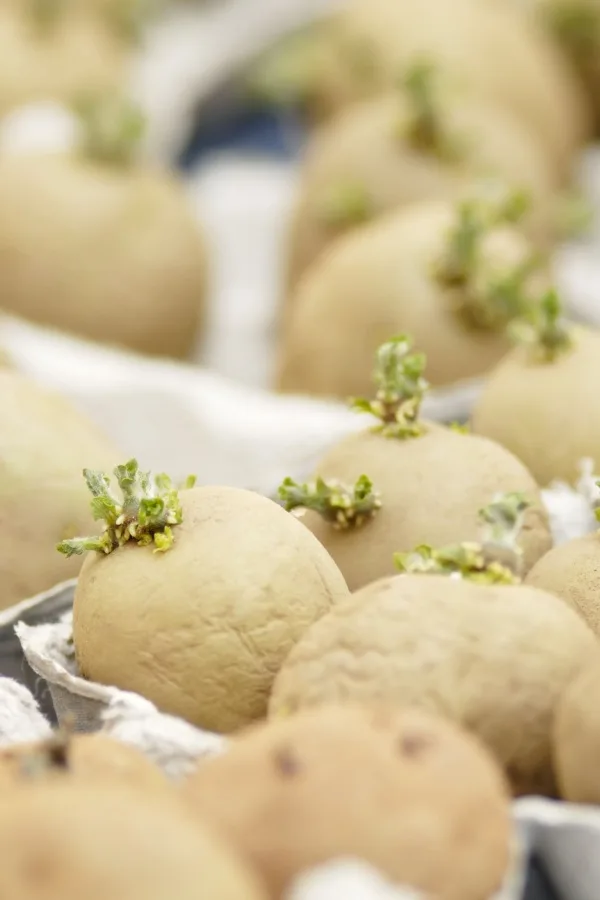
You can purchase seed potatoes at local garden centers, farm stores, or from online growers. If purchasing in person, choose potatoes that have several eyes which appear as small dimples in the skin. They should be firm and blemish-free.
- Affiliate Seed Link: 2 Lbs Adirondack Blue Seed Potatoes – Non GMO
- Affiliate Seed Link: Simply Seed™ – 5 LBS – Red Norland Potato Seed – Non GMO
After your seed potatoes arrive, set them in a single layer someplace bright and out of the elements. A sunny windowsill works perfectly for this. After a few weeks, the potatoes should start to push out thick green sprouts.
This process isn’t required, but it is a huge help come planting day. It allows the seed potatoes to quickly establish in the soil after planting.
Planting Tips And Tricks
While there are several different folklore tales about the best time to plant potatoes, all you really need to do is aim to plant about 2 to 4 weeks before your last frost date. The air temperature should be around 55º Fahrenheit (F) daily with about the same soil temperature.
You can plant potatoes in raised beds, grow bags, or in traditional gardens. As long as you have space to hill the plants, potatoes can grow easily. (Product Link: 5-Pack 10 Gallon Potato Grow Bags)

If the seed potatoes are large enough, cut them in half to get more plants for free. Just ensure that they have at least 2 to 3 eyes per piece. After cutting, allow the pieces to heal for a couple of days before planting. This reduces the chance of rotting.
The Planting Process
Once you are ready for planting, create a large trench in the soil that is about 8 to 10 inches deep. Place a 1 to 2-inch layer of compost into the bottom of the trench. The compost will help to power the seed potatoes right from the start, allowing them to quickly push out new growth.
Place the seed potatoes into the trench with the sprouts facing up. Space additional plants about 8 inches apart for early spring harvests and 12 to 15 inches for mature crops. Cover with about 4 to 6 inches of soil and water well.
Hilling Potatoes
If there is one area of confusion with growing potatoes, it is usually the subject of hilling. This is the process of mounding up soil and compost around the stem of plants so only the top of the plant is above the soil line.
Mounding helps to prevent growing potatoes from turning green as they are exposed to sunlight. When the potatoes are exposed to the sun, they produce a toxic chemical called solanine and should no longer be consumed. Mounding or hilling prevents this issue from ever occurring.
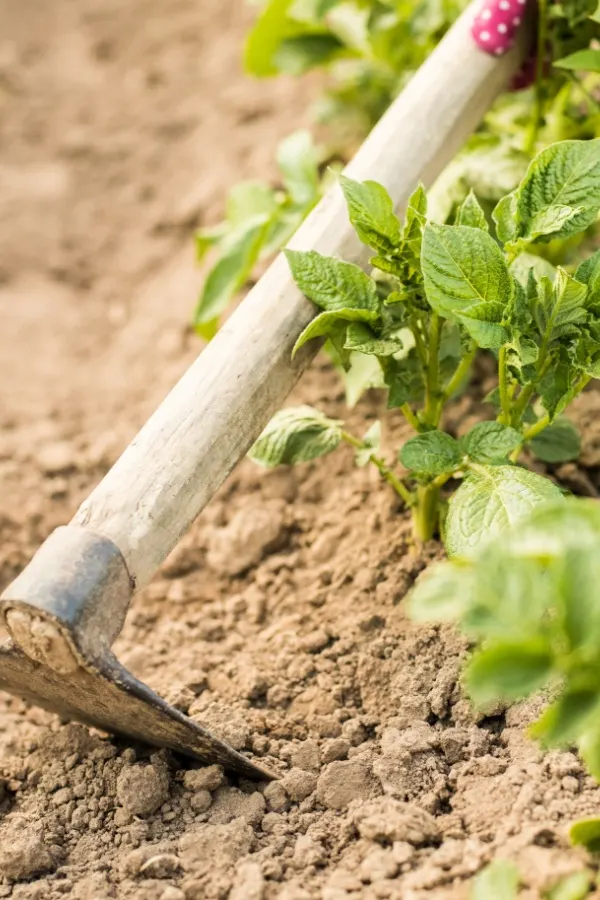
After the plants reach a few inches tall, add about 3 to 4 more inches of soil on top of the plants. Mound the soil two or three times more during the growing season.
Maintaining Potato Potato Plants
When it comes to watering, potatoes require adequate moisture in order to produce multiple tubers and full lush foliage. It’s best to aim to get your potatoes 1 to 2 inches of water each week – either by rainwater or hand watering.
You will likely need to water potatoes grown in raised beds or containers more often. Stop watering once the foliage starts to turn yellow in late summer to allow plants to start drying up. If you are harvesting young potatoes, stop watering a week before digging them up.
Along with the initial dose of compost, give plants additional feedings of nutrients throughout the growing season. Provide plants with a low dose of diluted all-purpose liquid fertilizer every two to three weeks. (Product Link: Fox Farm Grow Big Liquid Concentrate Fertilizer)
Note that some plants will push out berries. These berries are inedible and only rob the plant of resources that should be going toward producing foliage and tubers. Simply cut them off and discard.
Harvesting
Digging up potatoes is like a treasure hunt. You never quite know what you are going to get because all the potatoes are buried under the soil!
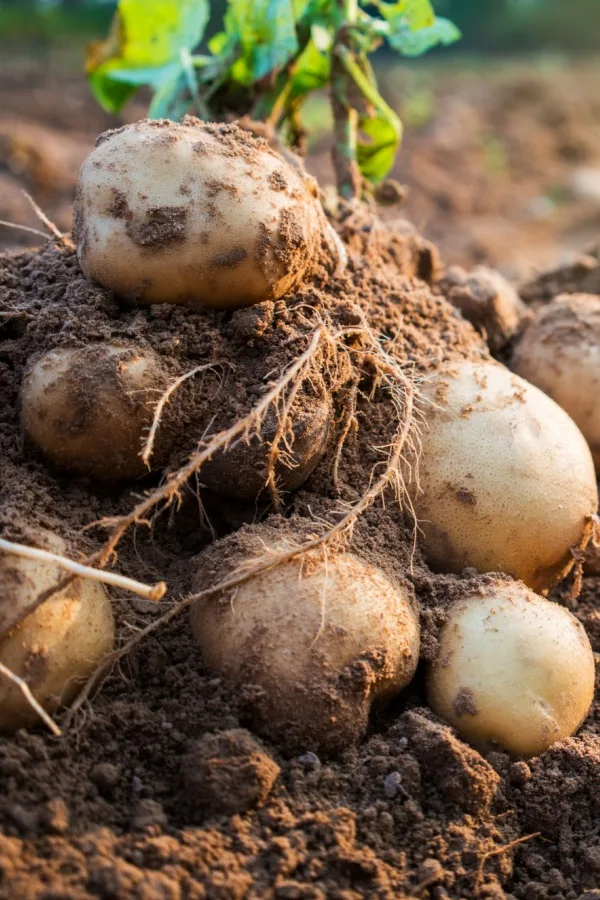
If you enjoy new potatoes, you can harvest young potatoes about three months after planting. When you harvest them young and tender, these baby potatoes are usually at their peak flavor and texture. (See, “How To Plant & Grow New Potatoes“)
If you want mature potatoes, wait until the foliage has died back before harvesting. Mature potatoes are better for long-term storage whereas you should consume new potatoes relatively soon after harvesting.
Whether you are harvesting new potatoes or mature ones, wait until the soil is dry before harvesting. If it has recently rained, hold off for a couple of days to make the task easier and provide cleaner potatoes.
Use a shovel, pitchfork, or hand trowel to carefully dig around each potato plant to loosen the soil. Lift the plant out to expose the potatoes underneath. Be sure to check the surrounding soil as well to make sure you don’t leave any potatoes behind.
Curing And Storing Potatoes
If you want to store potatoes for use in the winter, it’s actually a quite easy and straightforward process. It all starts with selecting blemish-free, mature potatoes. Brush off any excess soil from the potatoes but do not wash them off unless you are consuming them immediately.
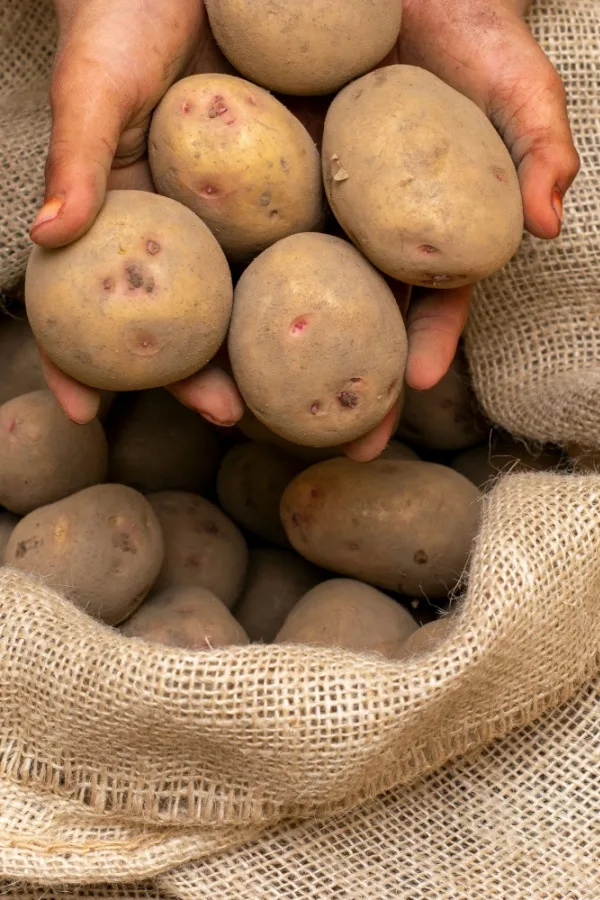
To cure mature potatoes, place them on a wire shelf or in breathable sacks and store them in a dark, cool location that is around 45 to 60º F. After two weeks, you can put the potatoes away for long-term storage.
Keep them in a cool, dark location that is around 38 to 45º F. A cold cellar or extra refrigerator set at a bit higher temperature than normal are both great choices for storage. Do not put the potatoes in an air-tight container and you should be able to enjoy your potato harvest for several months.
Here’s to planting and growing an amazing harvest of potatoes this year!
Simple Garden Life
Follow Our Facebook Page For Even More Great Tips! Simple Garden Life Facebook Page
Simple Garden Life is a website dedicated to keeping gardening fun, simple and enjoyable! We publish two new articles each week along with a new garden podcast episode every two weeks. This article may contain affiliate links.
