Coneflowers, also known as Echinacea, are a great addition to any landscape and property! Since they are native to Eastern North America, Coneflowers can handle about any growing condition, including the hot and dry conditions that summer can sometimes throw at plants! Once you learn just how to grow coneflowers, you can enjoy planting them in Zones 3 through 9. (Find your own Growing Zone Here.)
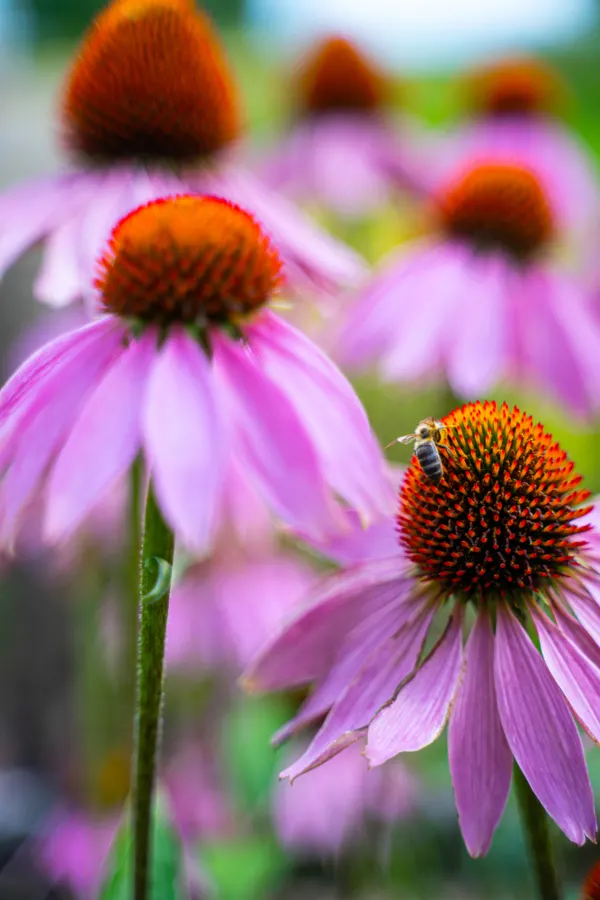
Coneflowers are a member of the Daisy family. Their distinctive blooms have a rounded, raised cone-like center with colorful petals surrounding them. They have strong stems that shouldn’t require staking even though they can have fairly large flower heads.
Once coneflowers are established, they are super easy to maintain and care for. Not only are they drought tolerant once established, but they are also deer resistant, too!
These native flowers start blooming in mid-Summer and last until the first Fall frost. Because of their late blooming, they make great flowers to plant in areas where Spring-blooming flowers may be dying off. This process is called Succession Planting, and it allows you to have beautiful flower blooms from early Spring until Fall.
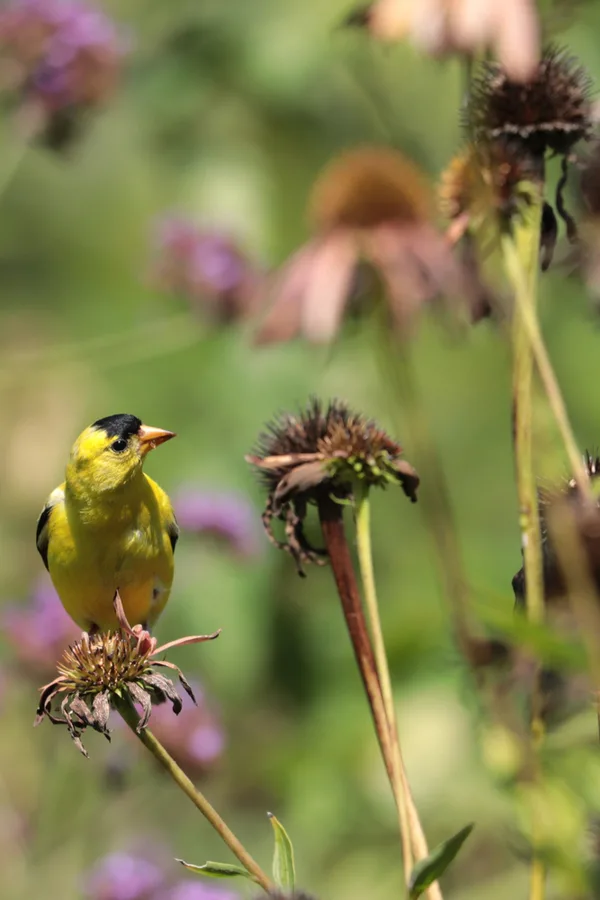
Did we also mention that coneflowers are the perfect perennial flower for attracting pollinators as well? Their large cones and bright petals attract beautiful butterflies and bees, and the seed heads will attract songbirds after they bloom.
Varieties of Coneflowers – How To Grow Coneflowers
Coneflower varieties range in size from two feet to four feet tall.
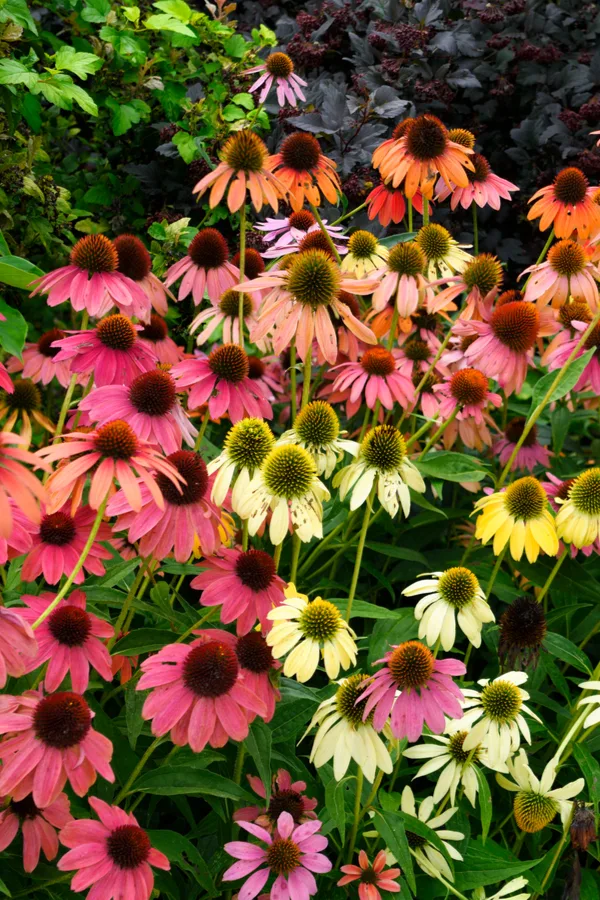
The purple Coneflower is the most iconic variety, but they come in many different colors as well. Their petals can range in color from shades of white, red, pink, orange, coral, and even bright yellow. They also have attractive, dark green foliage.
How To Plant, Grow, And Maintain Coneflowers
Soil Requirements for Coneflowers
Coneflowers are able to adapt to almost any soil type since they are native flowers. They do, however, like soil that drains well and is rich in organic matter. Consider amending soil with plenty of compost if needed. They also prefer a soil pH of around 6.5 to 7.0.
The soil temperature should be above 65º Fahrenheit (18º Celsius) when you sow seeds directly into the soil or transplant seedlings.
Planting Coneflowers
You can choose to either directly sow seeds outdoors once the soil is warm enough, or you can start seeds indoors. You can also find coneflowers sold as small plants with blooms already starting to be set.
For starting seeds indoors, begin a month before the last spring frost date. You can figure out your Last Spring Frost Date Here. Transplant the seedlings into your garden or plant your purchased small plants in the Spring or Early Summer once the soil reaches the right temperature.
You may choose to plant coneflowers in the Fall, but make sure they have at least 6 weeks to become established before your first frost. Otherwise, they might not come back during the springtime due to not enough root growth.
Choose a location that gets full or mostly full sun (at least 6 to 8 hours every day). If you live in a warmer region (Zone 8 or higher), a bit of afternoon shade would actually be good for the blooms to get a break from the intense sun.
Plant coneflower seeds or plants 1 to 3 feet apart (the distance depends on the variety, so make sure to check your seed packet). You may choose to plant seeds closer together and then thin them once they are a few inches tall.
The plants will typically grow to be 1 to 2 feet wide each. Remember to mix in a little bit of compost in your soil when planting.
Long-Term Care – How To Grow and Maintain Coneflowers
Germination should take around 10-20 days.
You may choose to add mulch around your plants after they are a few inches tall. Just make sure not to mulch right up to the stems. The mulch will help to keep the soil moist without the coneflowers having to stand in water.
To encourage more blooms and extend the flowering season, deadhead the plants early on in the season by cutting back the dying blooms. Use sharp garden clippers to cut the stem back to the leaf area where a new bud begins. As the season goes along, you no longer need to deadhead.
Watering
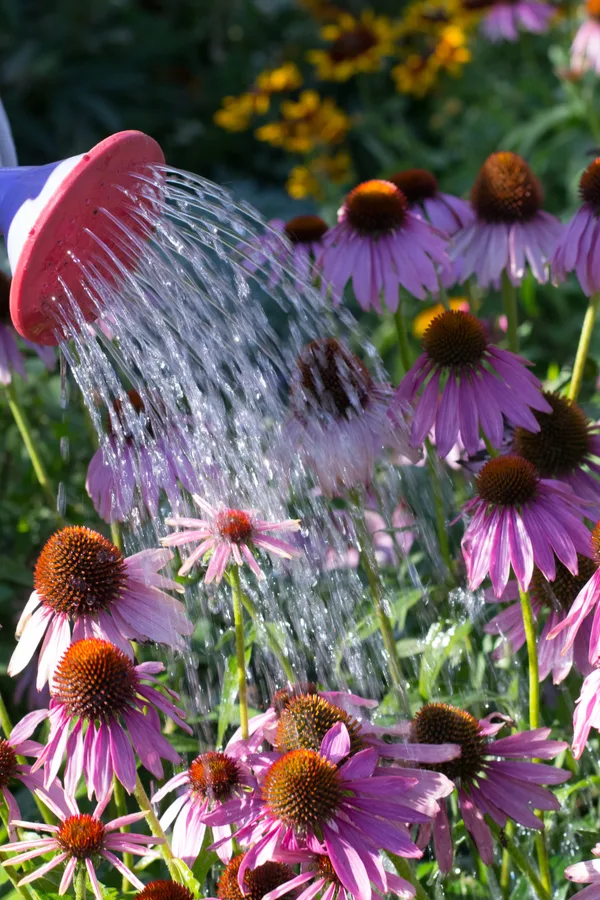
When the coneflowers are small, make sure to water them every couple of days for the first few weeks. Consistent watering allows the plants to grow deep roots and get established in the soil. Once they are established (at least 6 weeks), you really won’t need to water them anymore unless you have an extreme drought. Occasional watering is ok.
Fertilizing
You do not need to use fertilizers with coneflowers. The compost that you used when you planted should be enough to get the seedlings started growing strong until they are established.
Pests & Issues
There are a few diseases to keep an eye out for when it comes to growing Coneflowers, but the main one is Aster Yellows.
Aster Yellows is a disease that can cause growth deformities. Unfortunately, there is no cure. Sap-sucking insects like leafhoppers commonly spread the disease. If you notice any signs of Aster Yellows such as the yellowing of the leaves or bloom deformities, remove and destroy those plants as soon as possible. Also, do not add the foliage to your compost pile either.
You may start to see Soldier Beetles on your coneflowers in August, but leave them be. Soldier Beetles are harmless to your flowers and actually help keep unwanted insects away.
Not Seeing Any Blooms?
Don’t be alarmed if the coneflowers you started from seeds don’t produce blooms in their first year. They can take 2 to 3 years before they start to set blooms. That’s why it might be better to purchase coneflowers as plants with blooms already on the way! .
What About After They Bloom?
Cut your plants back to the ground in early to mid-Fall once all the blooms have died. You can divide or split your coneflowers during this time as well. In order to help ensure your plants are healthy and strong, you should divide the plants every 3 to 5 years.
You may wish to leave a few coneflower blooms to stand during the Fall and Winter months. This will help provide food for songbirds! Then, during late Winter, prune the coneflowers all the way back to the ground like you would in the Fall.
New leaves will start to emerge from the soil in early Spring.
Self-Seeders
Coneflowers are self-seeders, which means if you leave some of the blooms on the plants during the fall, they will seed the soil around them and add additional plants next Spring without you needing to do anything! That is, if the birds don’t eat all the seeds.
Growing Coneflowers In Containers
Smaller varieties of coneflowers are perfect for growing in pots and containers! Find a 2 to 3 gallon-sized pot or container and make sure it has holes in the bottom (you can drill some out if needed). Add in an inch or two of gravel to help the water drain, then add your soil. Use soil that is rich in organic matter. Place the newly planted coneflower in the shade for the first few days and then move it gradually into full sun. Water deeply if the soil feels dry, but wait a few days between watering. Deadhead to insure continued blooms.

Other Uses For Coneflowers
For centuries, coneflowers have been used as an herbal medicine. They are traditionally used to help the common cold, mild upper respiratory infections, and other inflammatory issues. However, more research and studies are needed in order to understand their real effectiveness. You can find more information about the research on coneflower use in medicine Here.
Coneflowers are also a key ingredient in many herbal tea blends as well. While the petals are most commonly used, all parts of the plant are actually edible.
To Conclude…
Coneflowers are the perfect native perennial to grow. Whether you have just a few plants in your garden area or an entire field filled with different varieties of colors and sizes, coneflowers are a great addition to any property.
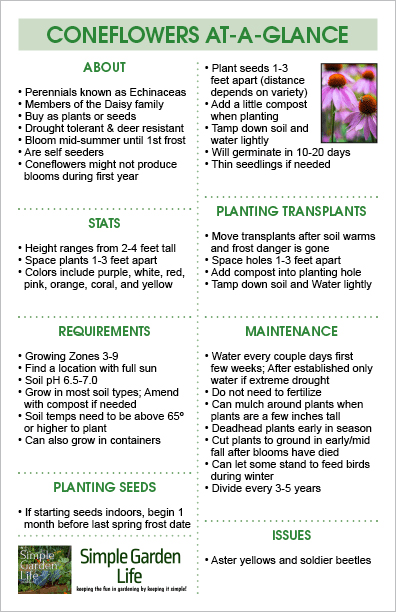
Feel free to download, print out, or save our Coneflowers At-A-Glance sheet. It is sized for half letter printing but can be scaled if needed.
