Looking for how to harvest, dry and roast sunflower seeds from the sunflowers you have growing in your garden or flowerbeds this year?
Sunflowers are becoming more popular in home gardens with each passing year. Not only are they great to grow to attract pollinators and birds to your landscape, they are also great for feeding all kinds of birds with the seeds they produce.
But in addition to feeding birds, depending on the type and variety you grow, sunflowers can also be a delicious snack for you – especially when you roast your own. The good news is that harvesting, drying and roasting your own seeds for any use couldn’t be easier!
How To Harvest, Dry & Roast Sunflower Seeds
It’s important to note that not all sunflower varieties are sufficient for harvesting seeds – especially if your end goal is to have them for a snack for you and your family.
Some varieties produce what are considered to be oil seeds. These types of seeds are better for feeding birds or for processing into sunflower oil. While you can eat oil seeds, they typically aren’t the best choice for consuming.
Other varieties are bred to produce seeds for consumption. These are more often than not striped seed types. These seeds are much better for human consumption and are typically larger.
Of course, it’s important to know what type of sunflower you have before deciding what all you can do with your harvest. One good thing is that no matter which type you happen to be growing, the method for knowing when and how to harvest stays the same.
Knowing When To Harvest – How To Harvest, Dry & Roast Sunflower Seeds
Knowing just the right time to harvest sunflower seeds can be a bit tricky at first. Harvest the seed heads too early and your seeds won’t have much meat inside. Harvest them too late and chances are that the birds and animals will have beat you to the punch.

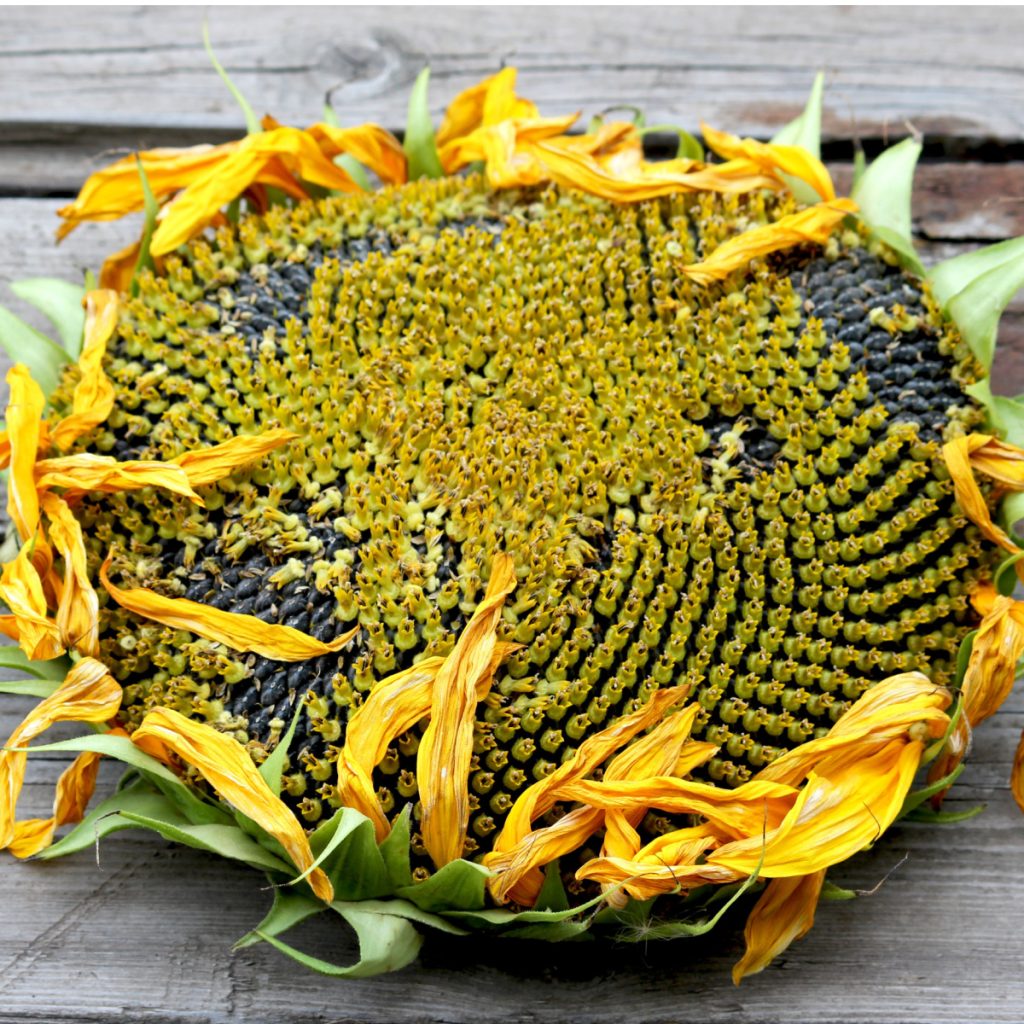
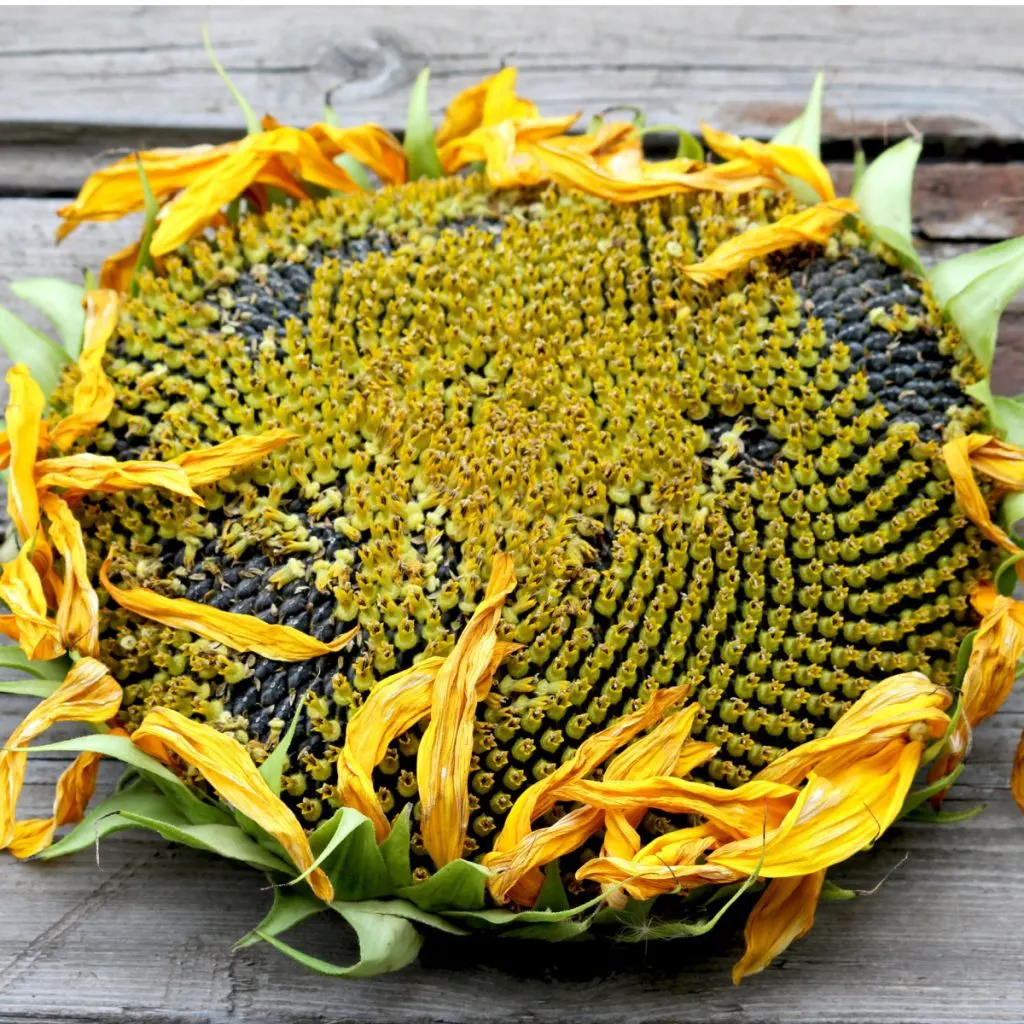
When you look at a sunflower head, there are actually fake petals that surround the seed head. These petals actually do not have anything to do with the pollinating of the actual sunflower seeds. But they do help when trying to figure out if the head is ready for harvesting!
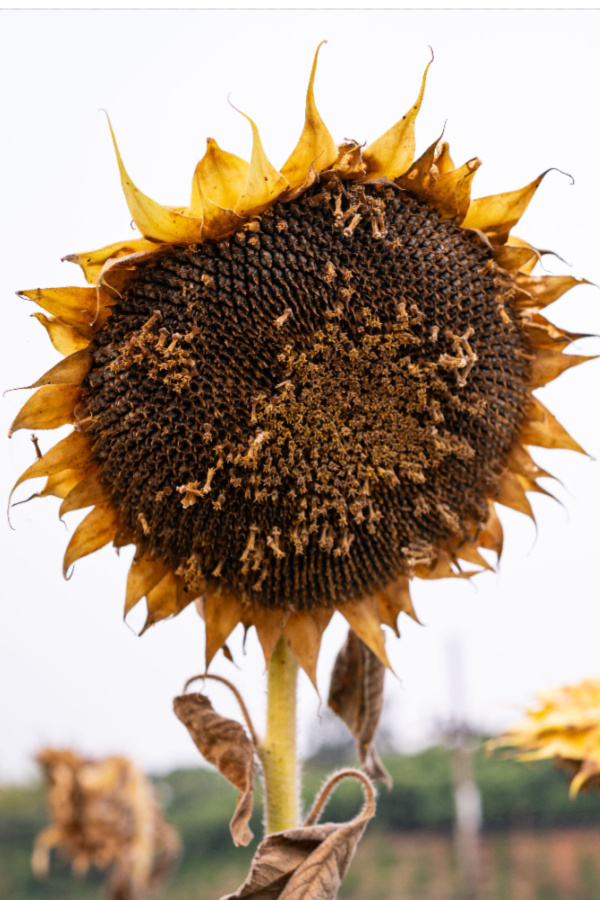
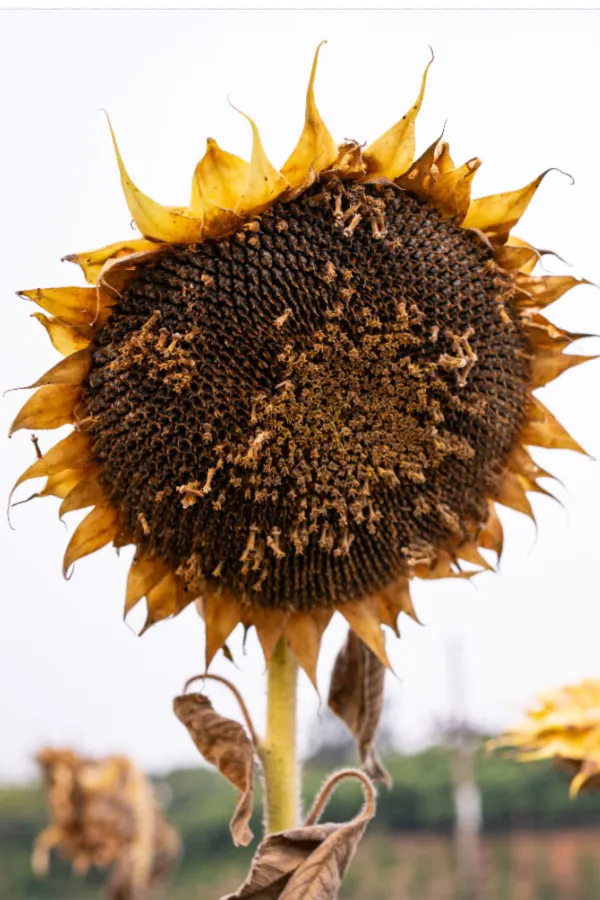
These are the petals to watch for drying and falling out to help indicate when seeds are close to being ready for harvesting. The best time to start harvesting seeds is when the outer petals and leaves have started to dry up and begin to fall. The entire seed head will actually start to droop and hang down toward the ground.
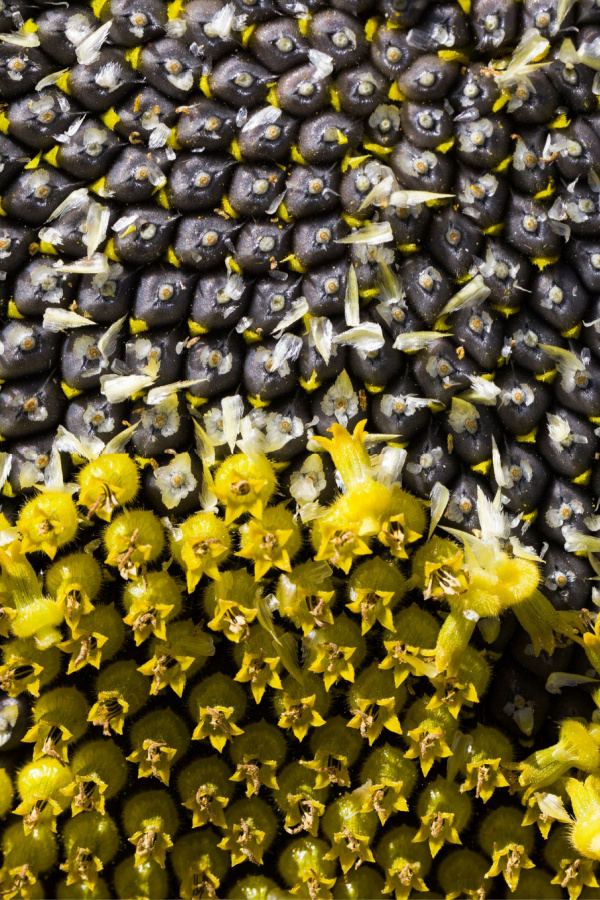
Another good indicator is the base of the seed head. This area is called the calyx and is usually bright green. As it starts to dry, it will turn yellow and eventually brown. Finally, also take a look at the seeds themselves. They should look plump and full when they are ready for harvesting.


Cutting & Hanging The Seed Heads – How To Harvest, Dry & Roast Sunflower Seeds
Although you can allow the heads to remain on plants to completely dry out – birds can often be an issue. For this reason, it’s often best to cut the sunflowers a bit early and allow them to finish drying in a protected area.
To do this, simply cut the seed head along with six to eight inches of the stalk below. Remove as many of the true flowers as possible at this point to help promote drying.
Next, hang the seed heads upside down in a dry location that has plenty of airflow. Be sure to choose a spot that is safe from birds and pests. After about 2-3 weeks, the seeds should be ready to harvest.
Harvesting Seeds – How To Harvest, Dry & Roast Sunflower Seeds
Whether you allow the flower heads to fully ripen naturally or cut them off and allow them to dry in a protected space, once they are fully dry, the steps to remove the seeds are the same.
Begin by taking the dry seed head and gently rub your hands over the true petals to dislodge them from the seeds. Blow away any remaining petals. Once you remove the petals, hold the seed head over a large bowl or bucket. Gently use your fingers to dislodge the seeds.
Wearing gloves for this is usually a good idea since removing the seeds can sometimes be a bit rough on your fingertips. Especially if you have a lot to harvest!
If seeds do not come off of the head easily, it’s more than likely they simply need a few more days to dry. Check on them again in five to seven days and they should remove easily.
Storing Seeds – How To Harvest, Dry & Roast Sunflower Seeds
If you harvested your seeds to feed to birds or chickens, you can use them right away. But in order to save seeds for planting in your garden next year, you need to fully dry them before storing them. This prevents spoiling or even early germination if the conditions are right. See: Three Unique Sunflowers To Grow That Are Sure To Turn Heads!
The dryer the seeds are, the better and longer they will keep. Spread out seeds in a single layer on baking sheets that have been lined with paper towels or newspapers. Keep the sheets in a dry location that will not attract pests or birds.

Once they are completely dry (usually after just a few days), store seeds in an air-tight container. A mason jar, plastic rigid storage container, zip lock bag, etc. are all great ways to store dry seeds. Be sure to label and date the seeds for future reference. Affiliate Product Link: 16 Slots Seed Storage Organizer Box with Zipper Bag Stickers
Roasting Sunflower Seeds – How To Harvest, Dry & Roast Sunflower Seeds
If however you want to roast them – now is the time to do it! While you can certainly eat sunflower seeds raw, they will have a lot more flavor if you roast them. You can either choose to add salt or roast them unsalted. For both, you will need to preheat your oven to 300º Fahrenheit while you prepare the seeds.
Roasting Unsalted Seeds
For unsalted seeds, run the seeds under water and pat them to dry. Spread them out in a single layer on a baking sheet.
Once your oven is preheated, place the baking sheet on a center rack in your oven. Roast the seeds for about 35 to 40 minutes or until the shells are slightly brown.
You can do a simple test to see if they are done or not. Let one seed cool slightly, then attempt to crack. It should easily split down the middle if it is done. Allow seeds to cool and store them in an air-tight container for a couple of months.
Roasting Salted Seeds – How To Harvest, Dry & Roast Sunflower Seeds
While salted seeds take just a little bit longer, they are well worth the wait! Start by soaking the seeds overnight in a large bowl with a mixture of ¼ cup of dissolved salt and 2 cups of water. You can double this recipe if you have a lot of seeds to soak. Be sure the solution covers all seeds.
In the morning, drain off the water but do not rinse the seeds. Spread the seeds out in a single layer on a baking sheet to dry. Once seeds are dry, cook like you would unsalted seeds (35-40 minutes or until they crack open easily). Store in an air-tight container and enjoy!
Simple Garden Life
Follow Our Facebook Page For Even More Great Tips! Simple Garden Life Facebook Page
Simple Garden Life is a website dedicated to keeping gardening fun, simple and enjoyable! We publish two new articles each week along with a new garden podcast episode every two weeks. This article may contain affiliate links.