Fall is the perfect time to divide overgrown and worn our hostas. Not only can it help to spruce up your fall flowerbeds – it can also get your hostas ready to perform better than ever next year. And best of all – it can leave you with a whole slew of new hosta plants – all for free!
Hostas are one of the most popular perennial plants of all. With their large canopy of foliage and tall, wispy blooms, they can fill flowerbeds with color and life all spring and summer. But by early fall, most hosta plants begin to show the wear and tear of the season.
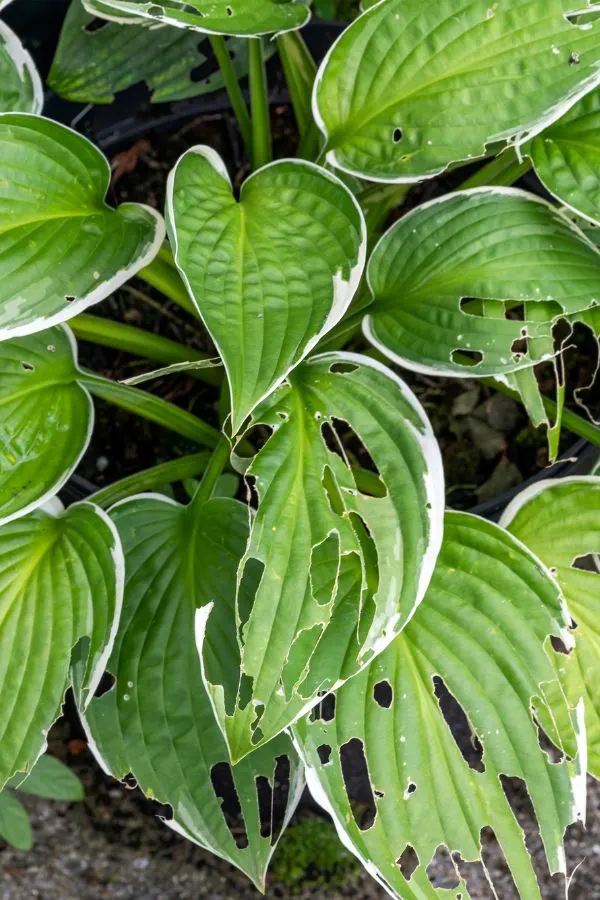
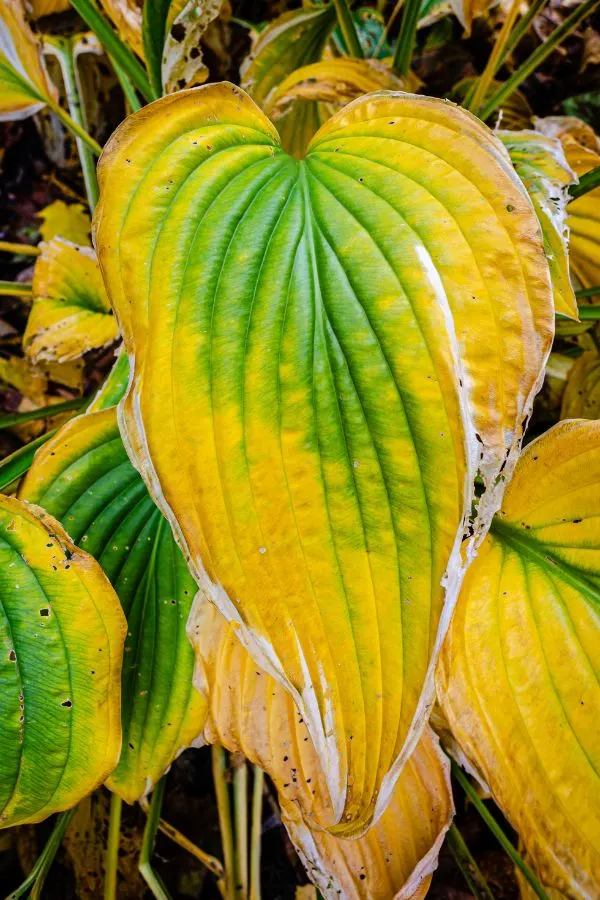
By summer’s end, the leafy plants are usually left tattered and torn. All too often, the plants are riddled with holes and have significant damage from hungry wildlife or pests looking for a quick meal. Even worse, the hot summer sun has also taken a toll, leaving the foliage weak, brittle and discolored.
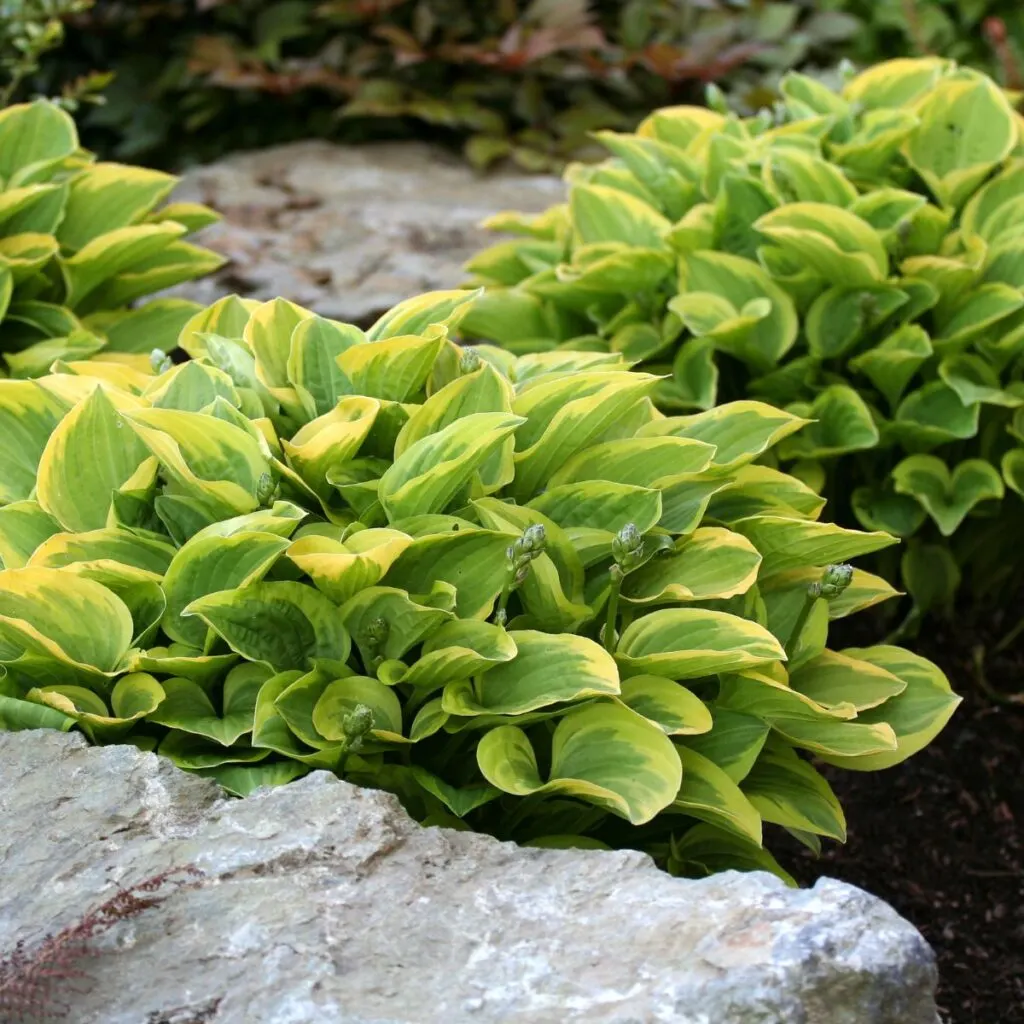
As the plants slowly deteriorate, it can certainly make for unsightly flowerbeds. But even more, in their weak and tattered condition, it leaves them even more vulnerable to damage from pests and the upcoming winter.
This can be especially true when your hostas have grown a bit too big for their space. As hostas mature, they tend to become overcrowded. Not just up top where their foliage grows, but more importantly, down under the soil where their roots grow.
Dealing With Overgrown Hostas – How To Divide Hostas In The Fall
When the roots of hostas become overcrowded, the plants begin to fail earlier and earlier with each passing year. In addition, blooming decreases as well. So much so that if they become too overgrown, they won’t even flower at all.
But by simply digging your plants up and splitting them into new divisions, you can revitalize your plants and keep them healthy, vibrant – and most importantly – growing and blooming strong for years.
Dividing large plants and transplanting smaller divisions gives the new roots the space they need. And more space means more nutrients and better growing capability – which of course leads to healthier and stronger foliage up top in the spring and summer.
The good news is that fall happens to be the perfect time for a little hosta care. Not just for cutting them back and preparing them for winter, but also for dividing and transplanting overgrown plants. All of which is easier than you can ever imagine!
Why Autumn? How To Divide Hostas In The Fall
Fall is an ideal time for division because hosta plants are just beginning to prepare for dormancy. In addition, the cooler temperatures reduce the stress on both the parent and newly divided plants.
But most importantly, dividing in the fall allows the new transplants a month or so to establish their roots before winter arrives. Unfortunately, waiting until spring to divide can have your hostas struggling the first year to grow to their full potential.
By dividing and transplanting in the fall, the roots have established and set y the time spring rolls around. That in turn means they are more than ready to grow right from the start in early spring!
How To Divide Hostas In The Fall
Cutting Back The Foliage
In early fall as your plants begin to fail or show signs of weakening, it’s time to jump into action. First and foremost, begin by cutting all of the foliage on your hostas back to within an inch or two of the soil surface. This is not just for the plants you will be dividing, but all of your hostas.
Why is cutting back foliage so important? Ultimately, leaving any rotting foliage in your beds allows pests and disease a perfect place to find a home. And once they find that home, they can overwinter to come back next year.
But cutting back plants also allows you to much more easily dig up and divide any overgrown plants. After all, with all of that foliage on top – it can be hard to see where to cut and divide!
As for how often to divide – a good rule of thumb for hosta plants is to do so every 3 to 5 years. This keeps the root structures stable and able to easily absorb the nutrients they need without being overcrowded.

Digging Out Overgrown Plants – How To Divide Hostas In The Fall
Before you get started, make sure to water the hostas a day or two before dividing them. Hydrated plants are more resilient during the division process. It also makes them easier to work and dig out.
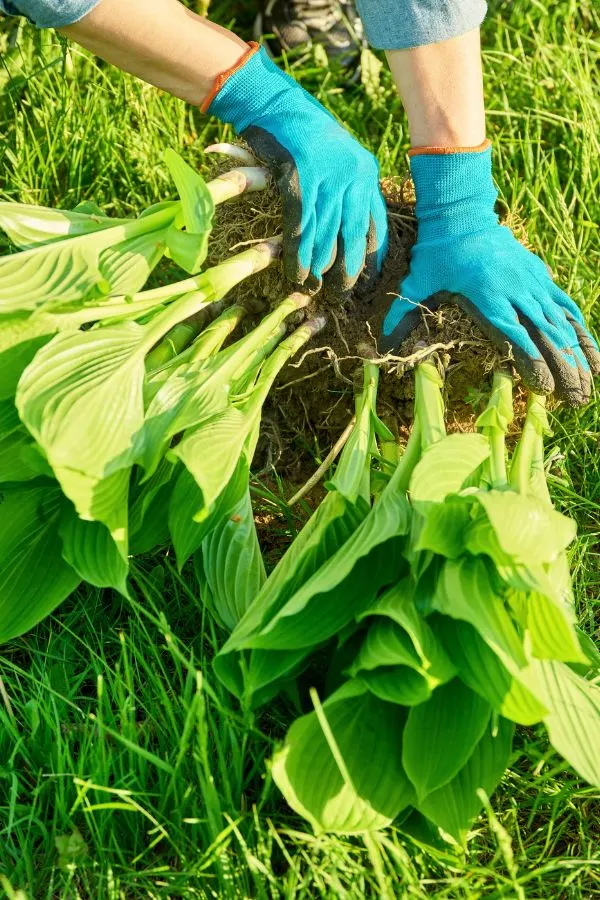
Using a sharp shovel, carefully dig around the perimeter of the hosta. Be sure to go around the entire edge slicing down into the soil three to four inches deep. Next, slice down deeper on one edge and lift the entire clump from the ground.
Do not worry if you happen to hit a few of the roots on the edge. Hostas are very resilient and can handle dividing quite well. If the hosta is severely overgrown, you may even have to dig it out in sections.
Once the plant is out of the ground, simply turn it over and slice it into equal divisions. By turning it over, you can see the entire root size easily. It makes dividing into equal sections far easier. Remember, the larger your starts, the larger the hosta will be next season. Next, it’s time to select the location where you’ll be planting the new hostas.
Transplanting – How To Divide Hostas In The Fall
Dig new transplant holes to about one-and-a-half times the size of the cutting. Next, mix in equal amounts of compost and soil into the hole and plant the new division so that the crown of the roots are level to the surface of the ground. See: How To Make Great Compost
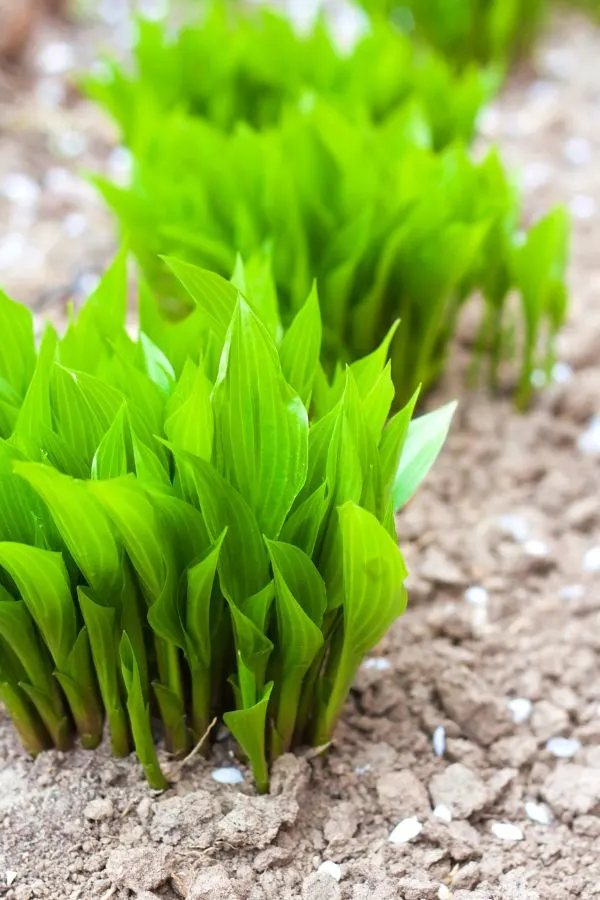
Depending on the weather, the newly divided transplants may send up new shoots before winter sets in. This simply means that the roots have become well established in the cool, fall soil. A hard frost or freeze will eventually kill back the new growth, and the plant will head into dormancy for the winter months.
Mulching For Winter Protection – How To Divide Hostas In The Fall
Once plants have been cut back and any divisions and transplants are in the ground, it’s time to give all of your hostas a protective layer of mulch before winter.
The mulching after you divide hostas in the fall can really make a big difference in keeping your perennials strong. Mulch helps insulate the plant’s roots against temperature swings. Swings that can cause excessive freezing and thawing can injure or even kill off plants.
In addition, mulching also helps keep competing weeds and weed seeds from blowing in and taking over. For fall mulching, begin by putting a light covering (about one inch) of compost over the crown of each plant. Next, place a two to three inch layer of traditional mulch all around the plant.
The compost provides a bit of insulation, it also acts as a slow release fertilizer for plants to help set roots. The mulch protects the plant and insulates the roots and together, the two will have your plants ready to grow come next spring!
Don’t Fertilize – How To Divide Hostas In The Fall
Lastly, one thing you should not do in the fall is fertilize your hosta plants. If you divide hostas in the fall and fertilize, this can promote too much growth, especially if the temperatures happen to stay warm. Growth that can leave the plant vulnerable in winter.
Instead, as you will see below, you can provide a bit of slow-growth nutrients with compost. (See: Why NOT To Fertilize Perennials In The Fall)
Here is to getting your hostas in shape this fall – and to having them look more beautiful than ever next spring and summer!
Follow Our Facebook Page For Even More Great Tips! Simple Garden Life Facebook Page
Simple Garden Life is a website dedicated to keeping gardening fun, simple and enjoyable! We publish two new articles each week along with a new garden podcast episode every two weeks. This article may contain affiliate links.
