Wondering what to do with your Black Eyed Susan after it blooms late in the summer? Believe it or not – what you do after they flower can play a big role in how well they perform next year!
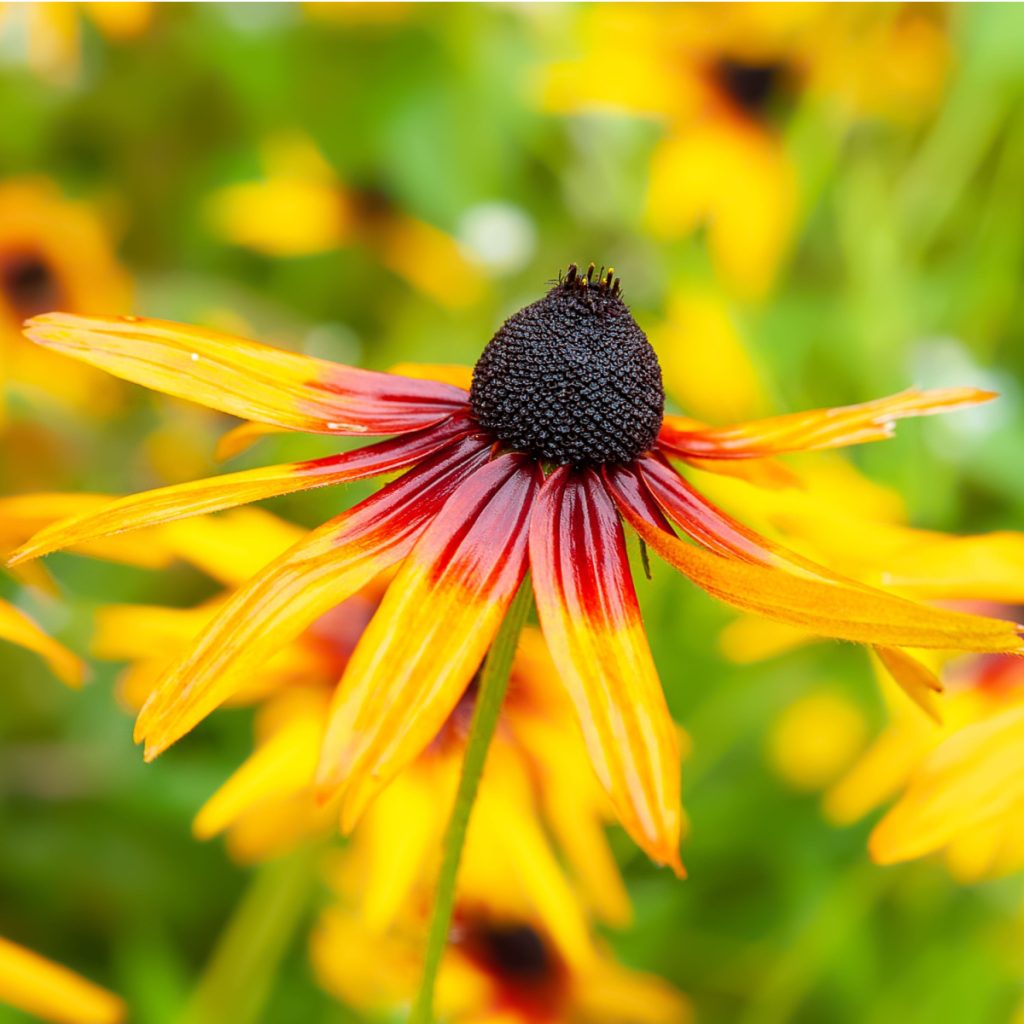
Black Eyed Susan plants can reach up to 2-3 feet in height and fill the landscape with big, bold color in the summer. It is one of the reasons so many gardeners love to keep it around. But the perennial is great for so many reasons.
Black Eyed Susan is highly pest resistant. Even better, it is both heat tolerant and drought resistant – and requires little to no maintenance or watering as it grows. But once it finishes its blooming cycle in late summer, there are a few simple and easy chores you perform on your plants that can help them not just prepare for winter – but for even better blooming next year!
What To Do With Black Eyed Susan After It Blooms
Deadheading Black Eyed Susan After It Blooms
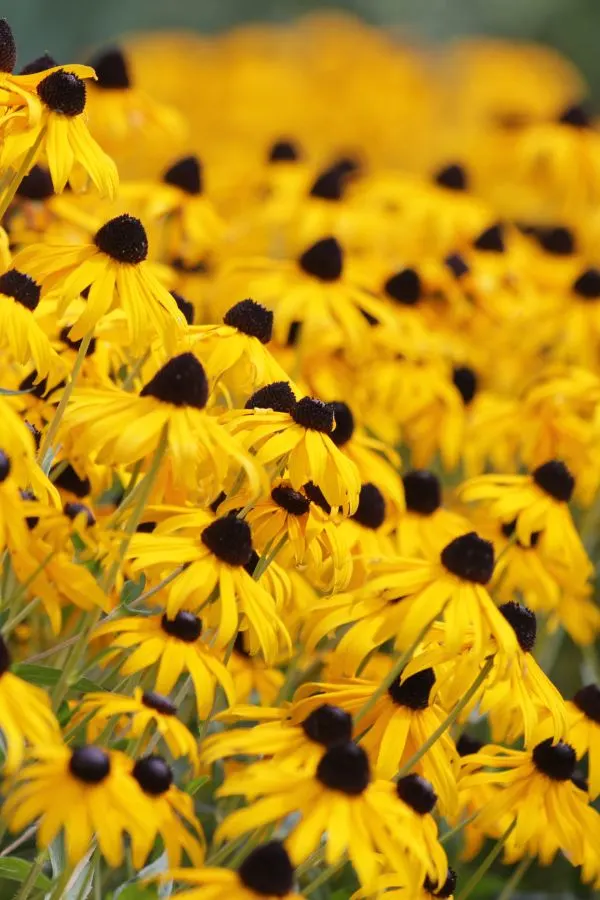
One of the most important things you can do for Black Eyed Susan is to deadhead its dying flowers as they begin to fade. Deadheading not only keeps your flowerbeds looking neat, but more importantly, helps the plants conserve energy.
As the plant’s flowers begin to fade, it will continue to send energy in order to try to heal or fix the bloom. And it will keep on doing this as long as the old flower remains. But by removing these old blooms, the plant then conserves energy.
In the beginning of its bloom cycle, this helps the remaining blooms unfurl bigger and brighter. But once the entire plant finishes flowering, removing the old blooms helps it to conserve power in its roots for winter – and for next year’s blooming cycle.
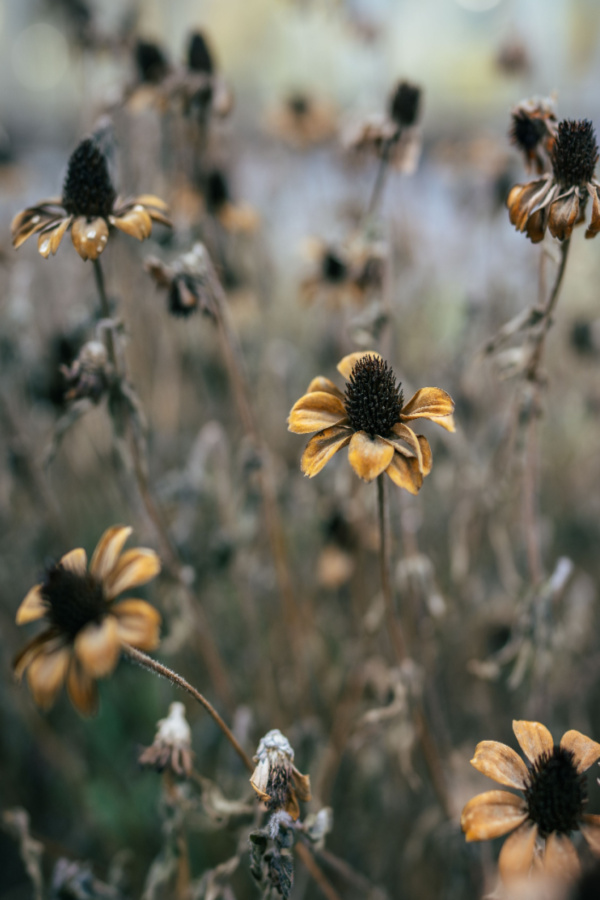
Once blooms begin to have petals and stems that are faded, they are past their prime. Another tell-tale sign is when the seed centers become dry or dull. Again, this is a sign that the bloom is on its downside and can be removed.

How To Deadhead
To deadhead, gently pinch or snip off the faded flowers just below the first leaf on the stem. If you’re dealing with quite a number of plants to prune, pruning shears can make for a faster fix. Affiliate Link: OARA Garden Hedge Shears For Trimming
Proper pruning early on will help with the development of more healthy buds with a more prolonged blooming period.
Some gardeners like to leave a few of the seed heads intact. Black-Eyed Susan seeds are a valuable food source for birds during the colder months. You can also lay out the seed heads from the plants you deadheaded to allow birds and other wildlife an easy snack.
Pruning Back In Late Summer
Once your Black Eyed Susan plant’s flowers have all started to fade in their entirety, it is time to prune the plants back to the ground. To do this, use clean, sharp garden shears and cut the stems down to a few inches above the ground.
This not only cleans up the plant’s appearance but also helps prevent disease and discourages pests from overwintering in the dead plant material. Even more importantly, it stops the plant from trying to mature its seed heads. And that means even more power is saved for handling winter, and growing and blooming next year.


Once your plants are cut back, if they have become large and overgrown, it is the perfect time to dig them up and divide them to create even more plants!
Dividing Overgrown Plants
Black-Eyed Susans benefit from division every few years to maintain their bold colors and prevent overcrowding. Early fall, after blooming, is the ideal time for this task.
It can be done in the spring, but it can leave plants weak for the same season blooming. By digging and dividing in the fall, they have time to set roots and get ready for big spring growth. See: Dividing Perennials In The Fall – The Simple Keys To Flowerbed Success!
To divide, start by carefully digging up the entire plant and gently separate the root clumps into sections. When replanting, loosen existing soil and amend with a bit of compost to help the new divisions take quickly.
Space each division about 1 to 3 feet apart to allow room for growth and prevent overcrowding. Division helps rejuvenate the plants and provides you with additional specimens for other areas of your garden.

As mentioned earlier, Black-Eyed Susan is known for its drought tolerance. Yet, if you have propagated or divided your plants, it’s always a good idea to give them a bit of moisture before mulching to set them up for success.
Preparing Black Eyed Susan For Winter
To ensure your Black-Eyed Susan thrives year after year, it’s essential to keep the soil they grow in healthy. Black Eyed Susan doesn’t require heavy fertilizing, but it will benefit from an inch or two layer of compost added around the plants in the fall after cutting back.
The nutrients and organic matter will slowly trickle to the roots, promoting robust growth for the upcoming growing season. Last but not least, apply a few inches of mulch over your plants. A layer of mulch helps retain moisture in the soil and keeps competing weed growth at bay. In colder climates, mulch also provides an extra layer of protection during winter.
Additional Care
It’s important to always keep an eye out for pests and diseases that might affect your Black Eyed Susan plants. Slugs, snails, and aphids will attack the plants now and then. The good news is that a natural repellent such as neem oil can quickly get rid of any invasion.
It’s important to note that if you spot any larger insects or birds nearby, that’s a normal occurrence. Bees and birds are particularly attracted to Black Eyed Susans and enjoy feeding off of their seeds and nectar.
Here is to taking care of your Black Eyed Susan plants after they flower. And, to bigger and brighter blooms next year!
Simple Garden Life
Follow Our Facebook Page For Even More Great Tips! Simple Garden Life Facebook Page
Simple Garden Life is a website dedicated to keeping gardening fun, simple and enjoyable! We publish two new articles each week along with a new garden podcast episode every two weeks. This article may contain affiliate links.