If you are looking to find the easiest way to plant all of those flower and vegetable transplants this year – you need to try using a drill auger planting bit – this one simple tool can allow you to quickly and painlessly get your transplants, bulbs, and perennials into the ground in no time at all!
Let’s face it, planting a garden can be a pain at times – literally! All of that bending over and digging with a trowel can be hard work. As can using a shovel to break through the ground to loosen the soil
This can be especially the case with heavy, clay-based soils or soils that are filled with rocks and other large debris. These dense soils can be almost impossible to break up and loosen with a shovel or hand trowel. But that is where a drill auger bit can really save the day!

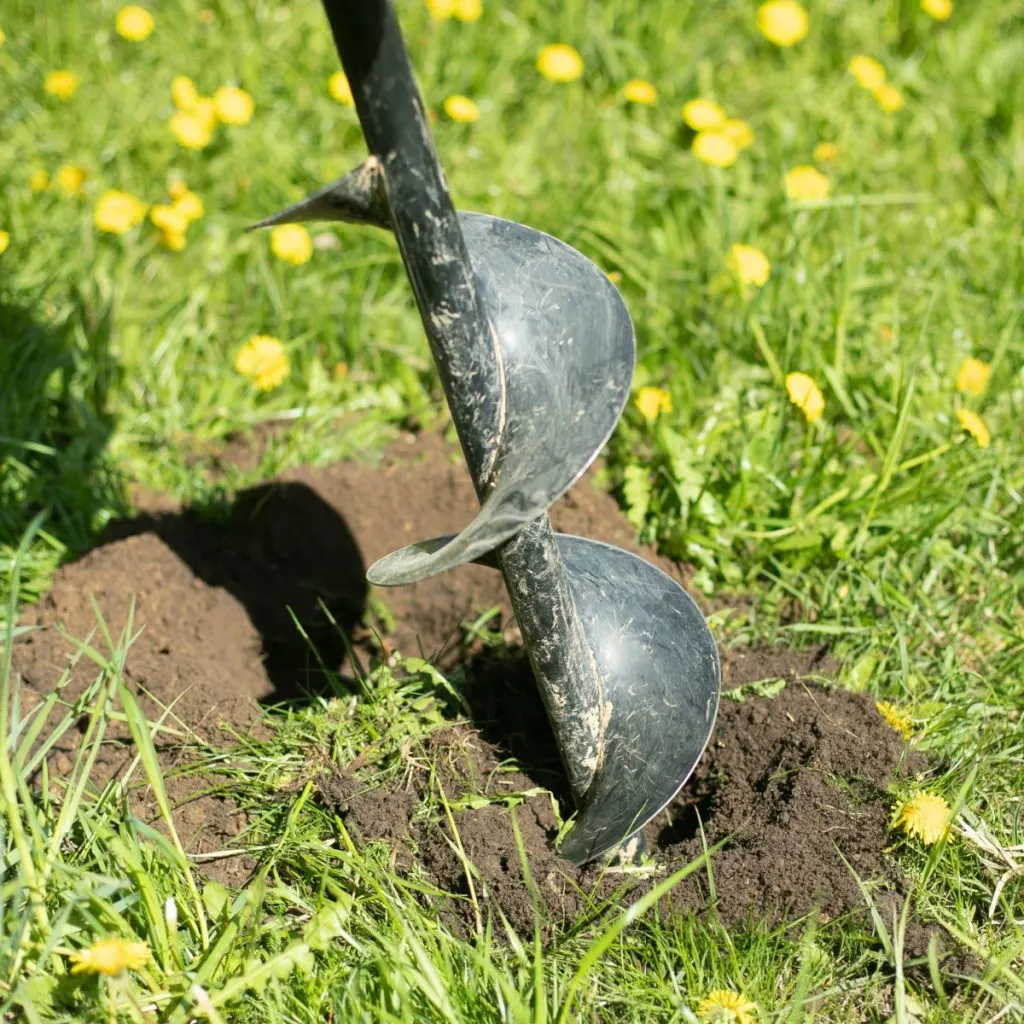
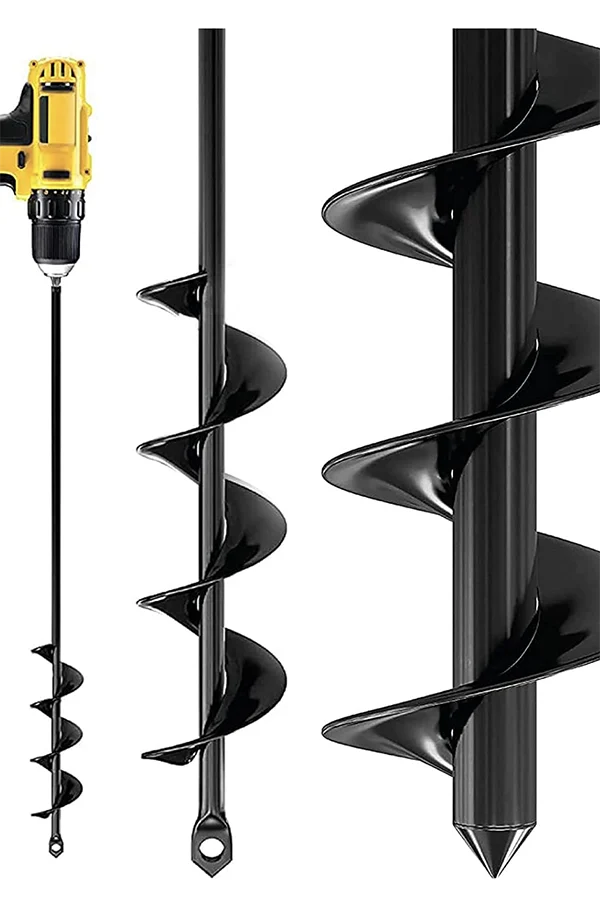
So what is a drill auger planting bit? The inexpensive tool attaches to almost any type of power drill that you likely already have in your toolbox. Think of it as an oversized drill bit. And once it is attached, you can let the drill and auger bit do the work of breaking through the tough soil instead of your back and arms!
But it isn’t just great for planting vegetable transplants, flower bulbs, root vegetables, and perennials. You can also use a drill auger bit to mix up batches of homemade potting soil or even stir up compost or worm casting tea with ease.
How To Use A Drill Auger Bit – The Easiest Way To Plant Ever!
Tips For Choosing A Drill Auger Bit
As with any project, having the right tool can go a long way in helping to speed up the process. Gardening is no exception. It can be daunting to look at a garden space and see how many holes you need to make just to plant a few vegetables or flowers.
The good news is a drill auger bit can make those holes in mere seconds – but it’s important to choose the right bit to do the job. With that in mind, skip purchasing drill auger bits that are made out of thinner metal or plastic. Unfortunately, they just won’t be able to hold up to most jobs you throw at it. Instead, choose a bit that is made out of good-quality steel.
The next step is to pick the correct size. Drill auger planting bits come in all sorts of different lengths as well as widths. Consider the types of plants you are going to be planting when picking your size. Usually, its best to have a few different size options available in your tool arsenal. (Affiliate Product Link: K-Brands 1.6×16” and 3.5×16” Steel Drill Auger Bits)
Planting With A Drill Auger Bit
Planting with a drill auger bit is relatively simple. Start by selecting the bit size that matches the plant or bulb you are planting into the ground. Attach the bit to a fully charged handheld drill and tighten the chuck completely.
It’s a good idea to have an additional battery pack on hand if you will be digging several holes. That way, you can quickly swap out a dead battery without waiting for a recharge.
Once the bit is attached, all you have to do is hold it perpendicular to the soil in the exact spot where you want to plant the item. Push on the back of the drill so the bit goes down several inches into the soil. Occasionally, raise the bit to the surface to help empty out the excess soil. It really is that easy!

Vegetable And Flowers Transplants
For planting items like vegetable and annual transplants, a longer bit works best. You can find several different widths of just a couple of inches all the way up to 6 inches (like the set featured near the top of the article). Focus on getting the soil nice and loose directly where you are planting.
Go down at least 8 inches or deeper. This allows the roots to expand quickly and be able to absorb nutrients better. Having loose soil deep down is especially important for plants like tomatoes and peppers that benefit from being planted deeply.
Add a few handfuls of compost to the bottom of the hole. The compost will help to keep the soil loose as well as add plenty of nutrients right where the plants need them. Add your transplant, backfill, and water well to help set the soil around the plant’s roots.
Fall Bulbs & Some Root Crops
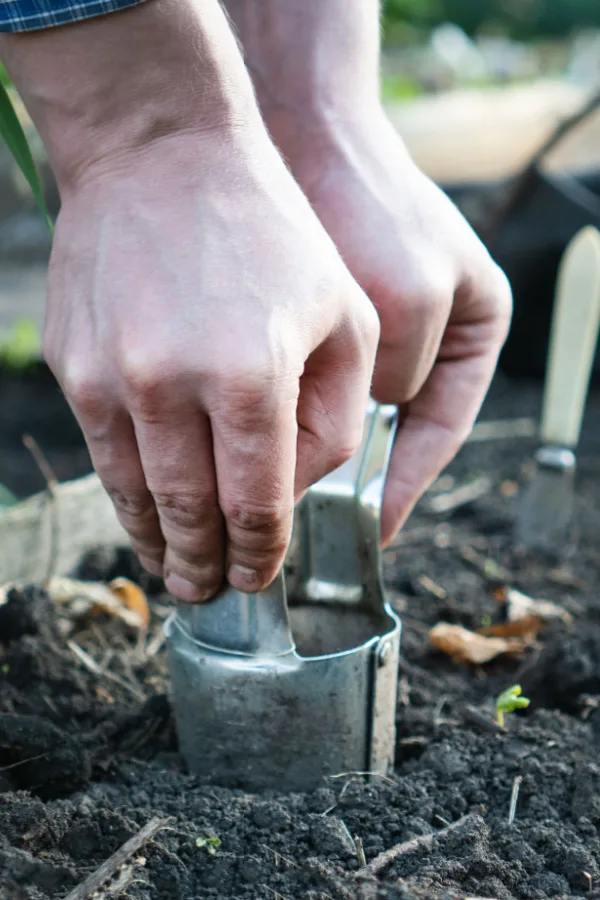
While there are traditional hand bulb planters, they definitely have limitations. Not only will they struggle to dig down into tougher soils, but they are physically taxing for the gardener. In addition, they don’t break apart and loosen the soil like a drill auger bit does.
When it comes to planting fall bulbs and some root crops, choose a drill auger bit that is around 6 to 9 inches long. A shorter bit allows you to get more leverage behind the drill and also allows you to quickly make several holes in no time at all.

As for the width, that will depend on what exactly you are planting. For larger items like bulbs and potatoes, choose a bit that is around 2 to 3 inches wide. For smaller items like garlic cloves or onion sets, use a bit that is around 1 to 2 inches wide. See our article Planting Fall Bulbs.
Trees, Shrubs, and Perennials
For bare root plants like trees, shrubs, and perennials, a larger 4-inch drill auger bit is best. You will probably need to stick with a shovel for large trees and shrubs with attached root masses though.
With bare root plants, you can simply move the drill up and down to create a larger hole with nice and loose soil. It also helps to break up the soil at the base of the hole where the most compacted soil tends to be.
As with the other items, add plenty of compost before planting. The compost will improve the soil composition and add in those needed extra nutrients. Backfill with soil and tamp down well before watering.
Whether you are planting your garden or flowerbeds, or adding perennials to your landscape, a drill auger bit is a great tool to have on hand!
Simple Garden Life
Follow Our Facebook Page For Even More Great Tips! Simple Garden Life Facebook Page
Simple Garden Life is a website dedicated to keeping gardening fun, simple and enjoyable! We publish two new articles each week along with a new garden podcast episode every two weeks. This article may contain affiliate links.

