Did you know you can save and replant mum seeds? It’s true! One of the best ways to save big on your fall planting and decorating budget is to save the seeds from your mums this fall. Not only is it possible, but it’s also easier than you might ever think to plant and grow new mums next year from seed!
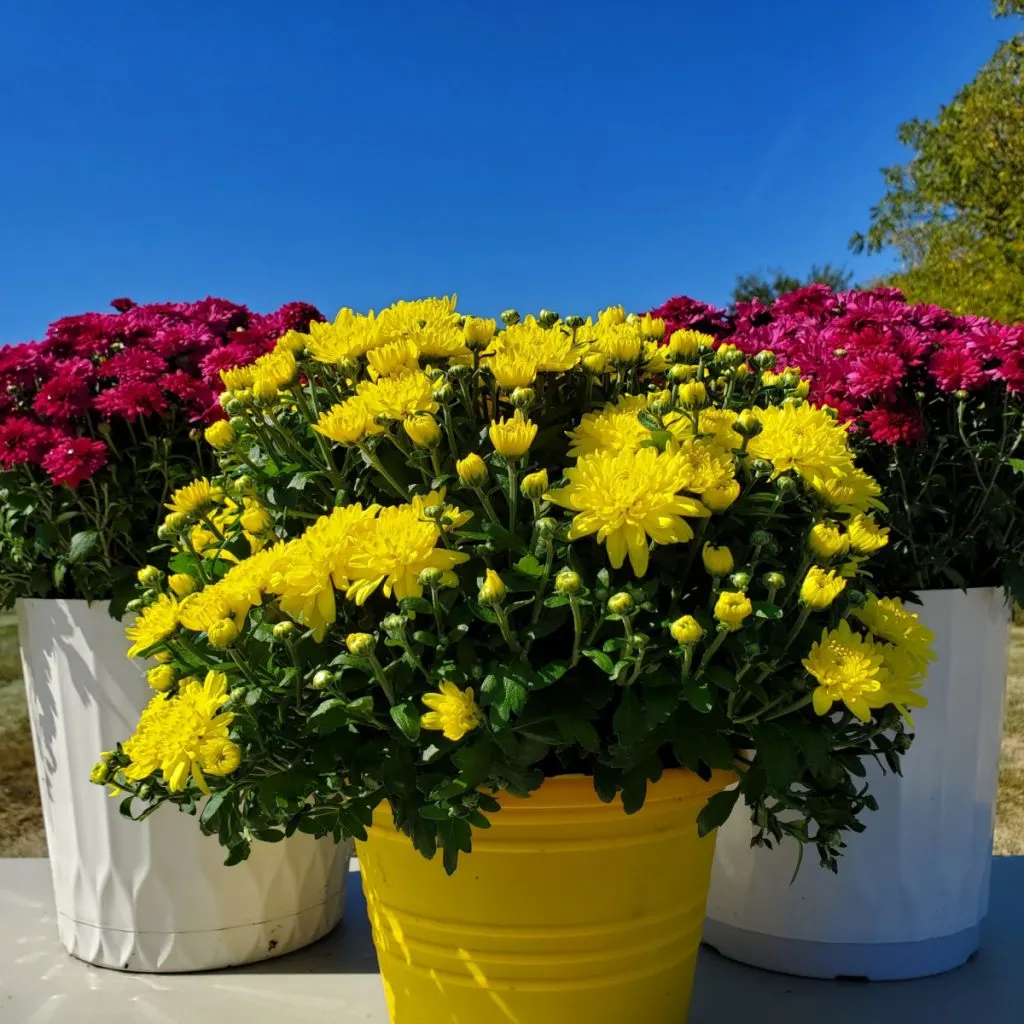
Mums, or chrysanthemums as they are officially known, bloom in bright, beautiful colors that are perfect for fall decorating. But one thing is for sure, buying mums each year can be costly. Especially if you like to use a lot of them for fall decorating!
Let’s face it, even though many mum varieties are hardy, it’s not always easy to save them in the fall. Although hardy mums can survive cooler temperatures and live through winter if planted in the ground early enough, when using them for displays, that can be a hard task to accomplish.

Unfortunately, the alternative of bringing potted mums in a garage or basement to overwinter isn’t always practical either. Not only can they be large, mums can be quite messy as they drop their foliage and blooms.
But that is exactly where saving seeds from this years mums can save the day. Not only can you grow as many mums as you need for free, you can also eliminate the hassle of attempting to save this year’s mums and overwinter them!
How To Save Mum Seeds – Grow Your Mums For Free Next Year!
Choosing the Right Mums for Seeds
The first key to saving seeds from mums successfully is to know which varieties you can grow. Not all mums are the same – and some seeds will not reproduce identical plants. In fact, some seeds of certain mums won’t produce anything at all.
To get mums that look exactly like the ones you have, it’s best to save seeds from open-pollinated or heirloom varieties, as these plants grow true to type.
Many mums sold in stores are hybrids, meaning they’re a mix of two different plants. When you save seeds from hybrids, the new plant might not grow to look like the original mum. Often, it will revert back to one of the original plants used to create the hybrid. And some times, it will develop into a completely new mum.

That can actually be fun for some gardeners to see what happens. But if you are not into surprises, remember that if you want a specific look, it’s important to select seeds from heirloom or open-pollinated mums. Affiliate Seed Link: Chrysanthemum Flower Seeds Mums Asteraceae Flower Seeds
How To Save Mum Seeds
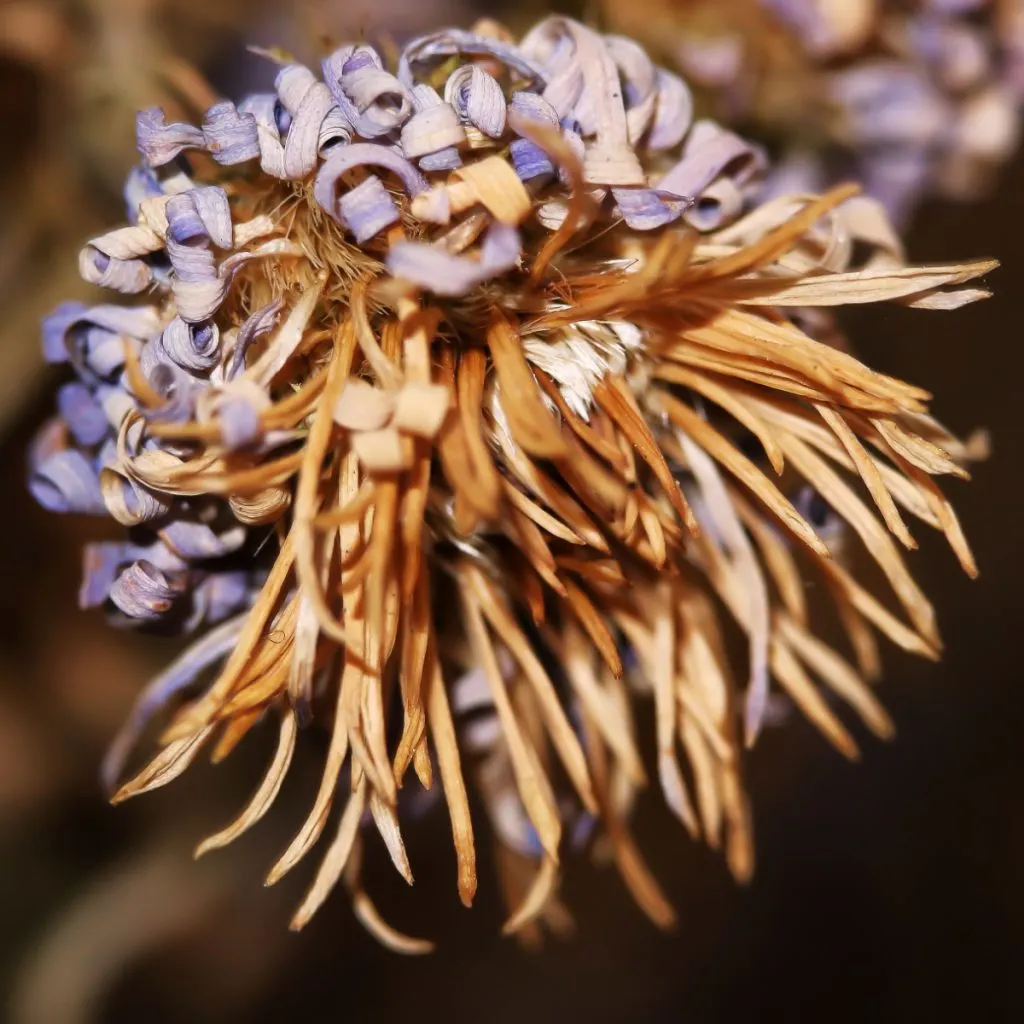
The first step of saving seeds is knowing when to save them. To be sure, timing is important. Always wait until the flower blooms have faded and the seed pods on the plant are completely dry.
If you harvest too early, the seeds might not have matured enough to grow. Unfortunately, if you wait too long, the pods might open and release and scatter their seeds. Usually, around six weeks after blooms start to fade is the best time to harvest the seeds. By then, the seed pods are dry and brown and easy to collect.
To harvest the seeds, cut or snap the seed pods off the plant using your fingers, scissors, or a small set of pruners. Place the pods on a flat surface with a paper plate or towel underneath.
Shake the pods gently to release the tiny seeds. Keep it close to the paper towel or plate as the seeds will scatter quite easily. Once the seeds are out, remove any leftover plant material, or “chaff,” so that you only have seeds remaining for storage.

Storing Seeds – How To Save Mum Seeds
Once separated, place your seeds in a small paper envelope or bag. Avoid plastic containers, as these can trap moisture and cause mold. Label the envelope with the date and any other helpful notes.
You can store your seeds in a cool, dry place, such as a refrigerator, but don’t freeze them. Freezing can actually harm the seeds and make them sterile.
Planting Mums In The Spring – How To Save Mum Seeds
To have your mums ready for fall blooms, you will need to start them in early spring. Start your seeds indoors about six to eight weeks before the last frost date in your area.
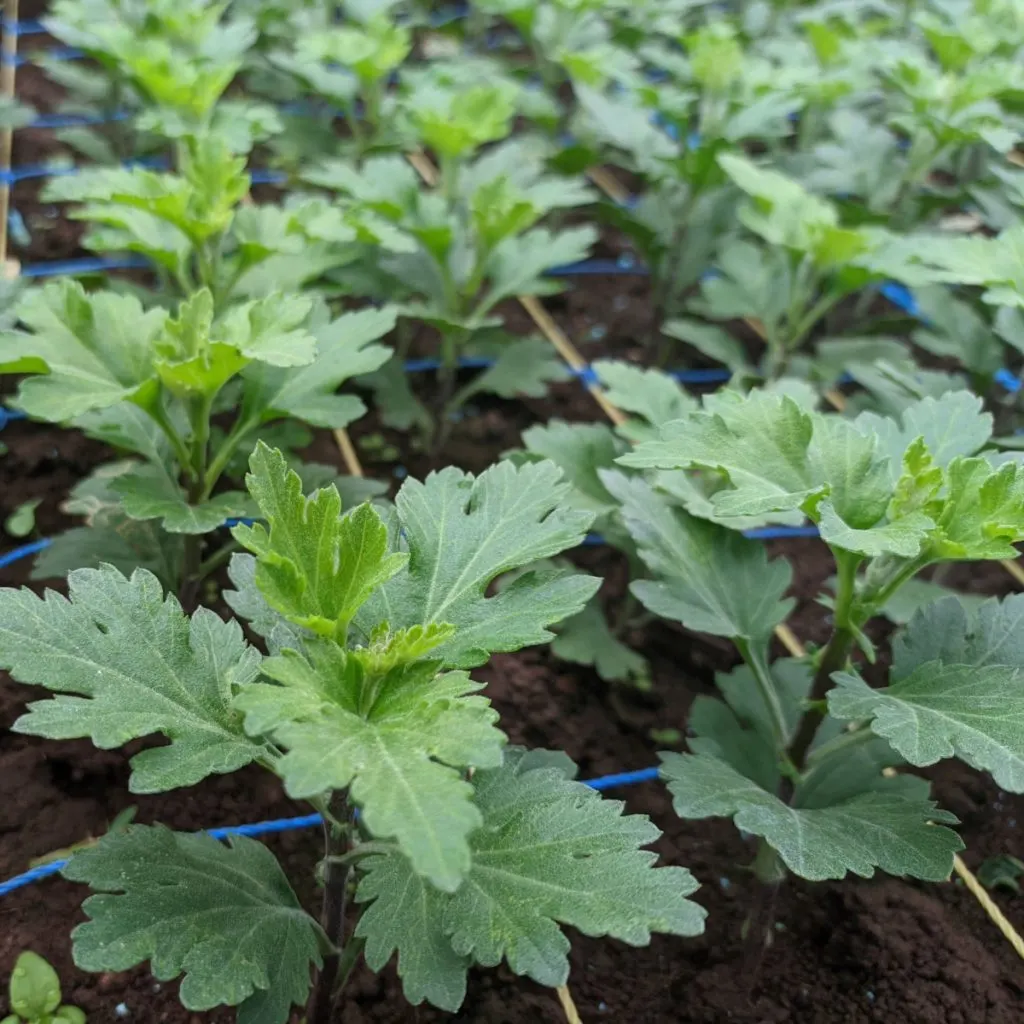
Use small pots or trays with seed-starting soil that drains well. Place a few seeds in each pot, lightly cover with soil and keep the soil moist. The seeds should start to sprout in 10 to 21 days. The process is identical to starting vegetable and flower seedlings. See: How To Start Vegetable Plants Indoors From Seeds – The 5 Secrets To Success!

Once they sprout, place them under grow lights or in a sunny area for faster growth. When the seedlings have a few leaves, thin them to one strong plant per pot. Keep them watered and continue to make sure they get enough light.
Once the seedlings reach 3 to 4 inches in height, they’re ready to move to larger pots or outdoors. Before planting them outside, harden them off by gradually exposing them to sunlight and outdoor air for a few hours each day over a week.
Be cautious of frost and bring them inside if it gets too cold. When planting outside, choose a sunny spot and water the mums regularly after first planting. Mums are fairly drought tolerant so only water if you experience long periods without rain.
Pruning Back – How To Save Mum Seeds
One of the last things you can do to help your mums flower bigger and better in the fall is to prune them back a bit in mid summer. In mid June to early July, pinch back the growth of your mums to about four to five inches.
This will help the plants from getting too leggy late in the season and have a more full bloom set. One note of caution – do not wait too late in the season for this step as you will cut off its future blooms!
Here is to saving seeds and growing your mums for free next year. And, to enjoying these beautiful flowers every fall without the extra cost of buying new plants each year. One thing is for sure, it’s an easy and rewarding way to fill your garden with color each autumn!
Simple Garden Life
Follow Our Facebook Page For Even More Great Tips! Simple Garden Life Facebook Page
Simple Garden Life is a website dedicated to keeping gardening fun, simple and enjoyable! We publish two new articles each week along with a new garden podcast episode every two weeks. This article may contain affiliate links.
