Looking for a way to reuse all of that potting soil that is still sitting in last years hanging baskets and containers? The good news is you can – and save big in the process!
Potting soil can be one of the biggest annual expenses of all for those who like to plant flowers and vegetables in pots, containers and hanging baskets. In fact, quite often, it can cost a gardener more for the soil filling their containers than the plants being potted in it!
But it just doesn’t have to be that way. Not when you can simply recharge and power your old potting soil back up. And is it ever easy to do!

Not only can reclaiming your old soil help you save big on your garden budget, with just a few simple steps, you can create amazing soil that can be just as productive as when you first purchased it – or maybe even better!
How To Reuse Old Potting Soil From Last Year – And Save Big!
Why Re-Energizing Old Potting Soil Is A Must
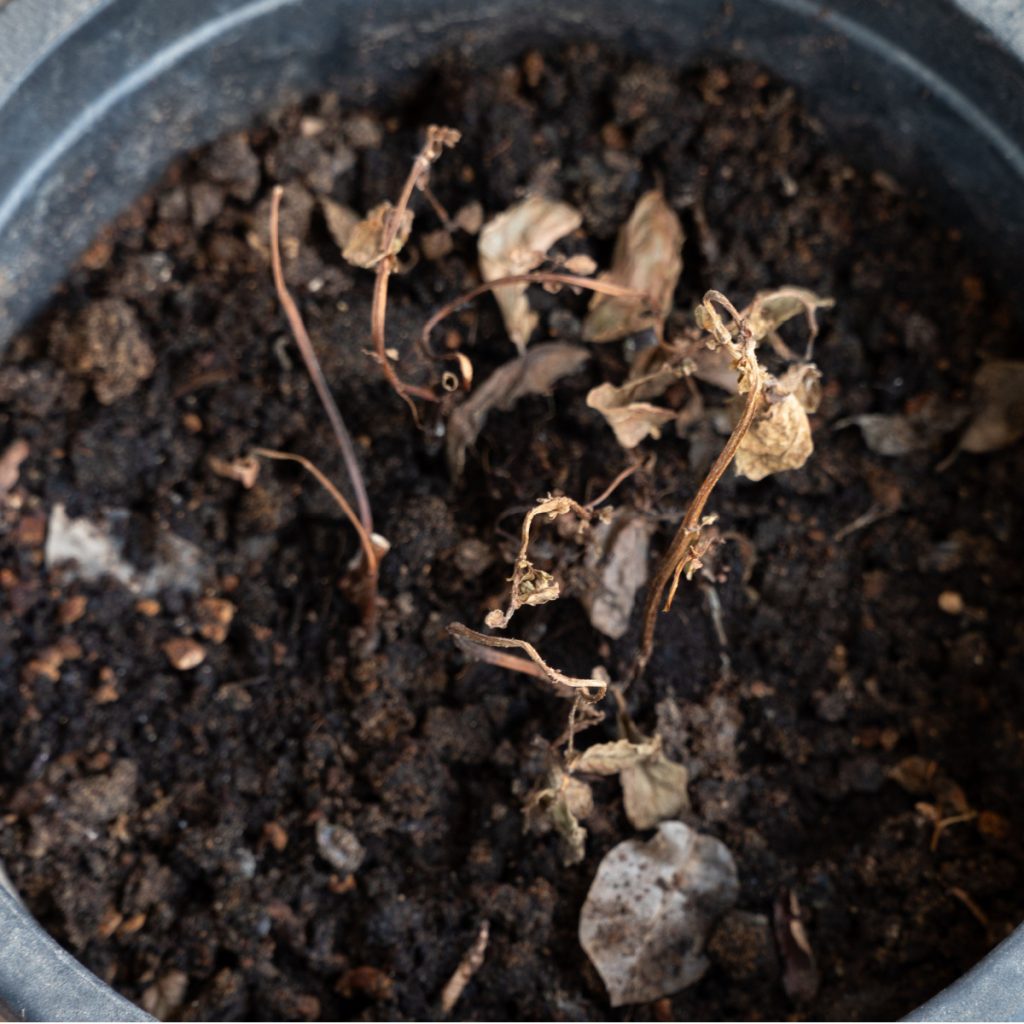
Although the soil in your old pots and hanging baskets might still look okay on the surface, it’s far from fertile. If you were to simply replant new flowers or vegetables into it, the results would more than likely be quite disappointing.
Annuals, vegetable plants, herbs and perennials all require a lot of nutrients to grow. And over time, those nutrients are depleted from the soil, leaving it lifeless in the process. Without rebuilding the energy, new plants simply can’t find the minerals and nutrients they need to flourish.
This is especially true when it comes when you grow flowering annuals and vegetable plants. When growing in pots, these plants require an enormous amount of energy to produce all of their blooms or fruit. And after just one season, the soil in the containers where the plants grew is all but lifeless.
That lifelessness is more than just the soil being void of nutrients. In addition to losing its nutrient levels, the soil structure itself breaks down. After a full season of growing plants, the soil is pots and baskets become loose, dry and weak. Because of that, it simply can’t hold in nutrients or moisture.

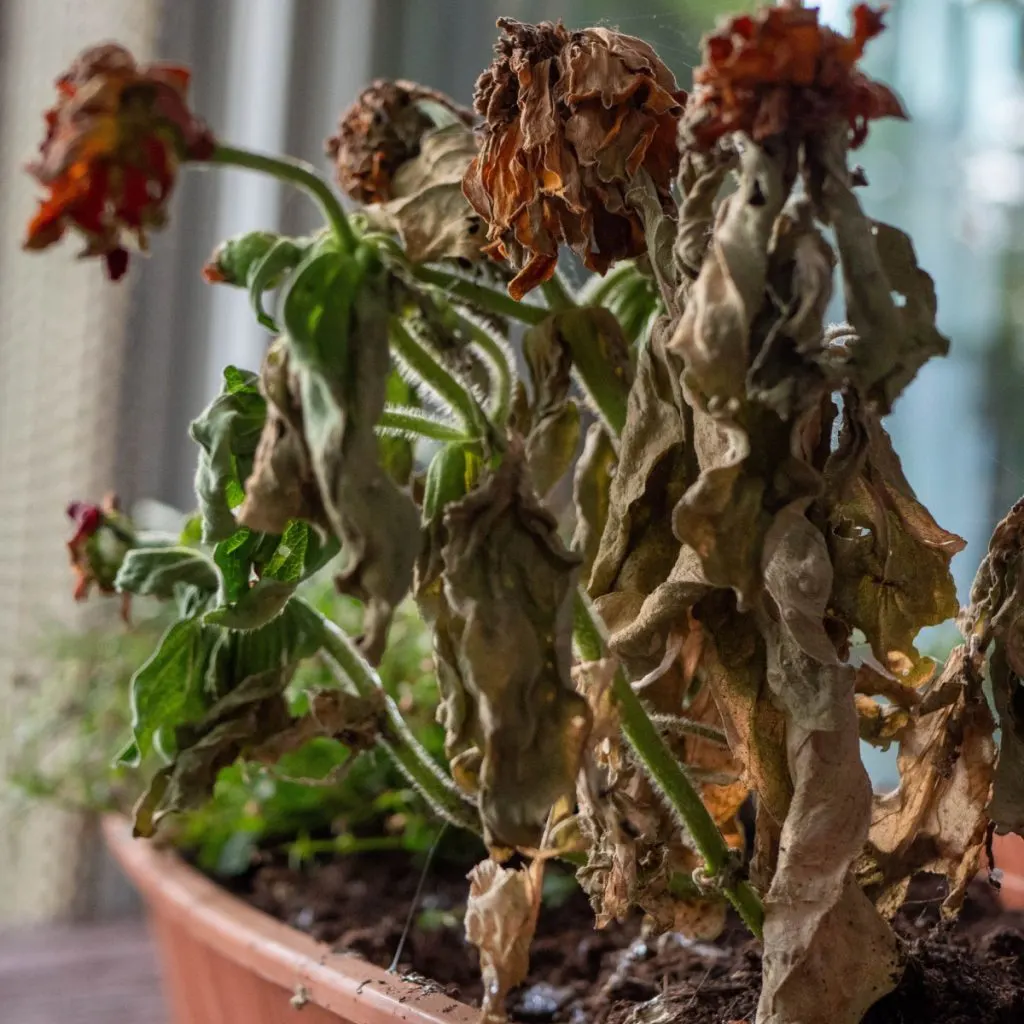
Finally, as that soil continues to break down and lose nutrients, it also becomes more prone to disease. Mold, mildew and a host of other issues can easily begin to appear in the soil. Of course, when they do, they can also infect and harm any plants that grow in it. But when you recharge the soil – all of those issues disappear.
How To Recharge & Reuse Old Potting Soil
So now that we have covered why you have to recharge old potting soil to use it again successfully – just how do you go about doing it?
There are actually two unique methods for recharging soil. One works well for those who clean out their containers and baskets in the fall before winter arrives. See our article: How To Compost Hanging Basket Soil & Plants In The Fall.
The other method – a quick charging method – is perfect for those who just didn’t get around to cleaning those pots out until now. And lets face it – that is the large majority of us!
Listen In Below To Our Podcast On Recharging Old Potting Soil For More Great Tips!
We’ve all been there. You have the best intentions of cleaning out the flowers or vegetables from your pots in late fall, but just never quite got around to it. Or maybe you at least took out the plants, but the soil is still in the baskets or containers.
Sometimes life gets in the way, but if this is your situation – no worries. You can still power up that old soil, and use it for powering your plants once again this year in short order.
The Quick Recharge Method
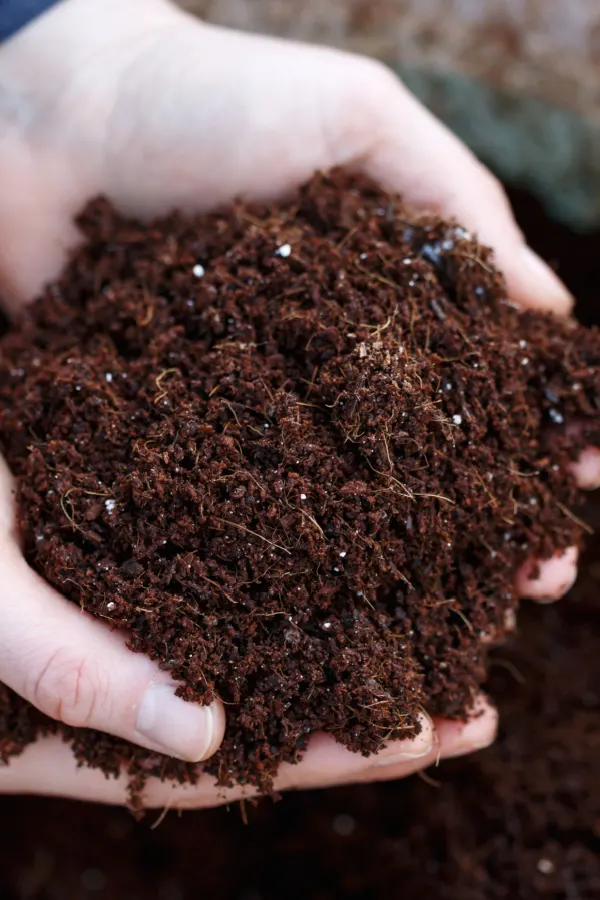
To bring your soil back to life, it will require a few ingredients to do the job. This will consist mainly compost, worm castings and a bit of perlite.
- Compost – finely shredded or screened compost works best. Affiliate Product: R&M Organics Premium Organic Compost
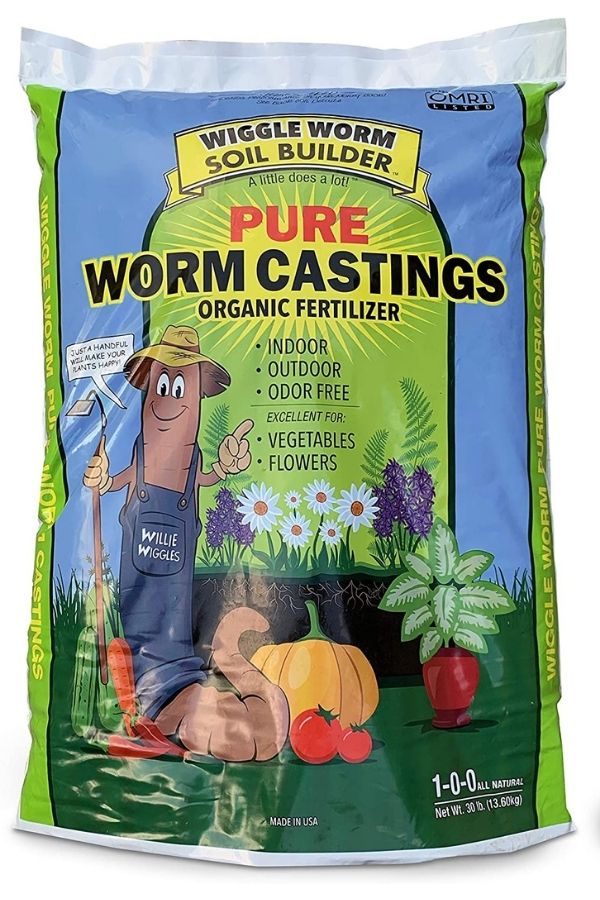
- Worm Castings – make sure you have 100% castings, not a filler product. Affiliate Link: 100% Pure Worm Castings
- Perlite – 100% organic soil lightener, made from volcanic glass. Affiliate Link: 10QT Horticultural Perlite
Yes, there is an expense for this – but it allows you to recharge all of the soil on hand – at far less cost than replacing it all. Best of all, you are left with even more great potting soil!

Spring Recharging
To reuse old potting soil in the spring start by placing all of your old soil in a single pile. If you have just a few pots, a wheelbarrow will work great for this. If you have have more, a tarp on the ground works wonders. Be sure to remove all of the old plants and roots from the soil before creating your soil pile.
To the pile, you will be adding each of the three new ingredients. Start by adding compost. However big your pile of old soil, add about 1/3rd additional compost to it. Compost recharges and adds incredible structure the soil. The finer the compost is, the better for potting soil.
Next, add in the worms castings. As for how much to add, 2 to 3 cups of castings for every 5 gallon bucket of old potting soil is a good rule of thumb. Like compost, worm castings add incredible energy and power to the soil. Slow and steady power.
Worm castings also helps with absorbing moisture, building back the soil structure that is so vital to plants. Although compost is great on its own – adding the worm castings in with it makes all the difference!

Don’t Forget The Perlite
Finally, add in a bit of perlite as well to help loosen and lighten the mix. Perlite is volcanic glass that has been heated and exploded into tiny white pellets. It helps to keep soil from compacting.
Although your existing old potting soil may have some already in it, add a cup or two for every 5 gallon bucket of old soil. This will go a long way in helping your pots to drain well and perform better.
Your old potting soil is full of life – and ready to reuse. Here is to getting the most from your gardening budget this year, and to having container plants that grow like crazy!
Simple Garden Life
Follow Our Facebook Page For Even More Great Tips! Simple Garden Life Facebook Page
Simple Garden Life is a website dedicated to keeping gardening fun, simple and enjoyable! We publish two new articles each week along with a new garden podcast episode every two weeks. This article may contain affiliate links.