Now that the weather is starting to cool off and the daylight is getting shorter, it’s time to start thinking about dividing, re-potting, and keeping your ferns over the winter this year!
Ferns are shade-loving plants that make a great addition to areas on your property that are hidden in the shadows. Places like under porches or the eves of your roof are perfect locations for ferns.
Pretty much any place that receives full shade, low light, or even bright indirect light is a great place for ferns to grow and flourish.
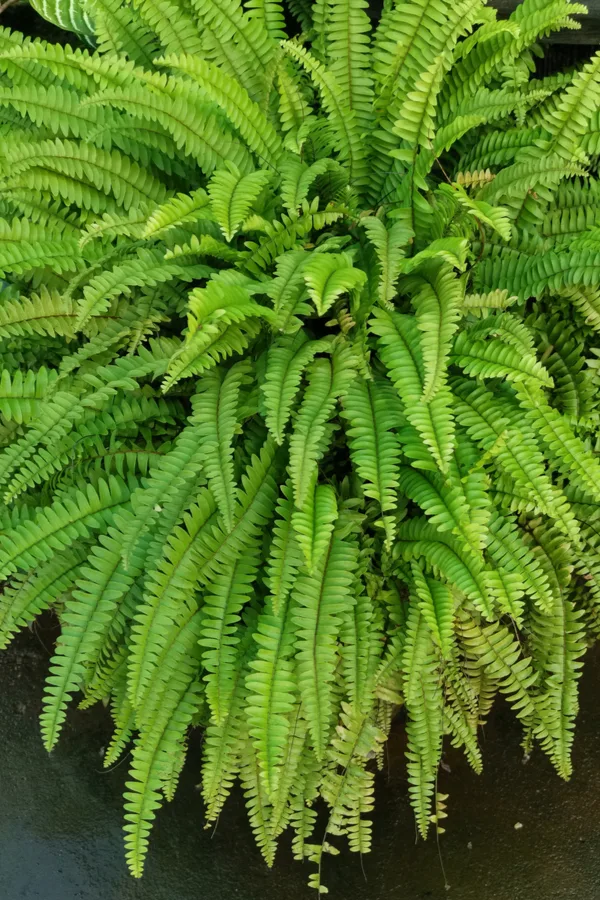
However, as autumn arrives, your ferns have likely grown to become sizable plants. And even though their foliage is full and beautiful, chances are they have outgrown their current container.
Instead of just waiting until the first frost kills them, give them a second chance by dividing, re-potting, and keeping your ferns over the winter to use again next year.
Why Should You Divide Ferns In The Fall – How To Keep Ferns Over The Winter
So, why should you consider dividing ferns in the Fall instead of just replacing them every year? Or, if you do plan to overwinter them, why would you need to divide the plant?
To begin with, it takes a lot of space to store a huge, overgrown fern in your home. Not many people have that much space to store huge, overgrown plants.
In addition, watering can become an issue in the fall. Once your ferns start to become overgrown, their root-bound soil makes it almost impossible to absorb water correctly. Every time you water your ferns, it just goes right past their roots and on out the bottom of the container.
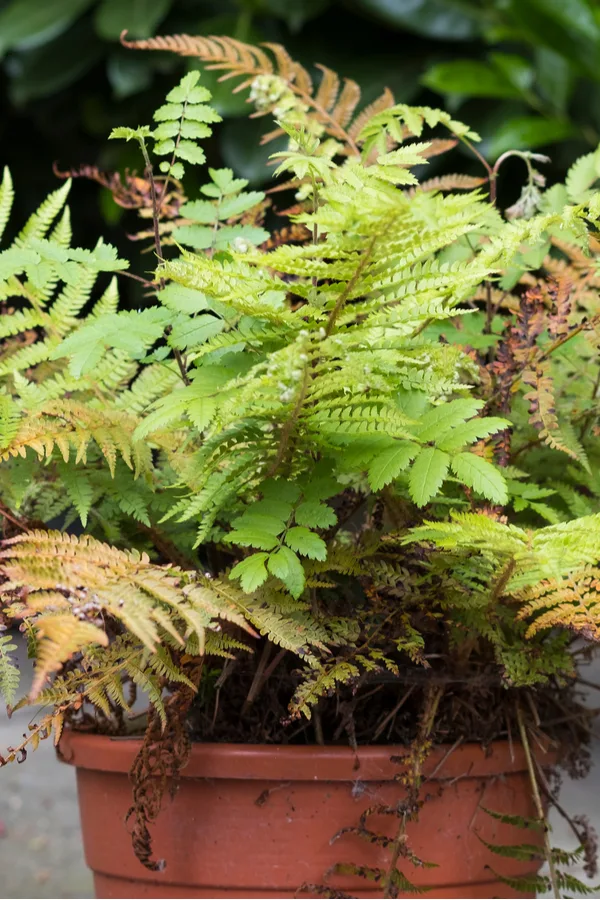
Lastly, if you’ve ever purchased a fern at a local nursery, then you know just how expensive it can be to buy them every year. With overwintering being so easy to do, it doesn’t make sense to keep wasting your hard-earned money on replacements.
Luckily, splitting over-sized ferns is easy to do in the early fall. It allows you to have multiple smaller plants that are a lot more manageable in addition to saving money come next spring.
Dividing, Repotting, And Keeping Ferns Over The Winter
Removing The Fern From Its Container
You can actually divide ferns any time during their growing season, but doing so in the Fall gives you more manageable plants to overwinter.
A few days before you plan on dividing your ferns, stop watering them. This allows the roots to dry up and shrink a little bit, making cutting easier (and less messy, too).
Once you are ready, it’s best to trim back the entire plant down to just a few inches of growth using a sharp pair of garden shears or scissors. This allows the new foliage to grow faster and makes transplanting much easier. (Don’t forget that all of those cuttings are perfect to add to your compost pile!)
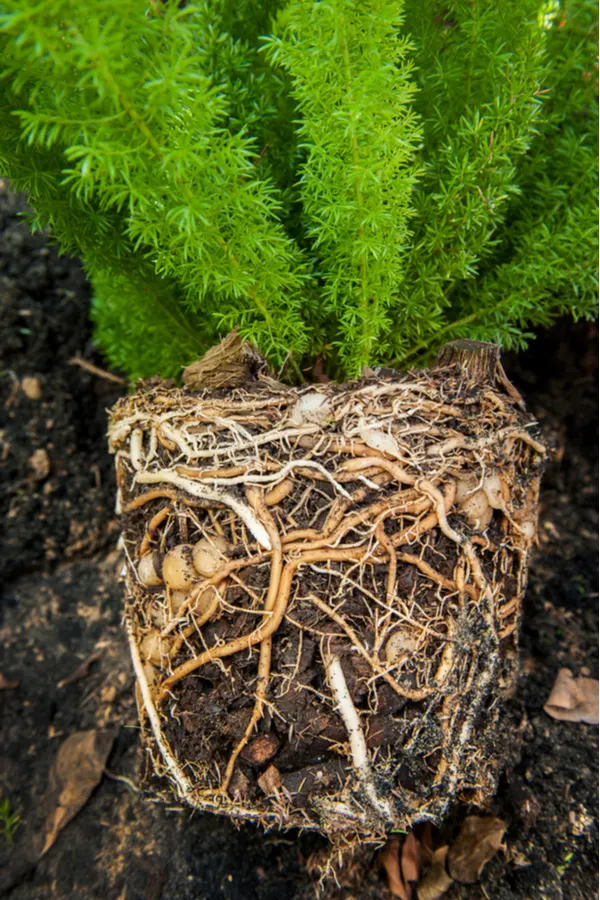
Next, turn the container on its side and pull the fern out. They typically come out pretty easily late in the season. Don’t worry about damaging the foliage or roots; They can withstand some manhandling.
You may need to use scissors to cut any roots that have grown through the holes of your container until your plant is free. Finally, brush or shake off any of the loose soil.
The Dividing Process – How To Keep Ferns Over The Winter
You will need a sharp shovel, a serrated knife, or even something like a Hori-Hori Tool for this next step. Again, don’t worry about harming the fern since they are pretty tough.
(Need advice on other great gardening tools, check out this podcast, 8 Simple Garden Tools & Gadgets Every Gardener Should Own.)
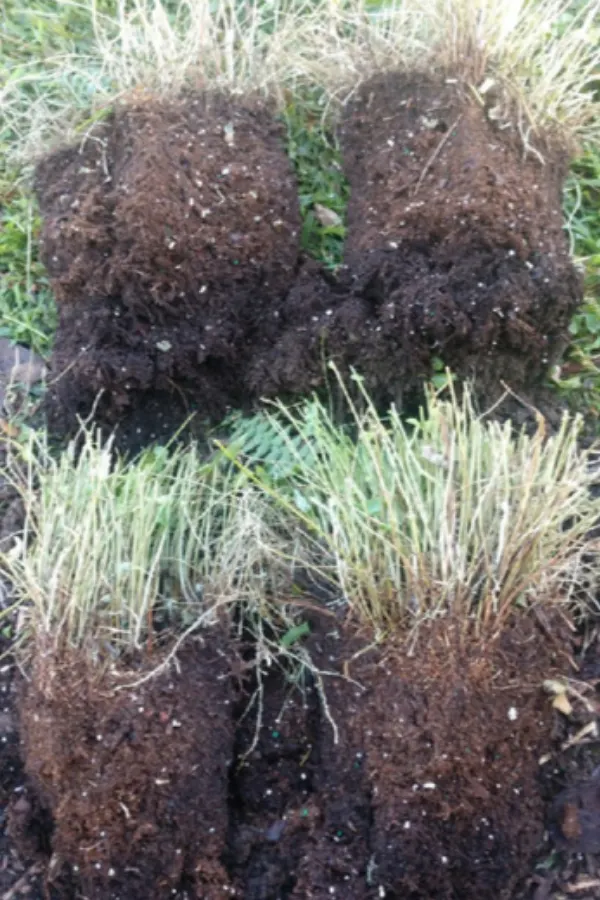
Use the cutting tool of choice and divide the root ball into equal portions to create your new plants. You should be able to get 3 to 4 plants from one oversized fern. Make sure you are getting several fronds attached to a good amount of roots.
Re-potting The Fern – How To Keep Ferns Over The Winter
It’s now time to re-pot your smaller fern plants. You don’t want to choose containers that are much larger than the newly divided fern. Use containers that are about a quarter or a third larger than the size of the new plant’s root ball for best results.
Fill your container with a high-quality potting mix, leaving space for the root ball. Add your plant and back fill around the roots and up to the edges of the container. Press gently to firm the soil and water the plant in well.
You do not need to add fertilizer when you overwinter ferns. The potting mix will have more than enough nutrients to get the fern through the winter, especially if it goes dormant.
Bringing Ferns Indoors – How To Keep Ferns Over The Winter
Keep your newly divided plants outside in a shady location as long as the weather is warm enough in the Fall. This will help new growth begin before you have to bring them indoors. New growth should occur in just a few weeks.
Once there is a threat of frost in the forecast, you will need to bring the ferns inside. It does not matter whether new growth has occurred or not at this point. Frost will kill the fern, so they must be kept inside in order to live.
Indoor Location
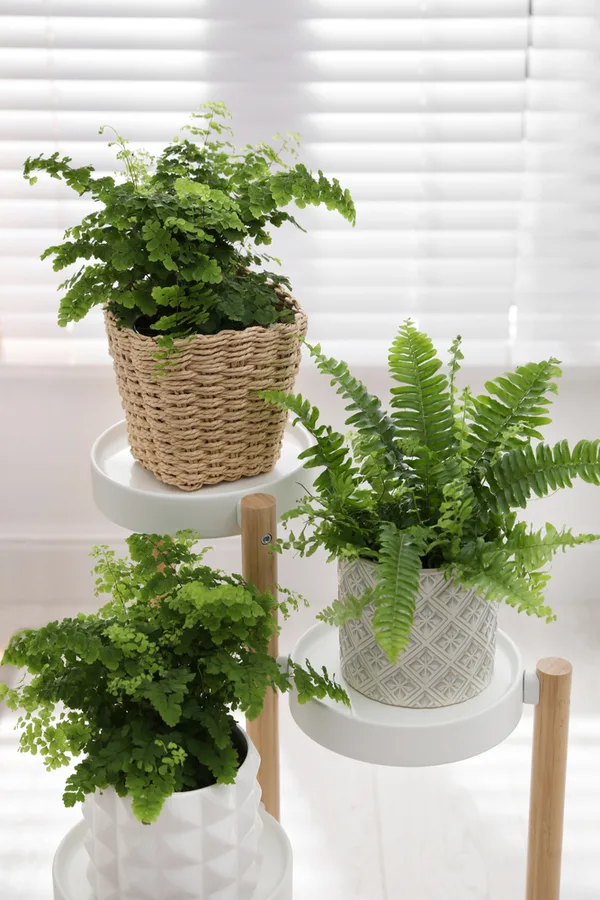
Place ferns somewhere that has a moderate amount of indirect lighting. A cool basement with a window well works perfectly for this. Even a corner of a room that has a bit of natural light coming in from a window works, too.
Try to avoid locations that have South-facing windows, and don’t place the plant directly in the window. The combination of the sun’s rays and heat coming in through the window can easily burn the new foliage.
Watering
Water your ferns only when the soil is completely dried out. This will likely be just once a week. Only water until the soil is moist; You don’t want it saturated and soggy.
Certain tropical ferns can benefit from a light misting on their foliage every few days as well. Just use a spray bottle with water to accomplish this.
After Winter
Once the weather starts to warm up and the threat of frost is gone, you can take your ferns back outside. Remember to place them in a shady location and bring them back indoors if the weather drops too low.
To Conclude – How To Keep Your Ferns Over The Winter
By dividing, re-potting, and overwintering your ferns in the early Fall, you will be able to give them a second life – One that isn’t destined for the compost pile or trash bin!
