If you are looking for a great way to stretch your gardening budget for next year, then you need to consider saving the tomato seeds from the tomatoes coming from your garden right now. Not only can it allow you to have free seeds for next year – it can also help you grow even better tomatoes!
As intimidating as it might sound, it is really simple and easy to save your own tomato seeds. It doesn’t require any special equipment, nor is the process filled with long or confusing steps.
And best of all – it is the perfect way to preserve the seeds from only the best of the best tomatoes from your garden harvest. And when you do that, you can all but ensure that only the biggest, most flavorful tomatoes make their way back into your garden year after year!

In addition, when you control which seeds you save, you also improve your seed stock and increase the germination rate. The result is healthier and stronger plants with each passing year – and of course, better and better tomato harvests.
With saving your own tomato seeds in mind, here is a look at a few simple tips and tricks that can have you growing amazing tomato plants next year, for free!
How To Save Tomato Seeds Now For Next Year
Which Seeds To Save
The first thing to know about saving tomato seeds is that not all varieties can be saved and produce similar tomatoes. Essentially, tomato plants come in two main types: hybrid or open-pollinated tomato varieties.
Hybrid tomatoes are those that are a cross between two or more plants to create a brand new plant. Examples of these would be Early Girl or Better Boy tomatoes. (Affiliate Product Link: Hybrid Tomato Varieties)
When you save the seeds of hybrid plants, you will not get an exact copy of the plant you just grew. Instead, you will likely end up with one of the parent plants that were crossed to create it – or possibly even a brand new mutation altogether! That’s typically a chance that most gardeners don’t want to take.

Open-pollinated tomatoes, on the other hand, are plants that are fertilized by pollinators or are self-pollinated. The plants they create from their seeds will turn into exact copies of the plant and are perfect for saving year to year.
Heirloom tomatoes are examples of open-pollinated plants that are saved and passed down from generation to generation. When you save the seeds from these types of plants, you know exactly what you will be getting. (Affiliate Product Links: Open-Pollinated and Heirloom Tomato Seeds)
How To Tell The Difference
You can’t typically tell the difference between the two types of plants just by looking at the growing tomato. Instead, the best place to learn what you are growing is by looking at the seed packet.
The packet should tell you whether it is a hybrid or an open-pollinated plant. If not, you can always do a simple search to look up the variety online. Most all seed companies will sort the seeds based on plant type.
If you purchased your plant as a transplant, you can also look up the plant type to find out if it is open-pollinated or not.
How To Save Tomato Seeds From The Tomatoes You Are Harvesting
With most vegetable or plant seeds like peppers, cucumbers and zucchini, you simply dry the seed out and store them for planting the following spring. But tomatoes are a bit different. Before saving, you have to first get rid of the gelatinous coating that surrounds the seeds.
This coating, if left, can cause issues when the seeds go to germinate next year. In the “wild,” after a tomato drops onto the soil, this coating would simply rot and decompose along with the tomato. Eventually, the seed is able to germinate in the soil naturally.

In a controlled environment where the seed is just plucked and saved from the tomato, you need to remove this coating first before drying out the seeds for easier germination later on. To do this, you ferment the tomato seeds. It may sound complicated, but its actually a super simple process.
Fermenting Tomato Seeds
Selecting The Best Tomato
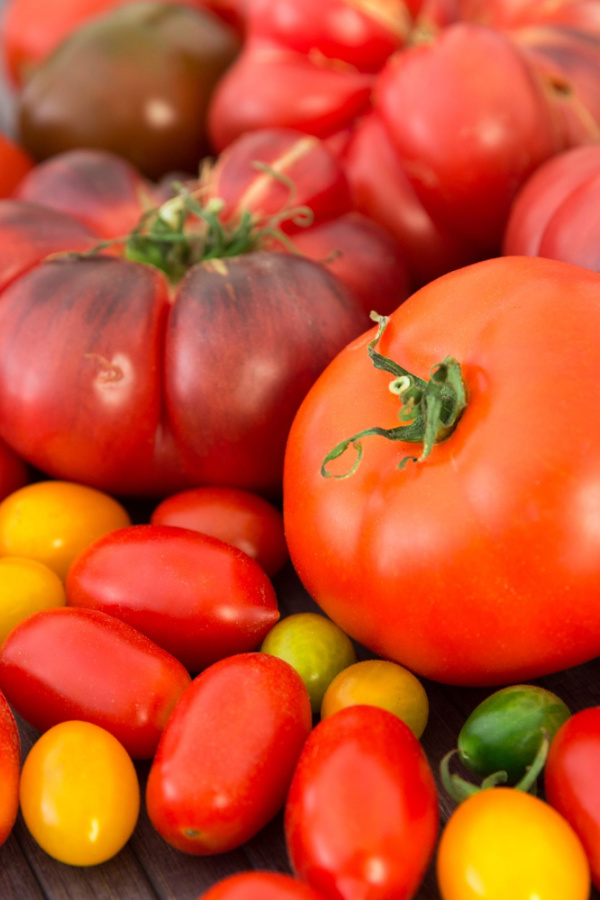
To have the best success with saving viable, strong tomato seeds, you need to start with the best tomatoes. Choose a big, ripe tomato from your best and healthiest open-pollinated tomato plant.
By choosing a tomato from your best plant, you are setting up the seed for success right from the start. When you start with good genetics, it increases the odds that the best traits and characteristics will pass on to the future plant.
Creating The Fermentation Jar
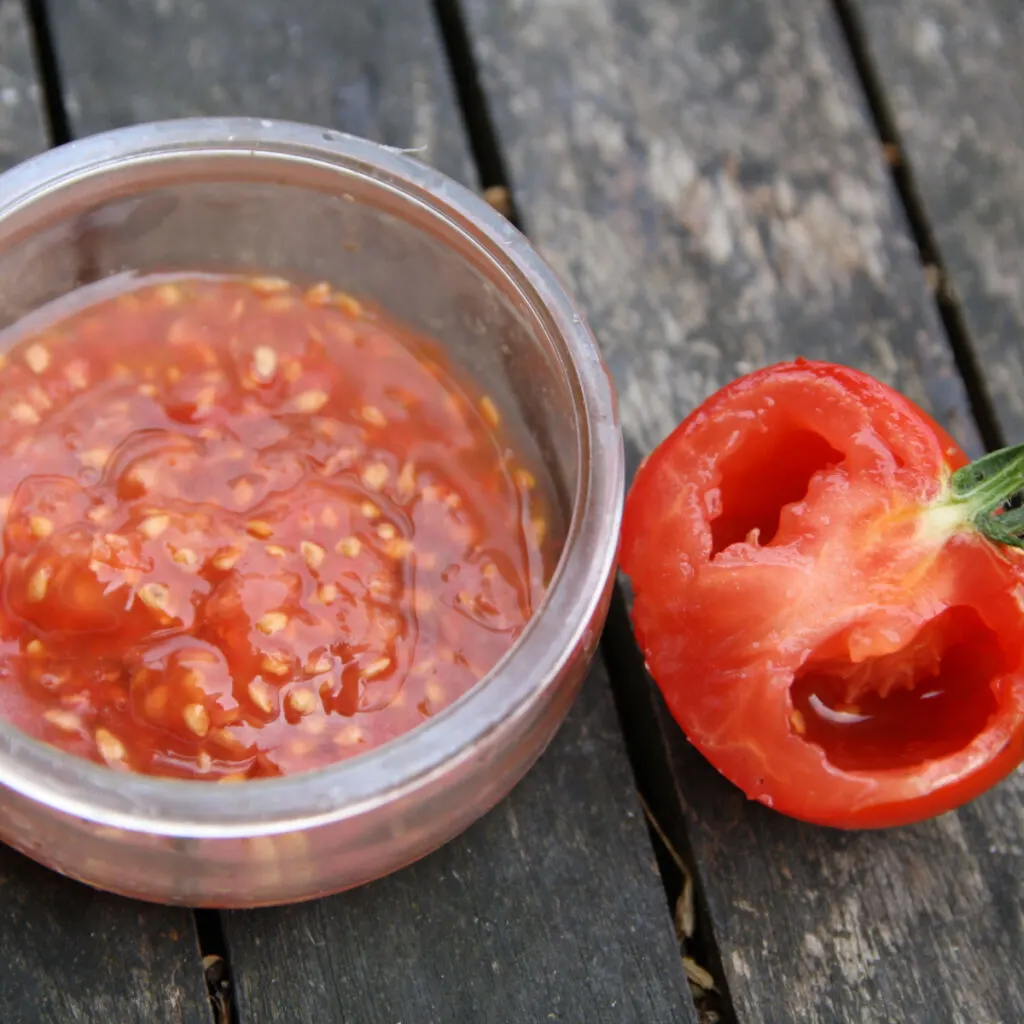
After you pick the best tomato, cut it in half to expose the seeds and the jelly-like substance surrounding the seeds. Use a small spoon to scoop out the seeds and jelly and pour it into a clean mason jar.
Gather as many seeds as you can from the same tomato. As for once you take the seeds, by all means enjoy the rest of the tomato. After all, there is no need to waste a great tomato!
Next, place a paper towel or cheesecloth over the jar and secure it with a rubber band. You can leave the bottle open, but this will help to deter fruit flies and cut down on any odors from the fermenting process. Just ensure that the covering still allows airflow.
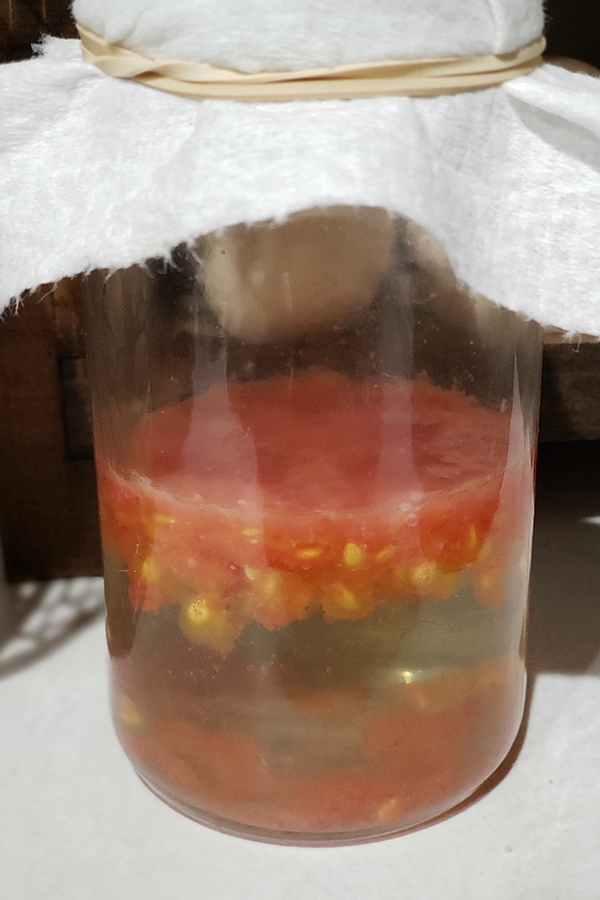

Put the jar in a warm location out of direct sunlight. The jar will start to put off a bit of a strong odor after a few days. Because of this, choose a spot that is away from everyday traffic. Allow it to sit undisturbed for a few days.
After five to seven days, the jelly will start to break down and decompose. You will likely see a layer of white or green fuzzy mold form on the top. Don’t worry – this is actually what you want to have happen!
Wash and Rinse – How To Save Tomato Seeds
When you see that layer form over the top, it’s time to wash and rinse the contents of the jar. Add a few inches of water into the jar and lightly shake. The vital seeds should settle to the bottom of the jar while the spoiled seeds and all the jelly will float to the top.
Carefully pour out the water and seed waste. You usually will have to repeat this process a couple of times until the seeds are completely clean.
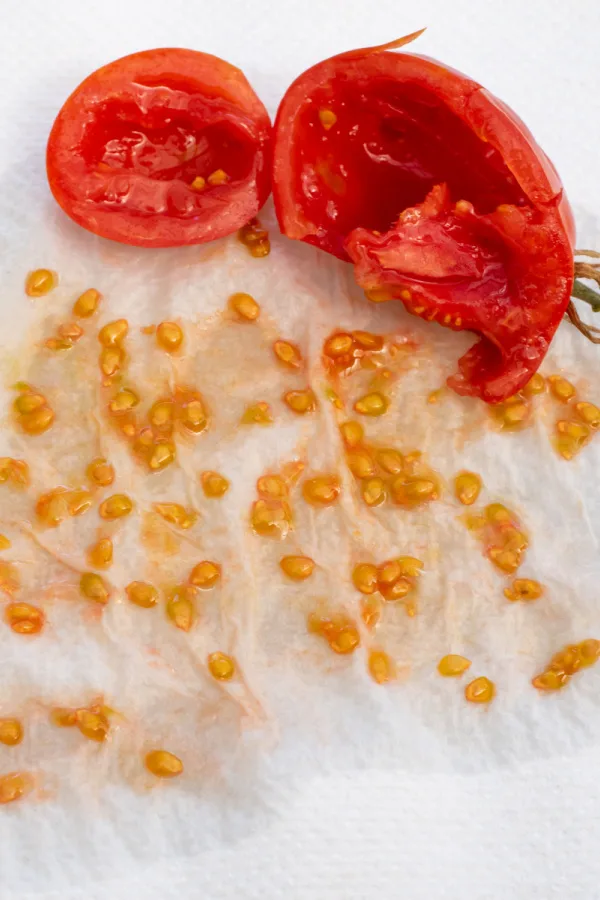
Drain the water off completely and spread the seeds out on a paper towel or plate. Allow them to dry for a few days. It’s imperative that the seeds dry out completely before storing them to avoid spoilage.


When they are totally dry, store the seeds in a sealed plastic bag, a paper envelope, or a mason jar with a lid. Be sure to label the seeds with the variety and date and store them in a dark, cool, dry location. A refrigerator or dry basement are great places for seed storage. See: How To Store Vegetable Seeds
Once spring arrives, you will already have a great free source of seeds at your disposal that you know will turn into amazing, healthy tomato plants!
Follow Our Facebook Page For Even More Great Tips! Simple Garden Life Facebook Page
Simple Garden Life is a website dedicated to keeping gardening fun, simple and enjoyable! We publish two new articles each week along with a new garden podcast episode every two weeks. This article may contain affiliate links.