Want to know how to harvest and cure your garlic this year for long-term storage?
Believe it or not, garlic is one of the easiest crops to grow. As long as you get it in the ground a few weeks before your first frost in the fall, you will be rewarded with huge, beautiful bulbs come summer.
But knowing how to harvest and correctly store it is the key to having it around all year long. Garlic needs a little bit of help to dry out before storing. This drying period is also extremely helpful for allowing it to develop its fragrant aroma and deep flavor.

How To Harvest And Cure Garlic In The Summer
Harvesting Garlic
Typically, garlic is ready for harvesting around late June to mid-July. This will vary slightly based on your location and the growing conditions. One thing is for sure, you want to harvest garlic when it’s dry. If the soil is too wet, harvesting can damage the crop and put it in jeopardy for long term storage.
Each garlic plant has several long leaves that join low on the stem and wrap around the bulb. These leaves are what form the papery skin surrounding garlic cloves and bulbs. When you start to see that about one-third of the leaf tips have started to yellow and turn brown, stop watering the garlic.
This will allow the papery skins to dry out and make harvesting easier. Wet soil is more likely to cling to the bulbs and be harder to remove once harvested. And that is exactly how it can be damaged if harvested wet.
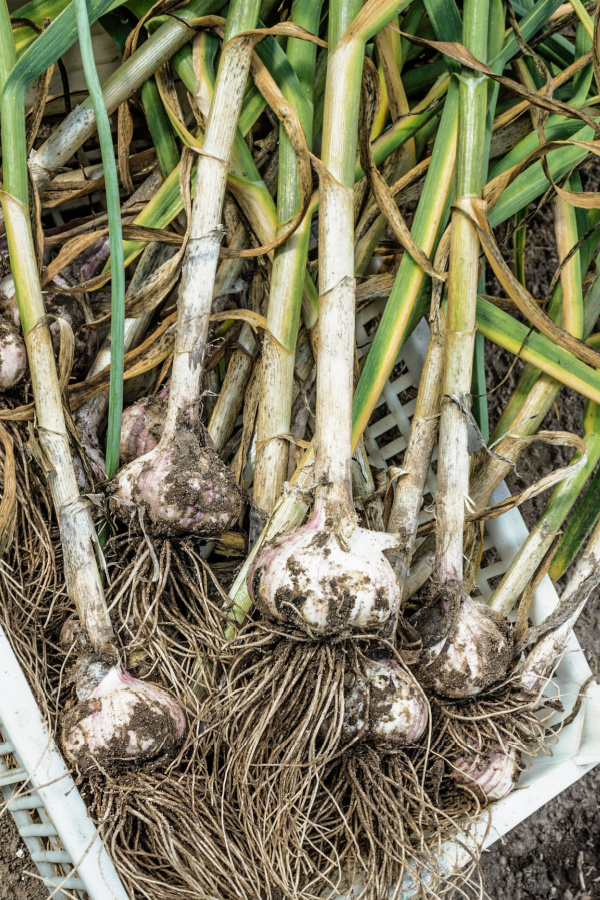
Once you see the lower two to three leaves have turned completely brown and dried up, the garlic is now ready for harvesting. If it has recently rained, again, wait a couple of days to allow the soil to dry out.

Digging Up The Garlic Harvest To Cure
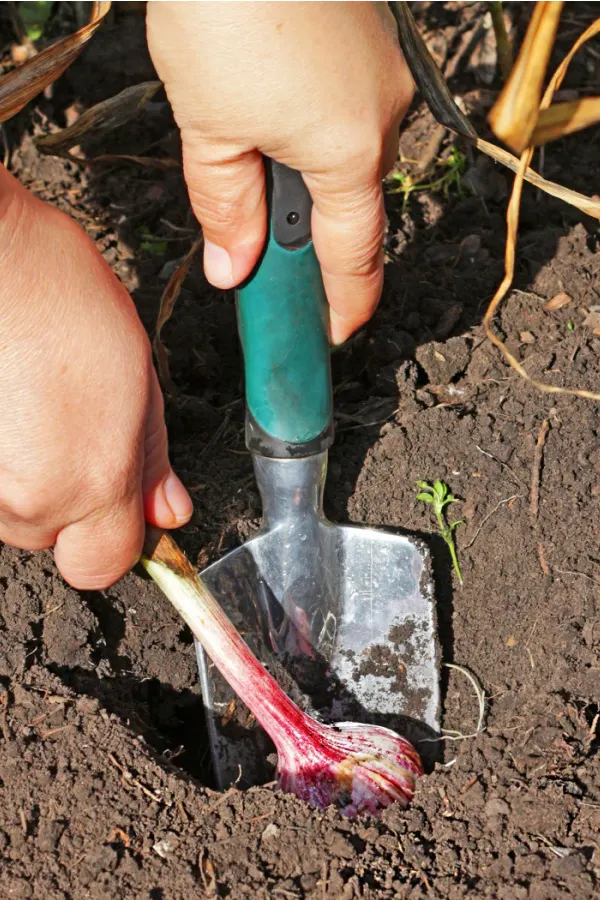
Use a hand trowel or a small shovel to dig a few inches away from each garlic stem. Carefully and gently loosen the soil around the bulb, allowing the bulb to be removed. Do not just pull from the stem, as this will likely break off the stem.
Do not wash off the bulbs or remove the roots after harvesting. Instead, just brush off each bulb to remove as much excess soil as possible. Any additional soil should dry out and be easily brushed off once the garlic has cured.
Test one or two bulbs before harvesting the entire crop. The bulbs should be plump and fill up the papery skins. If you harvest the crop too early, the skins may disintegrate. And if you wait too long, the skins might start to slit, exposing the bulbs to disease.
If you happen to have garlic scapes that formed on your plants, you have an additional indicator of readiness. You can tell it is ready to harvest once the scapes have started to straighten and stand straight up.
Curing Garlic
Now it’s time to cure your garlic before storage. Curing garlic after harvesting is one of the most important steps to ensure it stores well for the months ahead.
When garlic is pulled fresh from the ground, it’s full of moisture, especially in the outer layers and stems. If that moisture is not allowed to dry out properly, it can lead to mold, rot, or sprouting during storage.

By allowing the garlic to cure in a warm, dry, and shaded place with good air circulation for two to three weeks, the outer layers dry and toughen into a protective skin. This natural wrapping helps seal in the flavor and protect the cloves inside from pests and decay, making them last for several months.
Curing doesn’t just improve garlic’s shelf life – it also brings out its full flavor. Freshly dug garlic tends to have a much milder taste because its sugars and compounds haven’t fully developed. As the bulbs dry and cure, the flavors deepen and become stronger and more complex.
This is especially important for cooking and preserving the unique character of each garlic variety, whether it’s a strong hardneck or a milder softneck. Properly cured garlic not only stores better – but it tastes better too.
Where & How To Cure
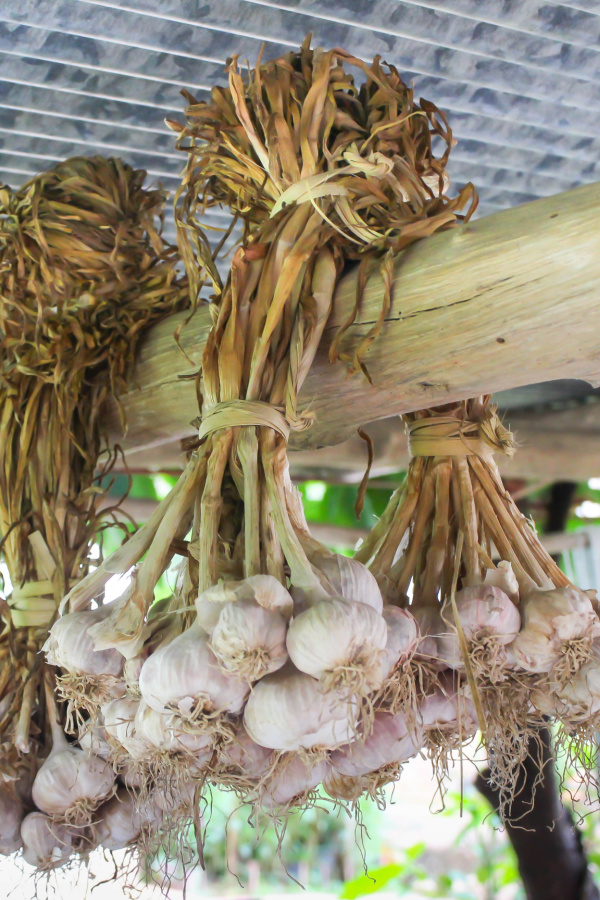
Cure the garlic in a dry, dark location that allows for adequate air movement around each bulb. String together 4 to 6 bulbs or braid softneck varieties to hang upside down.
You can also place bulbs on a wire rack that allows for proper air circulation. A homemade rack made out of chicken wire, hardware cloth, or even a cattle panel can all work great for curing garlic.

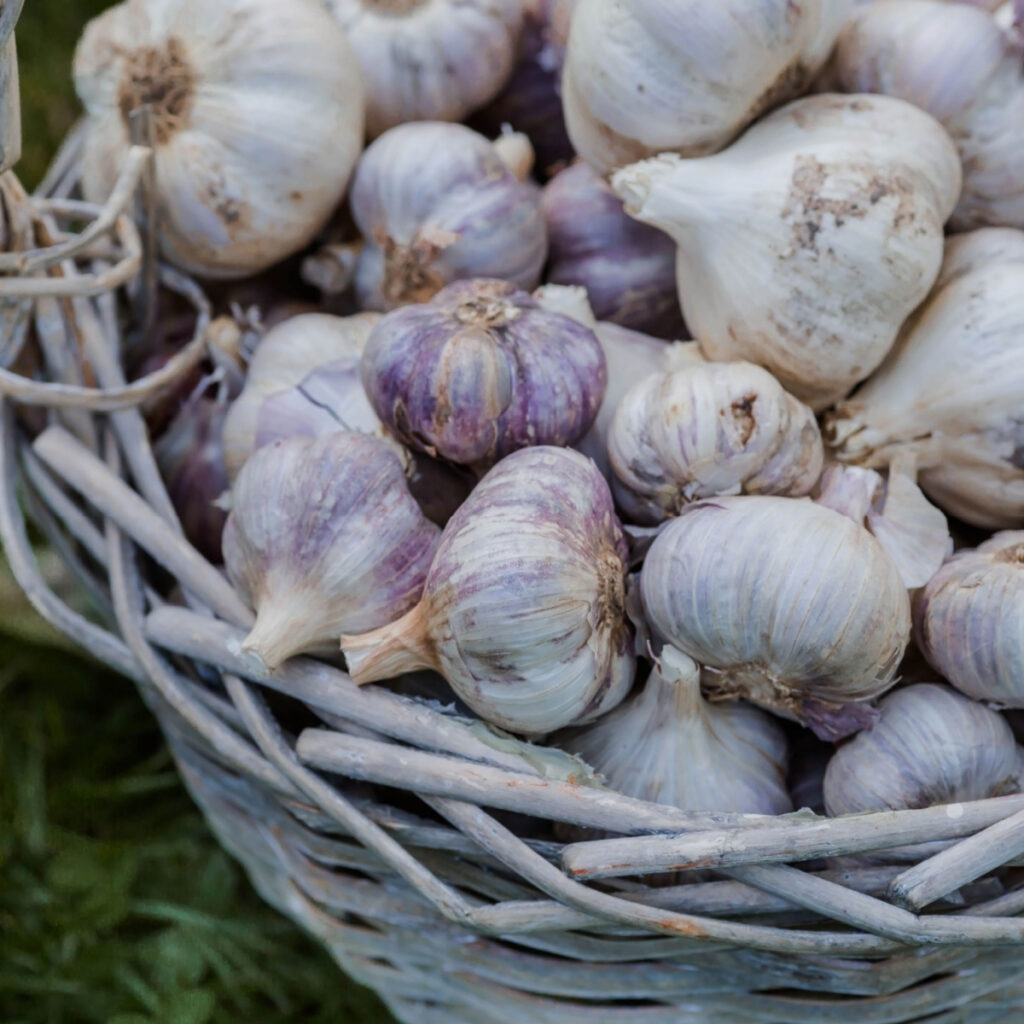
After a few weeks, the bulbs will be ready for storage. You can tell they are ready once the roots are all dried out and the skins have turned papery and dry. Brush off any excess soil, and remove a layer of the skins if needed.
Trim the stems and the roots off of each bulb. Your garlic is now ready to store for later use. Store the garlic bulbs whole in a cool, dark, and dry location in a wire basket, paper bag, or mesh bag. Softneck garlic will store for around 6 to 8 months, while hardneck varieties store for up to 6 months.
Other Ways To Store Garlic
You can also dehydrate your garlic and turn it into garlic powder for long-term storage. Separate and peel the cloves. Add to a dehydrator at 125º Fahrenheit for around 12 hours or until the garlic is crispy.
Allow the cloves to cool and then grind in a spice or coffee grinder. Store the garlic powder in an airtight container in a cool and dark location. (Affiliate Product Link: COSORI Food Dehydrator)
There are so many great ways to enjoy garlic. Just don’t forget to save your largest and best bulbs for your fall planting. The bigger and better your “seed” – the bigger and better your harvest will be next summer! See our article: How To Plant Garlic In The Fall – 5 Simple Secrets To Growing Great Garlic!


Simple Garden Life
Follow Our Facebook Page For Even More Great Tips! Simple Garden Life Facebook Page
Simple Garden Life is a website dedicated to keeping gardening fun, simple and enjoyable! We publish two new articles each week along with a new garden podcast episode every two weeks. This article may contain affiliate links.