If you are looking for a beautiful, easy-care houseplant to add to your home that is almost impossible to kill – then you need to try your hand at growing spider plants!
Not only are spider plants attractive with their long, cascading foliage, they truly are one of the easiest and most forgiving house plants you will ever find. Even better, they are perfect for moving outdoors in the warm spring, summer and fall months – providing gorgeous greenery to porches and patios as well.
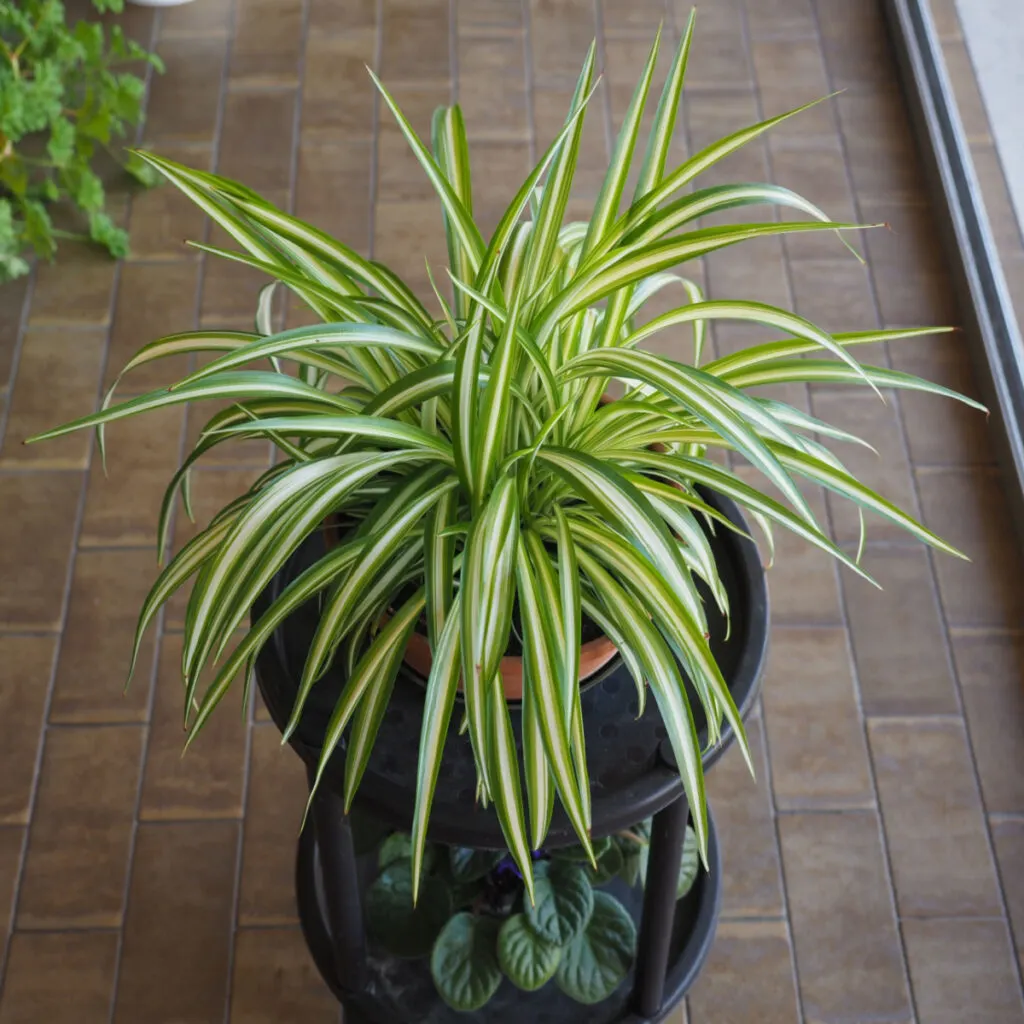
The leaves of a spider plant can grow up to 2 feet long. And when they do, they cascade over the sides of their container, which make them perfect for displaying in hanging baskets or on top of plant stands. In fact, any growing container that allows its leaves to spill over the sides works perfectly for spider plants.
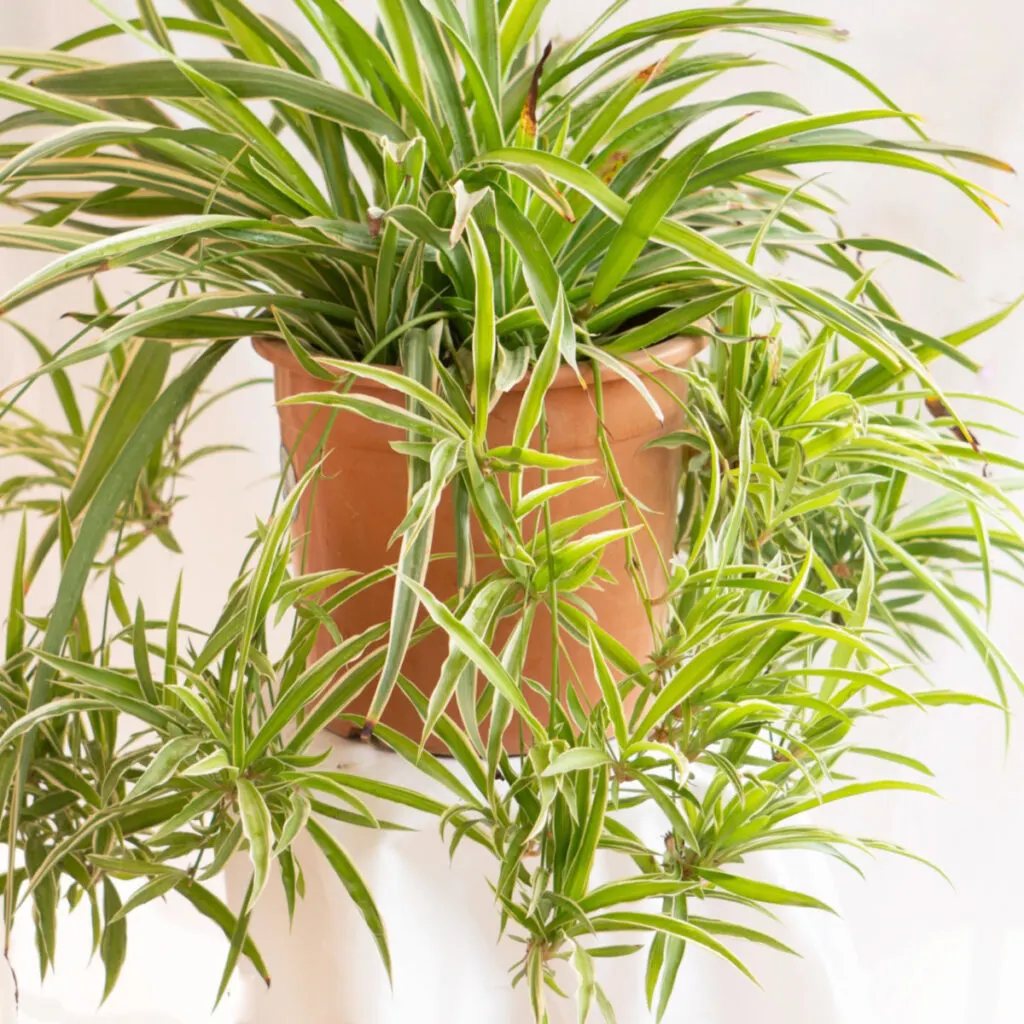
The Toughness Of A Spider Plant – Growing Spider Plants
So what makes spider plants a great choice for green and black thumbs alike? For starters, this durable plant can withstand quite a bit of neglect. From too much or too little watering, to not always getting the right amount of sunlight, spider plants can take a lot of abuse – and still stay alive and well!
But what really makes this a powerhouse plant is just how much beauty it can provide the whole year around. With foliage that can be both solid green or variegated, the plant fills out planters and hanging baskets beautifully. And if that wasn’t enough – there are its cascading blooms!
During various times of the year, spider plants will produce multiple flowers on offshoot stems. The flowers resemble dangling spiders, which is exactly how the plant gets its name. Not only do the blooms add big interest to the plant, the spider-like flowers actually turn into baby plants – and ones that can be easily removed and propagated into brand-new plants!
Growing Spider Plants
Spider plants grow from transplants and not from seed. But because of their low maintenance and easy care capabilities, they are quite popular and usually easy to find.
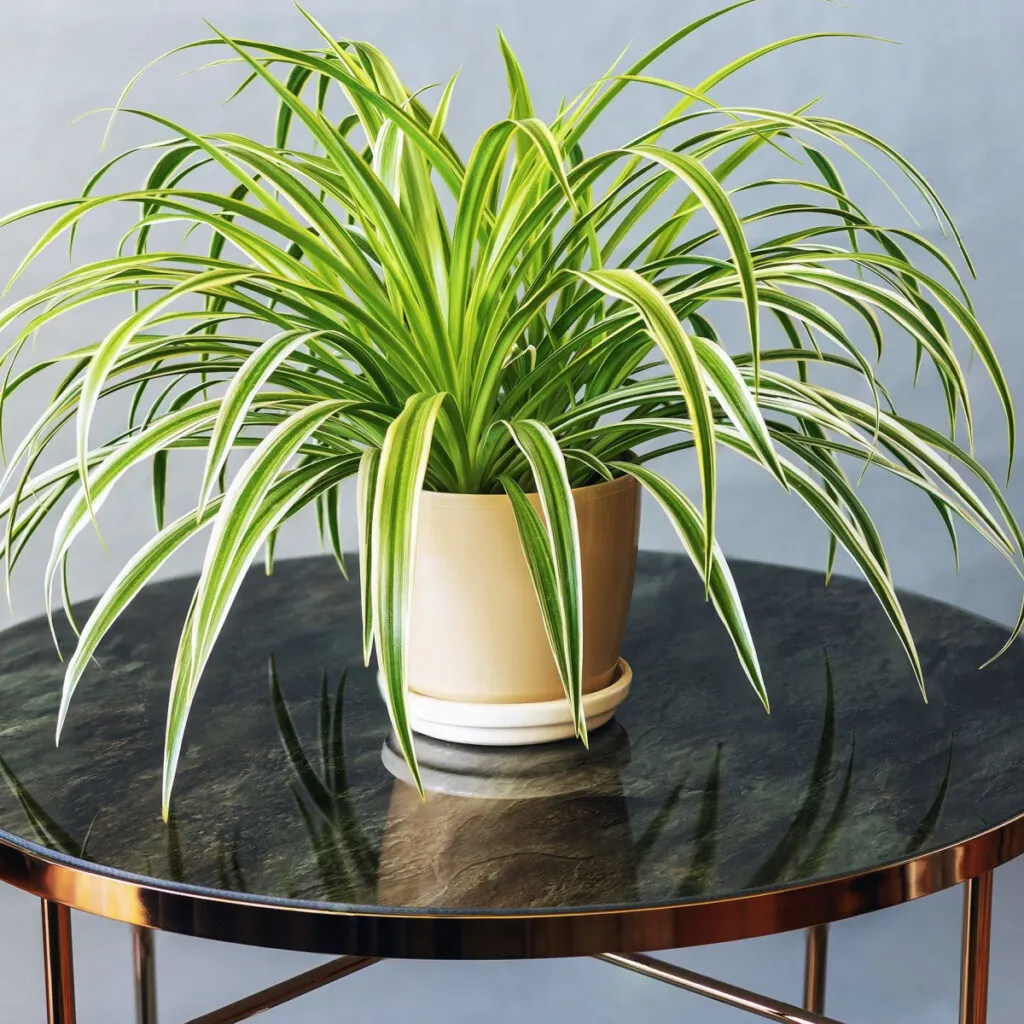
You can typically find transplants during the warmer months at local nurseries or greenhouses. If not, they can be quite easily found on line any time of the year to order as a live plant. (Affiliate Product Link: California Tropicals Bonnie Curly Spider Plant)
Of course, if you are lucky enough to have a friend, neighbor or family member with an existing plant, you can also create a transplant quite easily from one of its blooms (more on how to do that later).
No matter how you come by your spider plant, once you have it, keeping it alive and thriving comes down to supplying it with the most basic of care.
Long Term Care – Growing Spider Plants
Location
If there is one thing that will cause a spider plant a bit of stress its direct sunlight. The harsh rays can actually burn the foliage. Because of that, when growing indoors, keep the plant next to a window that receives indirect sunlight.
Always avoid windows or areas where the sun will shine and hit directly. If growing on a porch or patio, keep the plant back enough to make sure the plant does not receive direct sunlight
While not picky on temperatures, keep plants in a spot in your home that is between 55-80º Fahrenheit. As with most houseplants, avoid locations with cold or hot drafts. In addition, regular misting will help foliage if your humidity levels are too low.

Watering – Growing Spider Plants
Thankfully, spider plants are a bit more forgiving to grow than most other houseplants when it comes to watering. With that said, the better you water, the more healthy and vibrant your spider plant will be.
It’s best to let the soil dry out slightly in between watering. The goal with spider plants and watering is to try to keep the soil lightly moist but never fully saturated. Overwatering will actually cause more stress than underwatering for spider plants.
Spider plants can be overly sensitive to excess fluoride or chlorine in the water. It usually results in the tips of the plant turning brown. To avoid this, it is best to use distilled or regular, untreated tap water when watering.
Again, none of the above will usually kill the plant. But the more closely you follow better watering practices, the more your plant will grow and flourish.
Fertilizing & Pruning – Growing Spider Plants
A dose of all-purpose fertilizer about once a month will help aid in the growth and health of your spider plant. Follow label directions and watch out for browning of the foliage tips, which can also indicate that you are using too much fertilizer. Affiliate Link: Indoor Plant Food – All-Purpose Fertilizer
When it comes to pruning your plants, it all comes down two simple tasks that only need to be done every few months – pruning off old spider blooms and trimming back brown tips.
Without cutting back the small flower plantlets occasionally, your spider plant can get very unruly. The main plant spends a lot of energy trying to create these small pup plants instead of using it to create new foliage. Over time, it can leave your main plant thin and weak looking.
To keep this from happening, take a pair of scissors and cut the small plantlets off when too many become present. If the plant gets overly large, you can even trim the entire plant back to the base to get it back under control. Again – it is hard to kill, so major pruning is fine if need be.
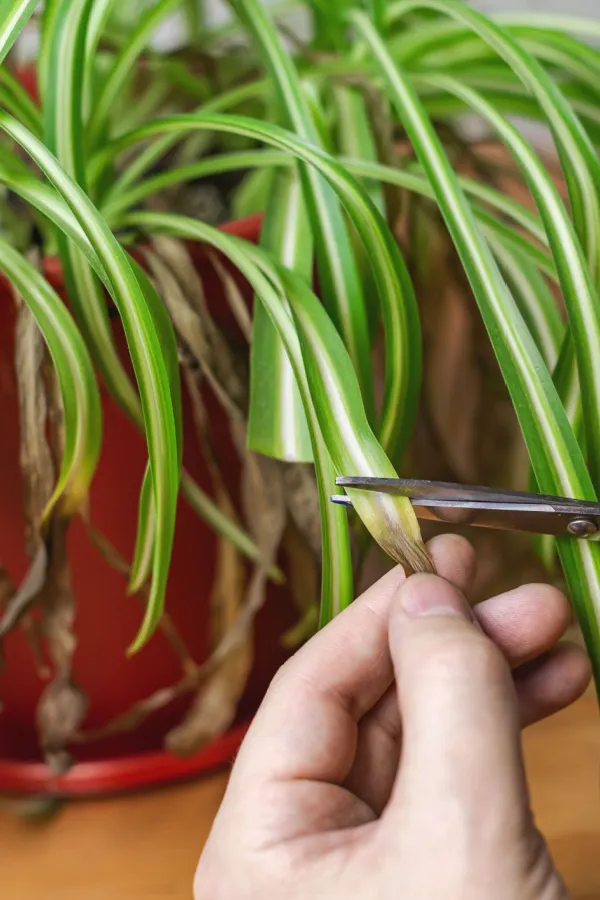
In addition, if the plant does have a bit of stress from sunlight, over or under watering, or because of too much fertilizer, the tips of the foliage can brown off. To keep the plant looking great, simply cut away the brown. The plant will then regenerate growth.
Now – let’s take a look at how to take those plantlet cuttings and create even more plants – for free!
Propagating & Repotting New Starts – Growing Spider Plants
Spider plants are a cinch to propagate and grow – and it can actually be quite fun to do. Once you start to see a new baby spider plant, simply allow it to grow a few inches long before cutting.
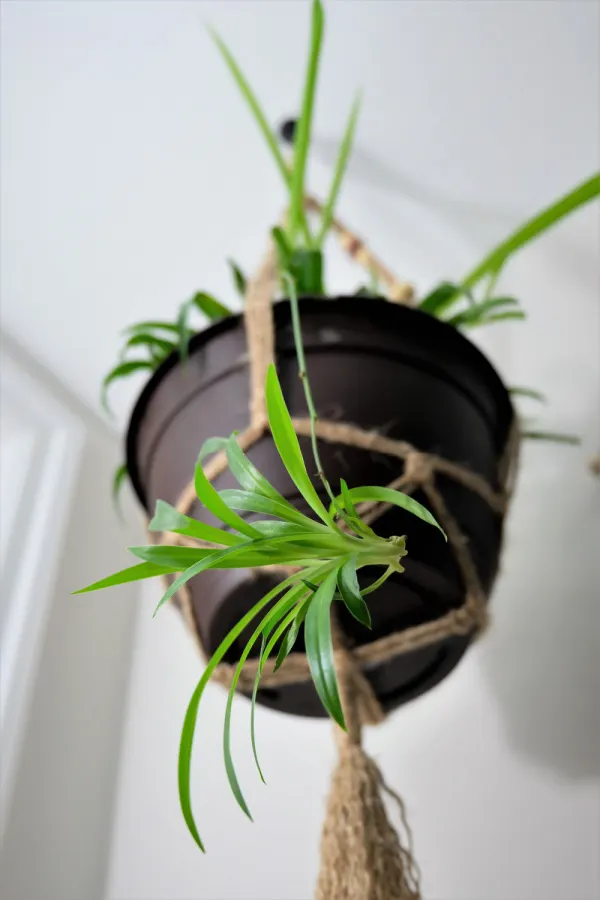
Once it is long enough, cut the plantlet off above the main growth using sharp gardening shears. Make sure to keep all of the plantlet’s roots attached when removing.
For potting up the new plant, choose a potting soil mix that is well-draining but still allows the soil to stay moist. Any commercial all-purpose potting soil mix should work just fine, or you can even create your own. (See “How To Make The Best Potting Soil Mix Around“)
It is important to make sure the pot you will be using has drainage holes to keep the plant from becoming waterlogged. Simply pot the transplant up and water. All you need to do is keep the soil lightly moist – and within a few weeks, new roots should begin to grow and establish.
Repotting Spider Plants – Growing Spider Plants
You will likely need to repot your spider plant every few years due to growth. If you begin to see its roots growing through the container’s drainage holes at the bottom, it’s a good sign it’s time to repot.
For repotting, use a container that is slightly larger than the root ball of the existing plant. Again, be sure that the container has several drainage holes, as waterlogged roots can be a big issue for spider plants.
Next, fill the bottom of the container with potting soil mix. Allow enough space for the root ball to fit just below the top of the container. Lightly loosen the roots and place the spider plant in the container.
To finish, backfill, making sure the roots are fully covered and the foliage is above the soil’s surface. Water well until the soil is moist and draining through the container holes. Now your spider plant is ready for more great growing for years to come.
Growing spider plants is an easy and great way to add stunning beauty to your home. They truly are the houseplant that keeps on giving year after year! If you are looking for more easy to grow houseplants, see Pothos – The Perfect Houseplant For Beginners – Or Anyone!
Follow Our Facebook Page For Even More Great Tips! Simple Garden Life Facebook Page
Simple Garden Life is a website dedicated to keeping gardening fun, simple and enjoyable! We publish two new articles each week along with a new garden podcast episode every two weeks. This article may contain affiliate links.
