Looking for how to plant and grow iris plants in your flowerbeds and gardens? Then you’ve come to the right place!
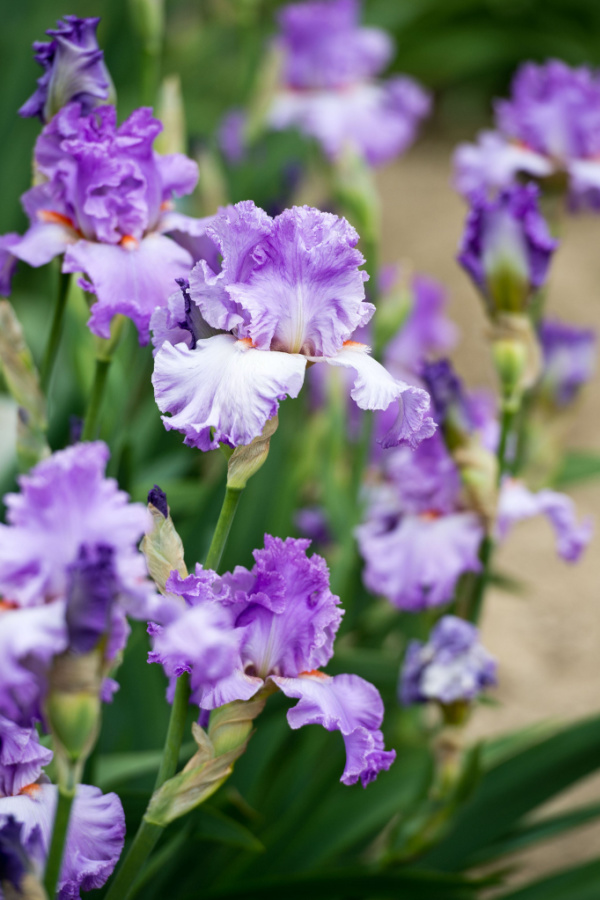
Irises can fill your property with beautiful colors and textures in the spring and early summer months. Some hybrids are even capable of blooming a second time in late summer.
In addition to their beauty, irises also are perfect for attracting loads of pollinators to your garden space. Hummingbirds, bees, butterflies, and all sorts of other pollinators are attracted to the large blooms on iris plants.

Not only is this flowering perennial drought-resistant, but it can handle all sorts of different growing conditions. That makes it a perfect easy-to-grow plant for beginners and experienced gardeners alike.
In addition, you can grow iris flowers in flowerbeds and gardens as well as in pots and containers for a dramatic display anywhere you’d like. Continue reading to find out everything you need to know in order to plant, grow, and care for this hardy and timeless flower.
Varieties of Irises – Growing Iris
There are over 300 different varieties of irises. They are all mainly categorized into two types: those that grow from rhizomes or those that grow from bulbs.
Bulb irises are typically smaller in stature and height than other varieties of iris plants. An example of a bulbous iris would be Dutch Iris. Bulb irises are a bit harder to come by and are not as popular of a choice for home gardeners.
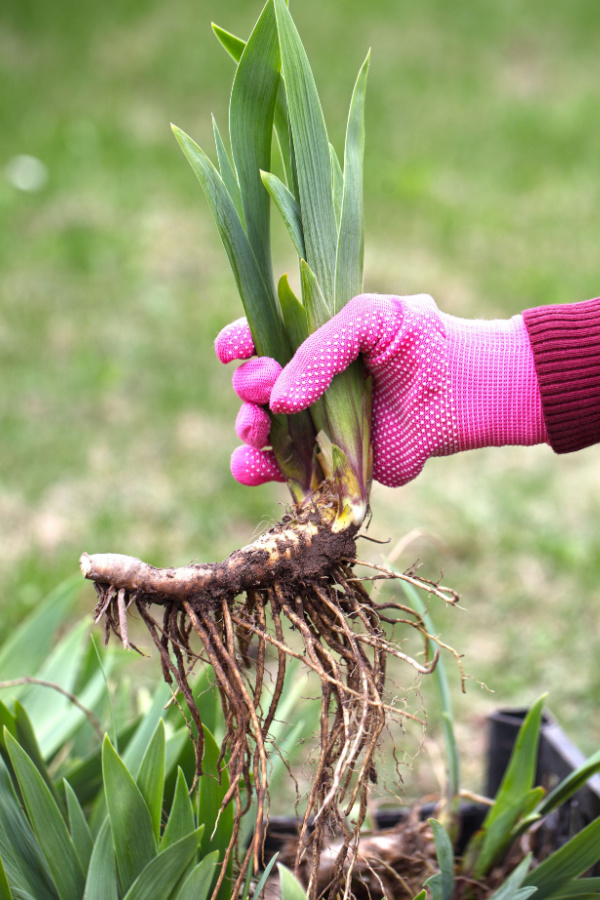
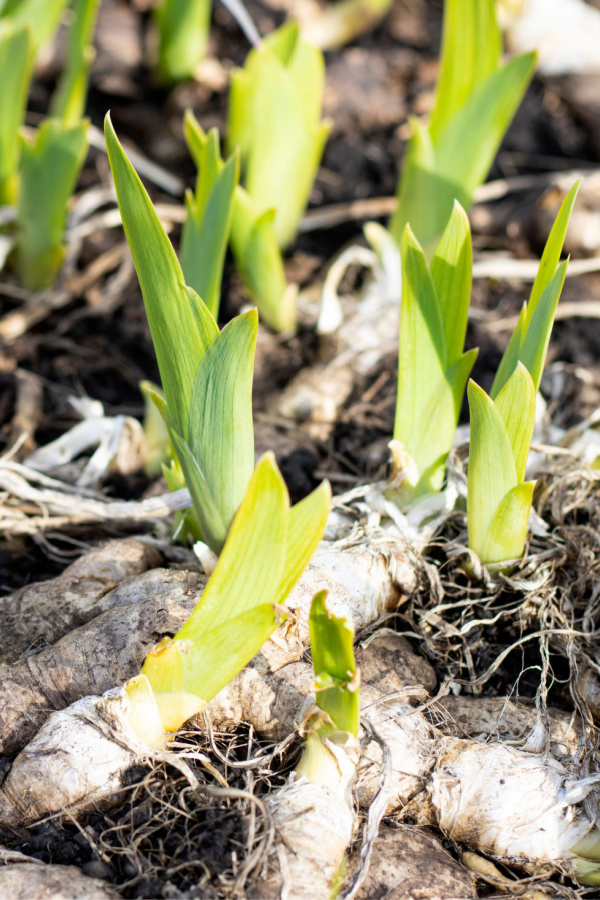
The majority of irises that are available grow from rhizomes. Essentially, rhizomes are thick stems that grow horizontally in the soil. The roots bury down while the top of the rhizome is usually exposed just above the soil line.
The rhizomes help to absorb and store nutrients and water. In turn, the rhizomes allow the plant to send up stems above the ground that produce foliage and the iris blooms. As the plants age, their rhizomes expand and continue to send off new rhizomes under the soil line.

Rhizome irises are typically broken down into either bearded or beardless varieties. These groups can be broken down even further based on their blooming season, so be sure to do some research before purchasing your iris roots.
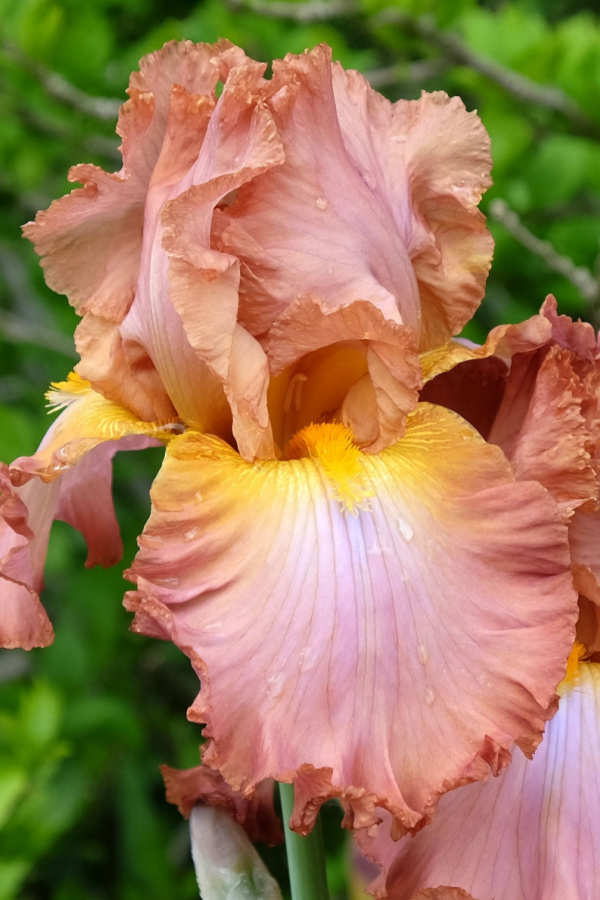
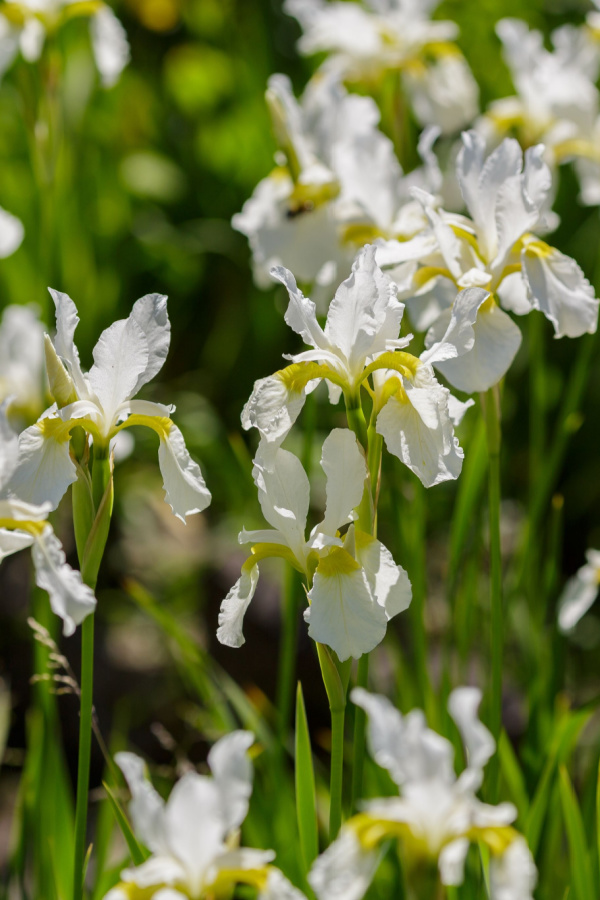
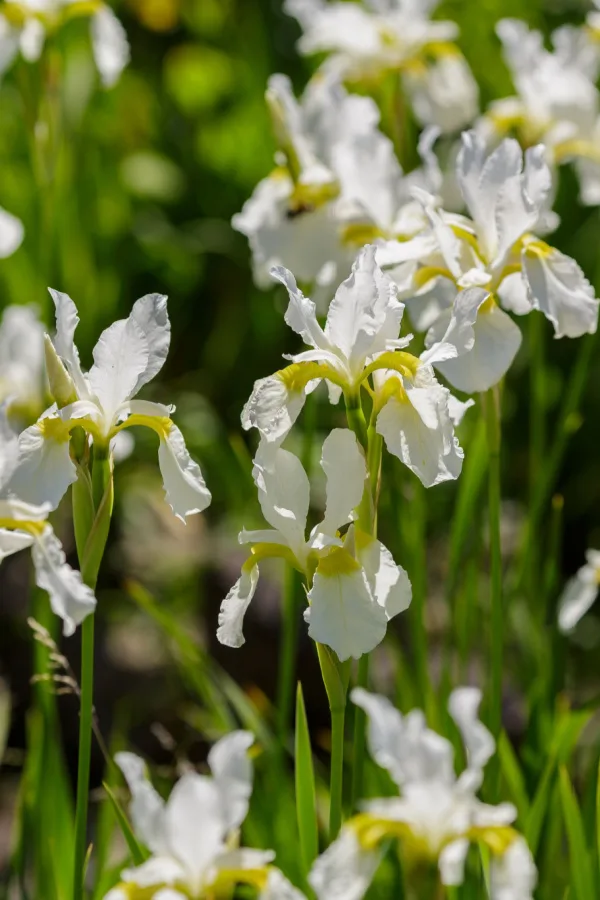
Both types feature a variety of colors and petal shapes. From white, purple, burgundy, blue, red, pink, yellow, cream, orange, and even black – There’s an iris flower color for you! They all make great additions to other fall-planted flowers like crocus, allium, daffodils, and lilies.
Bearded Iris
An iris beard is a small raised mass of tiny hairs that spills out from above the base of the bottom petals. It typically contrasts with the petal colors and is almost like a thick red carpet beckoning pollinators to fly right on up. Tall Bearded Iris and Dwarf Bearded Iris are the two main types of bearded iris plants.
Beardless Iris
As you can probably guess, beardless irises are essentially the same as bearded with the exception that they are missing the beard. The rhizome of beardless irises is normally smaller than bearded iris varieties. Japanese Iris and Siberian Iris are two popular groups of beardless irises.
How To Plant, Grow, And Maintain Iris Roots
Location Site for Iris Roots
While iris roots aren’t particular about what type of soil they grow in, they must have well-draining soil in order to prevent root rot. Avoid planting in locations where there tends to be standing water after rains.
You should amend the soil with plenty of compost prior to planting. This will help to provide the roots with a boost of nutrients and get them started on the right path without resorting to synthetic fertilizers.

Be sure to choose a location that receives full sun. Irises require a minimum of at least 6 to 8 hours of direct sunlight each day in order to produce blooms and thrive. They can grow in locations with partial sun, but their blooms will not be as prolific.
Also, keep in mind the height of other flowers and plants growing in the same location when you go to plant your iris roots. You want to avoid having shorter iris varieties that get too much shade from nearby taller plants.
Planting Iris Roots
You should plant iris roots in early fall for spring blooming. Wait to plant until the nighttime temperatures in your location reach between 40 to 50º Fahrenheit (4 to 10º Celsius). This will give the roots plenty of time to become established without allowing the plants to grow too much before winter hits.
Choose iris bulbs or rhizomes for planting that are healthy, firm, and blemish-free. Rhizomes should be rather plump and have several smaller roots coming out from the sides. Bulbs should not be mushy or discolored. Discard any roots that have signs of mildew or mold.
Note: When purchasing the roots, prepare your planting location ahead of time since the roots need to be in the ground about 3 to 4 days after receiving them.
Preparing The Location
Loosen the soil in the planting location about a foot deep. This will help the roots become established without having to fight their way through dense soils.
Be sure to incorporate a few inches of compost and mix it in well with the soil. The compost will not only help to add nutrients and organic matter to your soil, but it will also help to improve soil drainage as well.

Note: Avoid using bulb fertilizers at the time of planting. These products typically contain bone meal, which can attract squirrels and other rodents. For additional information about helping to deter pests from your newly planted bulbs, check out “How To Keep Your Fall Bulbs Safe From Squirrels, Mice & Other Rodents.”
Planting Iris Rhizomes
Create holes in your loosened soil that are around 4 inches deep and as wide as needed for the rhizomes to fit. The actual depth will depend on the size of each rhizome. The reason is that irises actually do better if the top portion of the rhizome is slightly showing above the soil line.
In the bottom of the hole, create a slight hill that the base of the rhizome can sit on while allowing the roots to spread out down the sides. Place bare-root rhizomes in the soil horizontally with the small roots facing down around the hill.
Backfill soil around the rhizomes and lightly tamp down. Again, barely cover the rhizome or slightly have it poking through. Planting them too deep will increase the chances of root rot.
The spacing between each iris rhizome will depend on the variety you are growing and their mature size. Typically, spacing is around 6 to 12 inches apart. Some taller varieties will require more spacing, so be sure to research your specific variety.
Planting Iris Bulbs
Create a hole that is about 3 to 4 inches deeper than the height of the iris bulb. Place the bulb in the amended soil with the tip pointing up. The top of the bulb should be about 3 to 4 inches below the soil line.
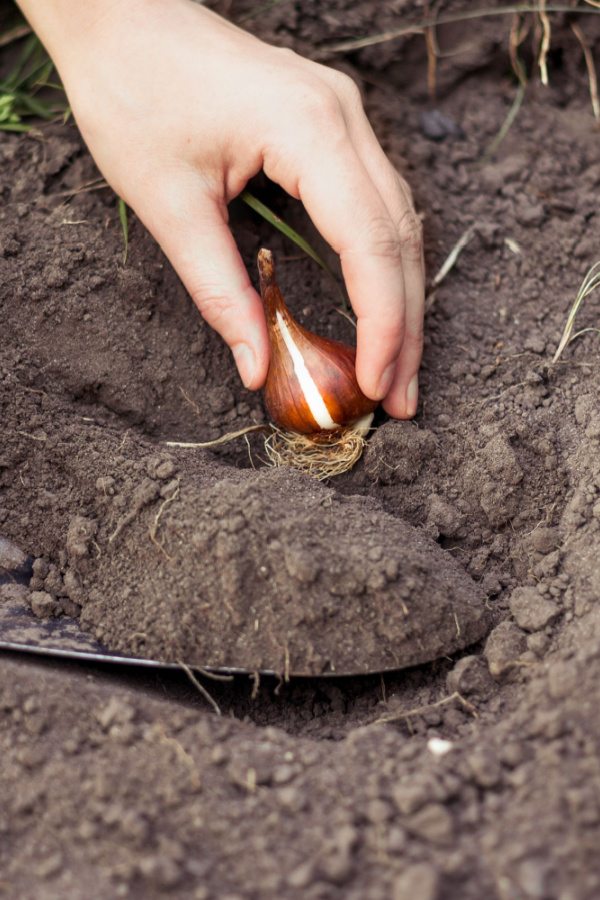
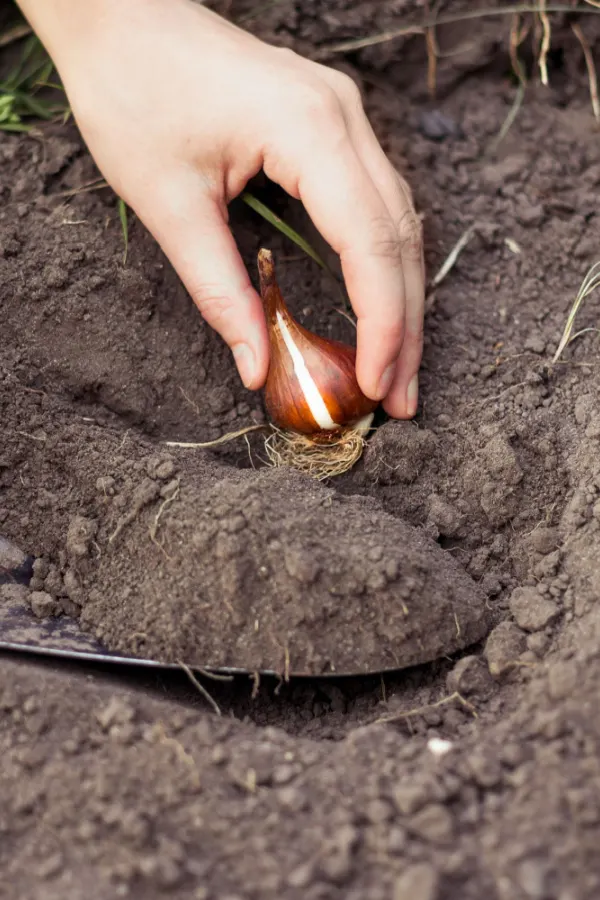
Backfill with soil and lightly tamp down. Bulb irises can be planted closer together than rhizomes since they don’t spread out as much. Still, be sure to check your specific variety’s requirements prior to planting. Most varieties can be spaced about 3 inches apart.
Fall & Winter Care – Growing Iris
Water the roots well at planting and keep the soil lightly moist until you can tell that the roots have been established. Then, only water once a week or until the ground freezes. Irises can handle drought but they do not do well with overwatering and they do not like being in wet soil during the winter months.
It is recommended to not use mulch on iris roots unless you live in a location that experiences extremely cold winters. The reasoning is that the mulch might retain too much moisture and create root rot. If you do use mulch, only use it during the cold winter months and remove it as soon as the ground starts to thaw out in early spring.
It is possible to see some growth start, especially in locations with milder winters. However, plants won’t flower until the weather warms up in spring – if at all that first year.
Spring & Summer Care – How To Maintain Iris Roots
As the weather starts to warm up in early spring, you will start to see more and more growth occurring on the iris plants. You can fertilize plants at this time, but use half the strength of a regular dose. Avoid using fertilizers that have high nitrogen numbers.
Water plants deeply and less often during the growing season. This causes the roots to dive deep into the soil and provides a more robust foundation for the plants to stand on.
Don’t be surprised if you don’t get many blooms the first year. During the first year, plants focus their energy on establishing a hefty root system. This root system will allow plants to fully flourish in their second year.
If your irises do end up blooming, you can choose to cut the flower stalk down to the base after flowering has finished. However, leave the remaining green foliage on the plant. This foliage is what helps to produce energy and nutrients for the roots to prepare them for blooming the following year.
Once the foliage has turned yellow or brown (usually after a hard frost in the fall), you can then cut the plants down to about 4 to 5 inches above the soil line. Do not leave damaged or dead foliage in the growing area as this might be a welcoming home for iris borer eggs.
Dividing
You will need to divide and replant your iris roots every three or so years. This will keep your iris flowerbed looking healthy and keep the rhizomes from becoming overcrowded. (It’s also a great way to get brand new plants – for free!)
Soon after blooming has occurred, dig up the iris roots. You will likely be able to see the original root that you planted and several younger, smaller offshoots.

Separate the newer roots from the original root with a hori hori knife or another sharp garden tool. Discard the original, older root. Check the other roots over carefully, looking for signs of rot, damage, or diseases.
You can now replant the healthy, strong roots into new locations, or return it to the same flowerbed. Be sure to amend the soil with plenty of compost prior to replanting.
Pests & Issues
While irises are deer resistant, there are a few other pests and diseases that can plague the perennials. Staying on top of removing damaged or diseases foliage, as well as proper dividing, will help to avoid some of these issues.
Check for signs of aphid, iris borer, nematode, slug, snail, or thrip damage and treat as needed. Also be on the lookout for different types of mold, bacterial soft rot, and leaf spot.
Popular Iris Varieties – Growing Iris
Bearded Iris
Beardless Iris
Bulb Irises
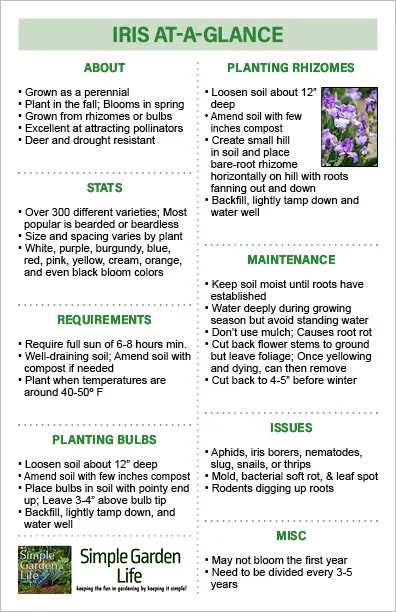
Feel free to download, print out, or save our Iris At-A-Glance sheet. It is at size for half letter printing but you can scale if needed.
Follow Our Facebook Page For Even More Great Tips! Simple Garden Life Facebook Page
Simple Garden Life is a website dedicated to keeping gardening fun, simple and enjoyable! We publish two new articles each week along with a new garden podcast episode every two weeks. This article may contain affiliate links.