Did you know that by simply taking time to deadhead your daylilies after they bloom, not only can you help give your plants and flowerbeds a better look, you can also help them stay healthier and green for the rest of the summer – and give them a great chance to bloom again!
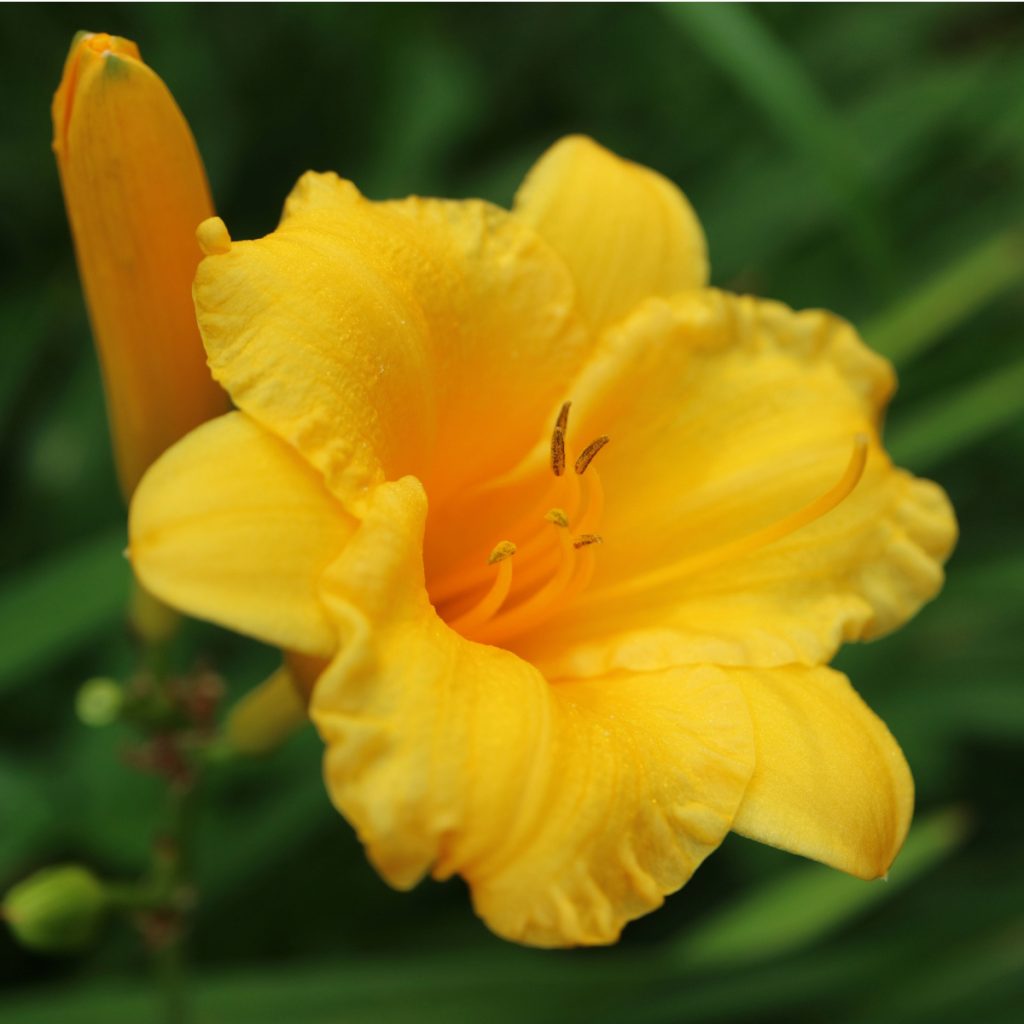
Daylilies are one of the easiest and most rewarding perennials you can grow in your flowerbeds. With their bright blooms and hardy nature, they bring color to the landscape with very little effort. But if you really want to get the most from your daylily plants – especially if you want to encourage them to bloom again after their first flush – deadheading is a must.
Not only does it make your plants look neat and tidy, it also helps redirect the plant’s energy back into root and foliage development, and in some cases, even into producing a second round of flowers.

How To Deadhead Daylilies
Why Deadheading Daylilies Is So Important
Deadheading daylilies is a simple process, but doing it right can make a big difference in both how your daylilies look now and how they perform in the long run.
At first glance, removing old or fading blooms might just seem like a cosmetic task. In fact, many gardeners deadhead simply to keep their flowerbeds looking good. And while that’s certainly part of the reason, there’s a much bigger benefit hiding beneath the surface.
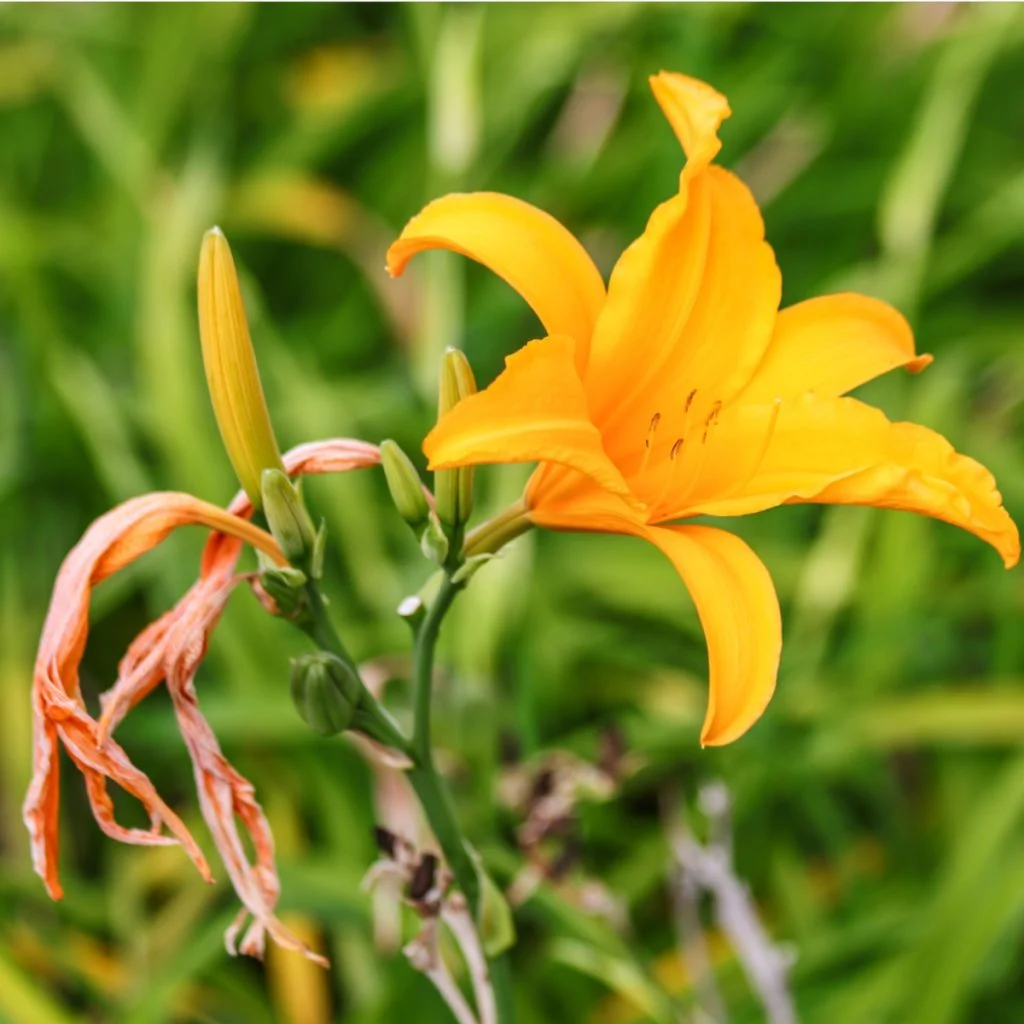
Daylily plants bloom in cycles. Each bloom only lasts for a short time. And once it fades, it quickly begins to wither, brown, and die back. If the spent blooms are left on the plant they sap energy from the plant as it works to form seeds from the old flowers.
By removing these fading flowers before the plant puts its energy into producing seeds, the plant can use the energy for boosting its root system, thickening its foliage, or in many cases, preparing to create and send up additional blooms.

But – and this is key – knowing what to deadhead is important. All too often gardeners don’t remove enough of the flower and stem to help the cause
How To Properly Deadhead Daylilies
Deadheading daylilies is a simple task that doesn’t require much in the way of tools. In fact, all you really need is a small set of handheld pruners and your hands. Here’s how to do it just right:
Pinch Off Faded Blooms
The first thing to do is to remove the blooms that have already finished their show. Each flower will be attached to a little nub or stem that connects it to the scape. When the bloom starts to fade or wilt, you can pinch it off by hand.
Simply grab the bloom near the base of the flowers and snap it off with your fingers. You can also use scissors or pruners, but your fingers usually work just fine. It’s best to do this every few days if possible, especially when your daylilies are in full bloom. This keeps the plant looking sharp and avoids the chance of seed pods forming.


Remove Any Seed Pods
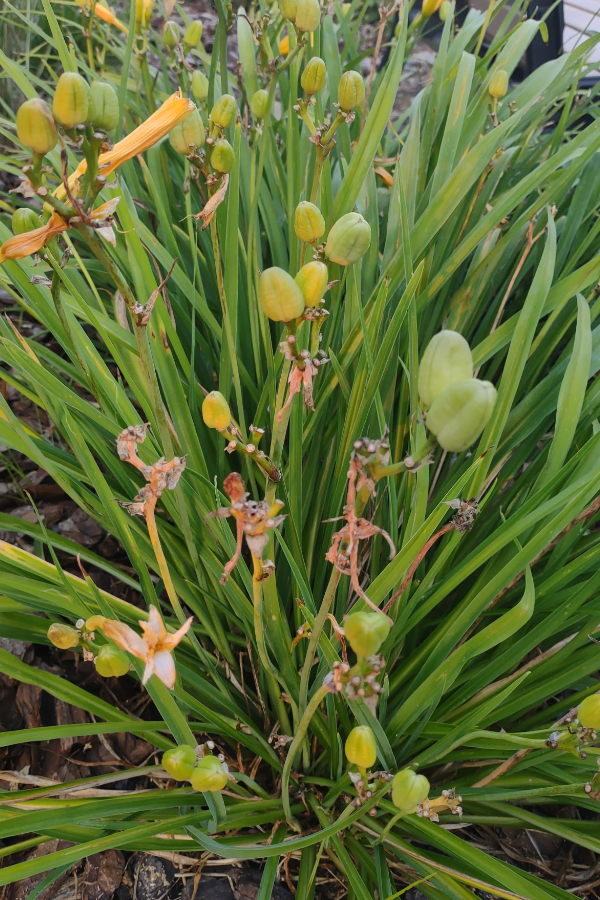
Sometimes you’ll miss a bloom or two, and it will already have begun forming a seed pod. These are easy to spot. They appear at the end of the bloom stem where the flower used to be and look like small green bulbs or capsules. Cut or pinch these off just like you would a spent bloom.
If left alone, seed pods will grow larger and eventually turn brown, splitting open and dropping seeds. While this can be fine if you’re trying to grow new daylilies from seed, it comes at a cost – the plant used a lot of its strength to make those seeds.
Cut Back Empty Scapes
Once an entire scape has finished blooming and you’ve removed all the individual blooms and pods, it’s time to take the whole stalk out. Use garden shears or pruners to cut the scape down at the base of the plant, right where it emerges from the leaves.
Be sure to cut as low as possible without damaging the surrounding foliage. This encourages the plant to focus on its roots and green growth rather than keeping the old scape alive.
While you’re working with the plant, take a minute to remove any yellowing or spotted leaves as well. This kind of cleaning helps air circulation, keeps disease pressure down, and keeps your daylilies looking fresh and full.

Fertilizing Daylilies After Blooming
Once your daylilies have gone through their first bloom cycle and you’ve deadheaded them, it’s the perfect time to give them a light boost of fertilizer. This mid-season feeding can make a big difference in how your plants perform the rest of the summer.
Use a balanced, slow-release fertilizer or a light application of a low-nitrogen, high-phosphorous blend. Something like a 4-10-10 or 5-10-10 mix works well. Phosphorous helps to encourage more blooms, while potassium supports the overall health and disease resistance of the plant. Affiliate Link: Lilly Miller Bulb & Bloom Food 4-10-10 4lb
Apply the fertilizer around the base of the plant, avoiding contact with the leaves. Water it in well so that the nutrients reach down into the roots. If you use compost or worm castings in your garden, now is a great time to apply a light layer around the base of each plant as a natural feeding boost.
Encouraging A Second Round Of Blooms
Not all daylilies are rebloomers—but for the ones that are, proper deadheading combined with a post-bloom feeding can sometimes trigger a second flush of flowers later in the summer or early fall.
Look for varieties labeled as “reblooming” when you purchase daylilies. These are more likely to respond well to summer care and reward you with another show of blooms. Even for standard varieties, taking care of the plant properly after the first bloom helps set the stage for healthier growth next year.
When you deadhead and feed your daylilies, it gives the plant exactly what it needs to recover from its first round of flowering and potentially start working toward another. Even if a second bloom doesn’t appear, your efforts still help create stronger plants with better foliage and a fuller root system, which is key to next year’s performance.
For more on what to do with daylilies after the season is over, check out our article: What To Do With Daylilies Before Winter – The Secrets To Late Season Fall Daylily Care.
Simple Garden Life
Follow Our Facebook Page For Even More Great Tips! Simple Garden Life Facebook Page
Simple Garden Life is a website dedicated to keeping gardening fun, simple and enjoyable! We publish two new articles each week along with a new garden podcast episode every two weeks. This article may contain affiliate links.