If you are looking for the perfect way to re-energize your garden and flowerbed soil this fall – and use up all of those falling leaves coming down from the trees – then you need to make leaf mold. Not only is it easy to make, it can power your soil and plants like crazy next year!
When fall arrives, so does a blanket of seemingly never ending falling leaves. And if you have trees on your property, you know how quickly those freshly fallen leaves can pile up and litter your yard.
Some people bag the leaves for pick-up by local trash collectors. Others leave them where they fall only to watch their lawn underneath pay the price. Unfortunately, some oven rake the leaves into piles to burn, creating a smokey, smelly mess for the entire neighborhood.
But here’s the good news, you can actually turn all of those amazing leaves into leaf mold, which just happens to be an incredibly powerful soil amendment! When you create leaf mold, it helps to improve your soil without the use of other fillers and products. The best part, it’s incredible simple to make – and can be done entirely for free!
What Is Leaf Mold?
Leaf mold is simply a pile of leaves that breaks down and decomposes. As the leaves break down, they are turned into a humus-like material that greatly improves and re-energizes your soil’s structure.
Unlike a compost pile, a large pile of leaves doesn’t need to heat up in order to break down. They essentially mold as they break down – hence the name. What you are left with is a dark-colored humus material that has a loose texture that is similar to regular compost.
Unlike traditional compost, decomposed leaves do not add loads of nutrients when added to the soil. But that doesn’t mean leaf mold isn’t helpful. In fact, it actually can be one of the most helpful of all soil amendments.
When mixed in with your existing soil, leaf mold acts like a sponge. It helps to absorb and retain moisture and nutrients that pass by. By doing that, the roots of your plants can more easily stay hydrated and powered up. But leaf mold’s benefits to the soil don’t stop there.
In addition, leaf mold also helps to aerate your soil. This not only allows roots of plants to grow and expand easily, but also makes an excellent habitat for earthworms and all sorts of garden-beneficial organisms to thrive.
You can also use leaf mold on top of the soil as an organic mulch around plants and flowers. This mulch helps to regulate soil temperatures and the moisture levels below the soil, all while keeping weeds at bay.
Who knew that moldy leaves could have so many wonderful benefits for your garden!
How To Make & Use Leaf Mold
With a little bit of time and some gathered leaves, you can create your own beneficial pile of leaf mold quite easily.
Even if you don’t happen to have an abundance of leaves on your property, you can usually find neighbors and friends that will likely jump at the opportunity to provide you with bags of leaves for free!


Gathering & Preparing The Leaves
One thing to remember when making leaf mold is that all tree leaves are not created equally. Just as when making compost from leaves, you will only want to use certain types. For example, maple, ash, birch, elm, cottonwood, poplar and fruit trees are all great for making leaf mold. These leaves break down quicker than other varieties and have a good nutrient base.
However, you will want to avoid leaves from black walnut, eucalyptus, buckeye, and horse chestnut trees. All of these trees produce toxins that can be detrimental to many garden plants and flowers. And if you use leaf mold made from the leaves of these trees around them, it can be detrimental to plants.
The Simple Steps To Making Great Leaf Mold
While you can use whole leaves when making leaf mold, it’s best to shred them first if possible. Just as with composting, the smaller the pieces are, the quicker they will start to break down and mold. See: How To Make Great Compost With Leaves
Whole leaves easily get stacked or stuck together. This creates an almost waterproof barrier – and one that can seriously delay the leaves from molding and breaking down. Without moisture in the leaves, they simply can’t mold.
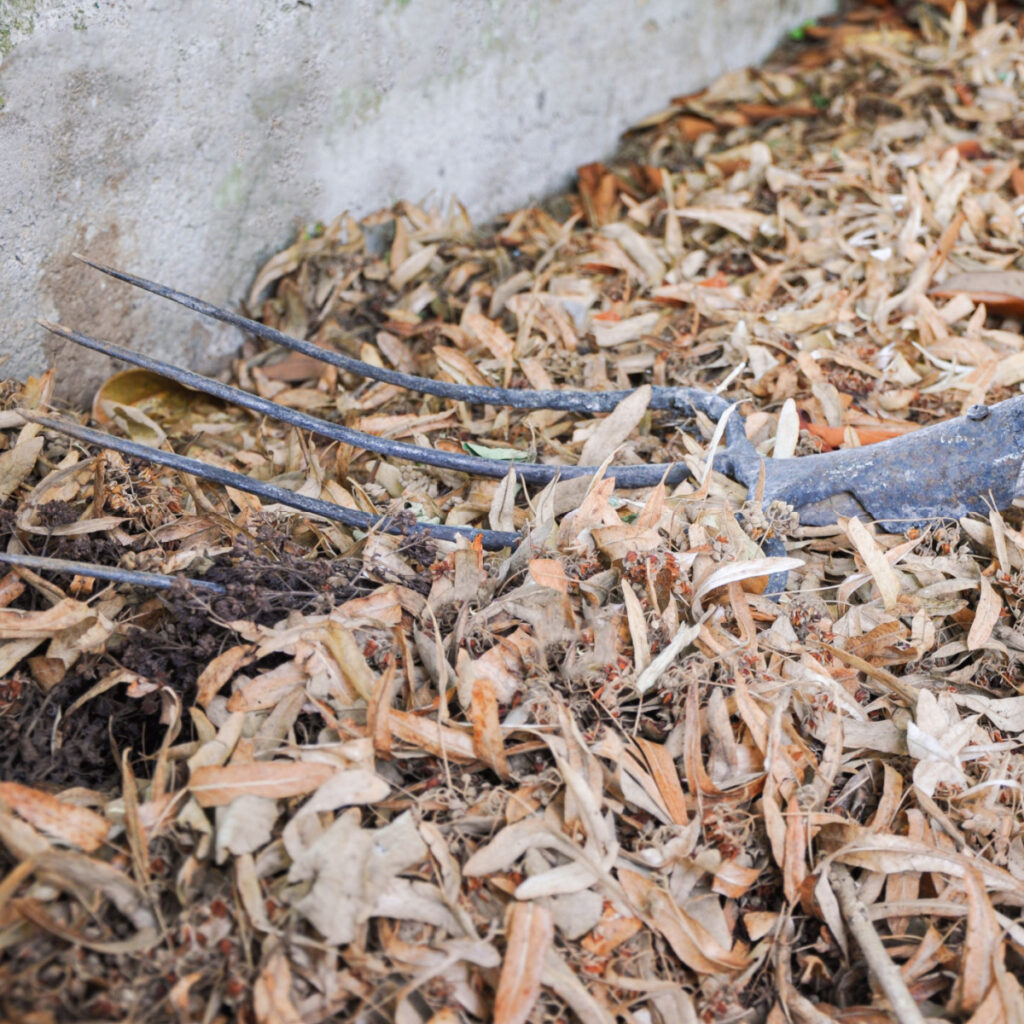
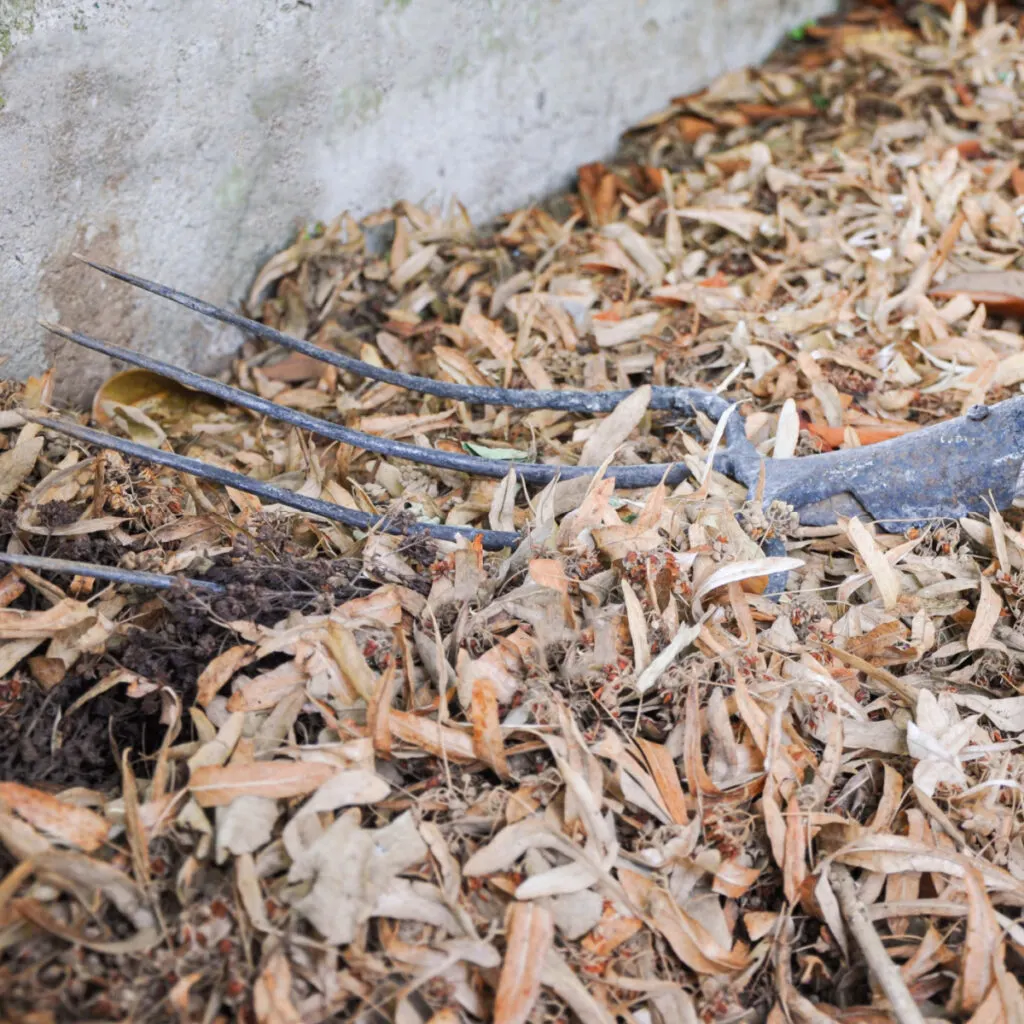
To shred the leaves, simply run them over a few times with a riding or push mower. A bagging attachment on your mower will make quick work of the process and allow you to avoid raking. You can also use a leaf shredder if you happen to have one available.
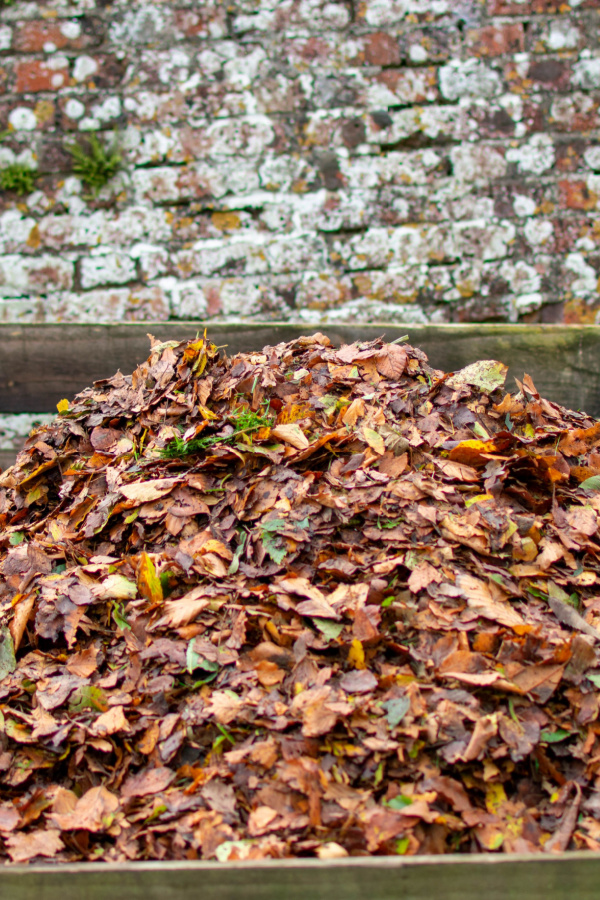
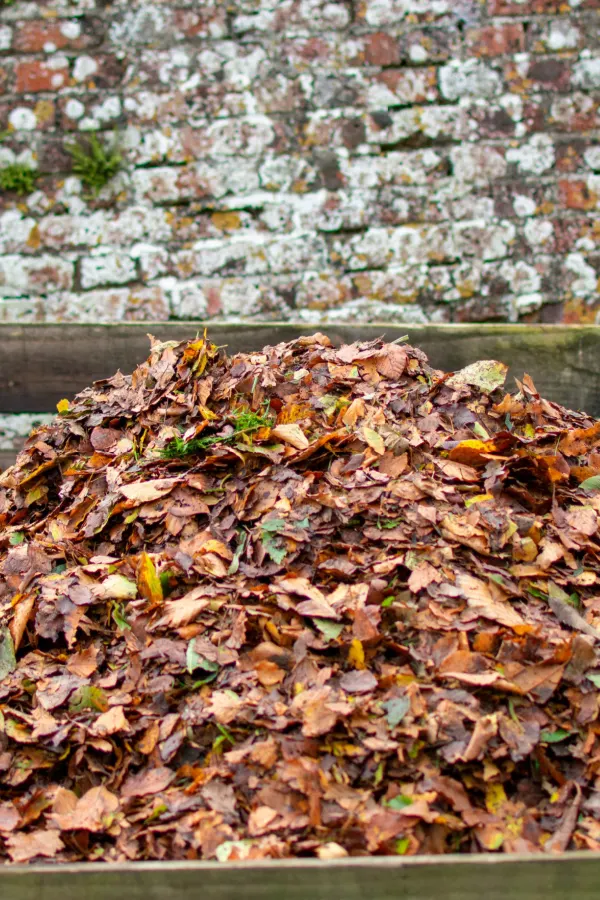
Creating Leaf Mold
Once your leaves are chopped up, it’s time to create your pile. There are two ways to build a pile. You can create one out in the open, or you can use garbage bags to make leaf mold out of sight.
For making leaf mold in a pile, use a corner of your garden or other space in your yard where you can build a pile of leaves at least 3 feet wide and 3 feet tall. It needs to be a space that you can dedicate to the leaves for several months up to a year or more.
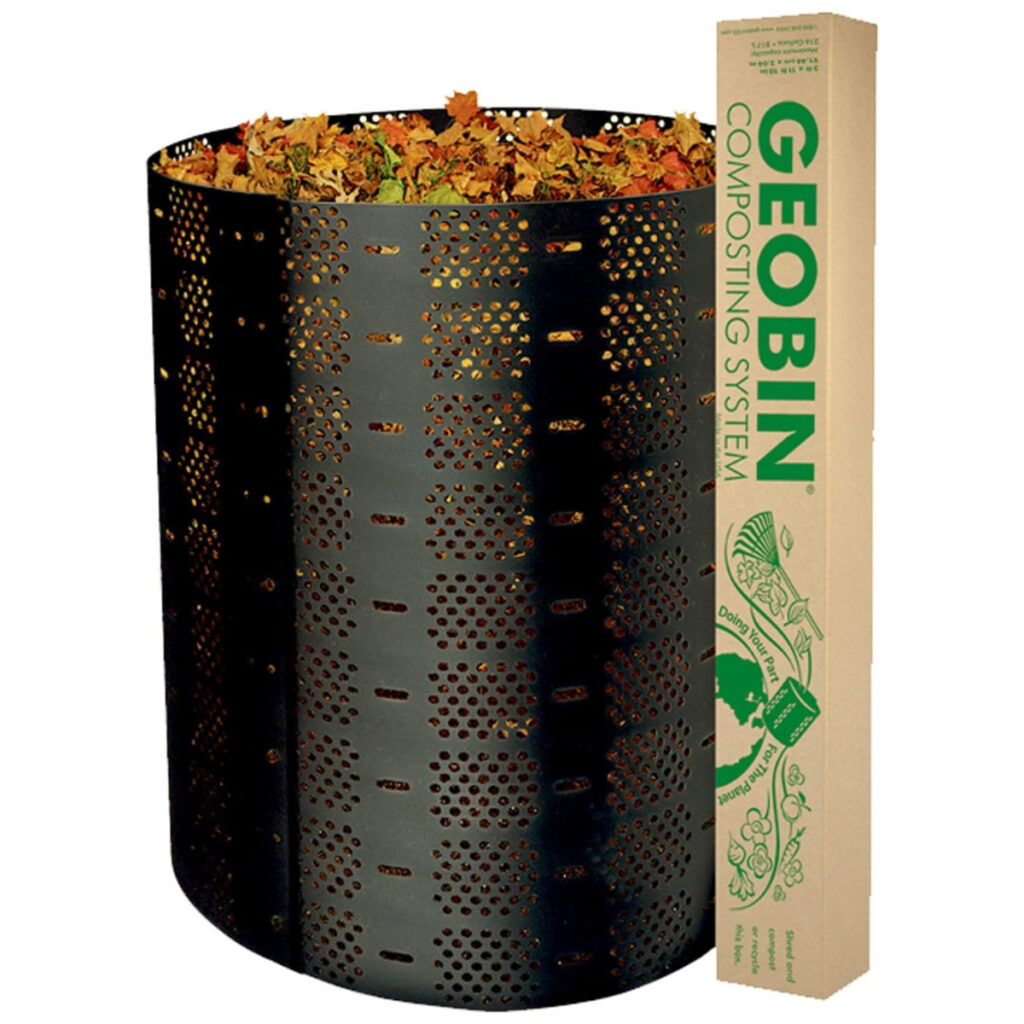
If the area gets wind, adding a wire fence around the pile will help to contain the leaves. This isn’t necessary, but it can keep the pile more manageable. Another great way to contain your leaf mold piles is with an expandable compost bin. They set up in minutes and look great too! Affiliate Link: GEOBIN Expandable Compost Bin
For open piles, pile the shredded leaves up in a big mound. It is best to use freshly fallen leaves, but dried leaves will work. If the leaves are dry, water them down as you build the pile so they are nice and damp. The moisture is important in helping the pile to mold more quickly.
Check the pile monthly and add additional water if needed so the pile stays moist. Using an optional plastic tarp or cover over the pile can help to retain moisture. You can also help speed up the molding process by turning the leaves every couple of weeks and watering.
Creating Leaf Mold In Garbage Bags – How To Make Leaf Mold
As an alternative to using a pile in your yard or garden, you can also use plastic garbage bags instead. To do this, start by filling the garbage bag with moistened shredded leaves. Next, tie it off at the top.
Poke a few holes or slits in the bag to allow for airflow and to help speed up the molding process. Check the bag monthly and add additional moisture if needed. Shaking the bag every few weeks will help to speed up the process.
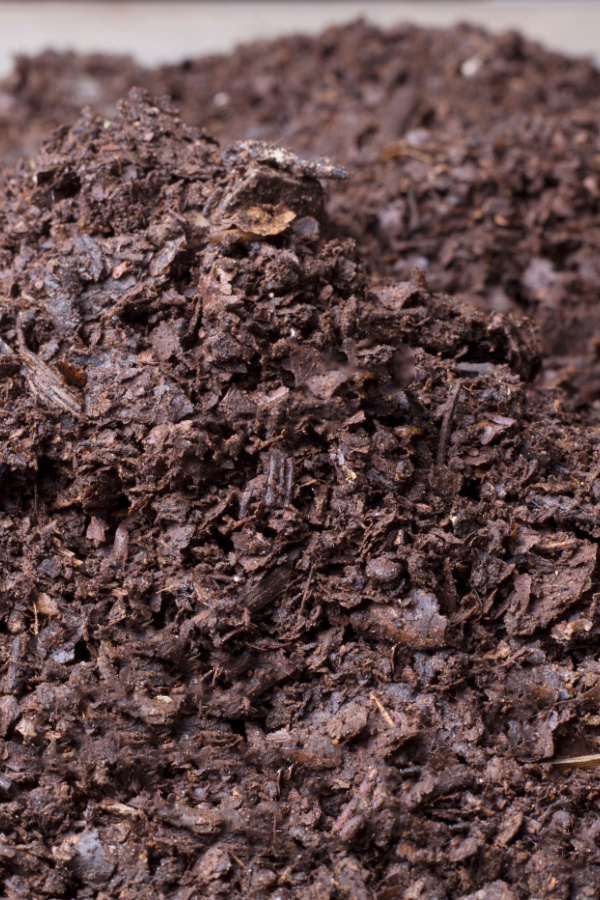
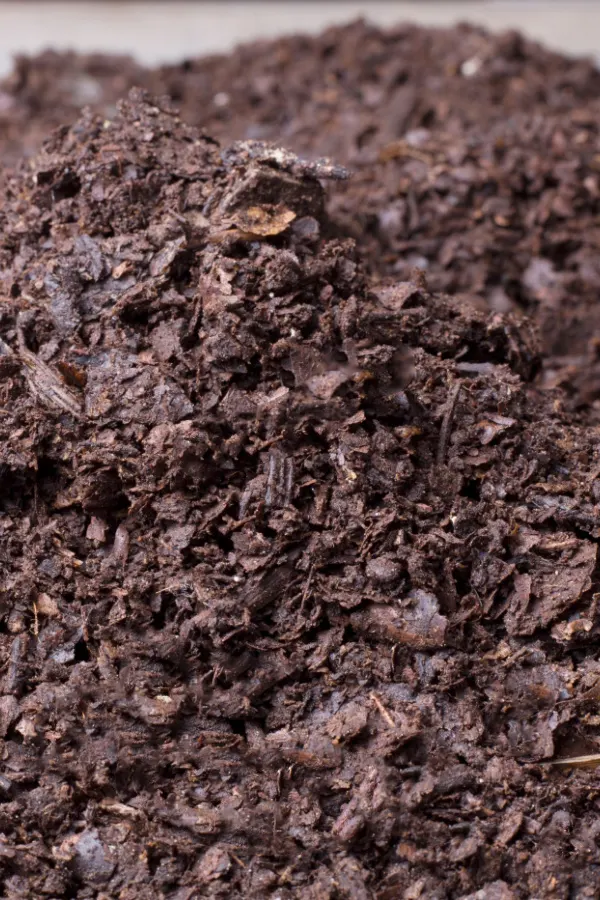
Since creating leaf mold is a type of cold composting, it will take longer than traditional composting to break down. Some piles will be ready in as little as 6 months while others can take up to two years. It will be ready to use when the contents are dark brown or black and have almost the texture of fine soil.
Although it may take longer to make, the good news when creating leaf mold is that it requires little effort on your part. In fact, watering the leaves is about all you will ever have to do!
How To Use Leaf Mold
There are two main ways to use leaf mold in gardens and raised beds – as a soil builder, and as a mulch. A bonus to using leaf mold is that it won’t change the pH value of the soil, making it great for all kinds of plants, shrubs and bushes.

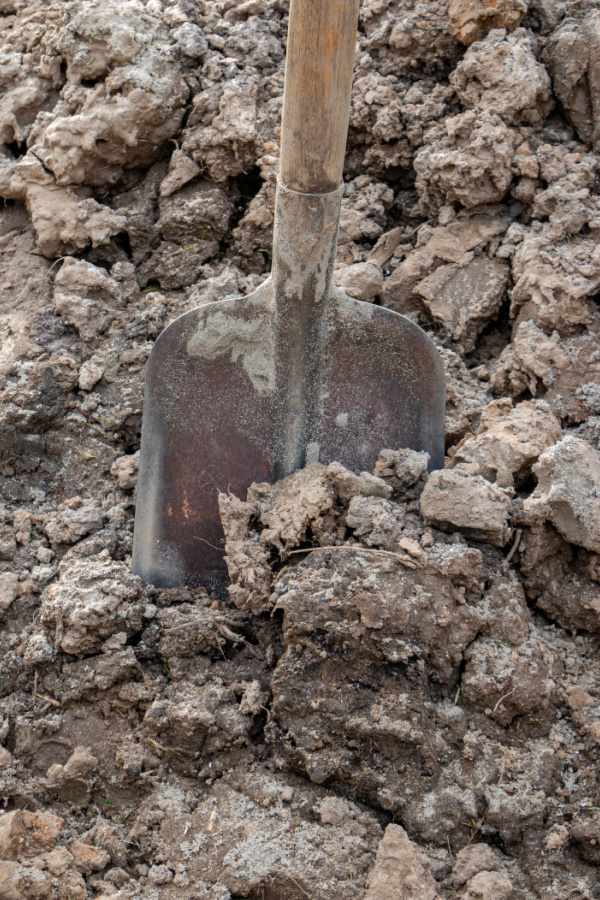
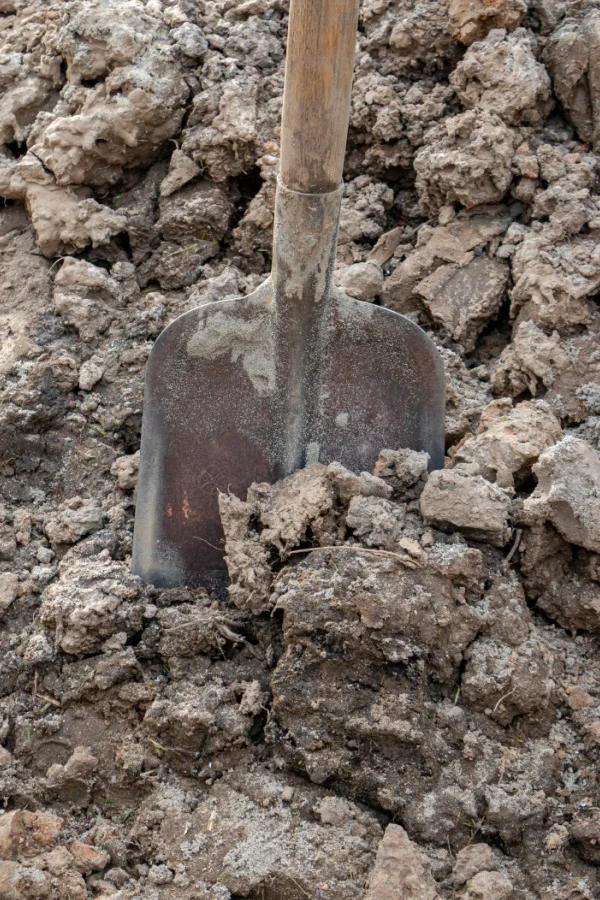
When using as a soil builder, mix several inches of leaf mold into the top six to twelve inches of the soil. Dig in the leaf mold or you can even till to incorporate the material more evenly.
Leaf mold also makes an incredible organic mulch. Place 2 to 3 inches around your perennial plants, trees, or shrubs. You can also use it after planting your annual garden vegetables or flowers. As with all mulch, avoid putting leaf mold right up against the stems of the plants.
This can result in holding heavy moisture around the main stem, causing it to rot off in the process. Leave the leaf mold mulch at least a few inches away from the stems to keep this from occurring. Here’s to making leaf mold this fall – and to using all of those falling leaves to your advantage!
Follow Our Facebook Page For Even More Great Tips! Simple Garden Life Facebook Page
Simple Garden Life is a website dedicated to keeping gardening fun, simple and enjoyable! We publish two new articles each week along with a new garden podcast episode every two weeks. This article may contain affiliate links.