
How To Divide & Transplant Hostas In Late Summer & Early Fall - Get More Hostas For Free!
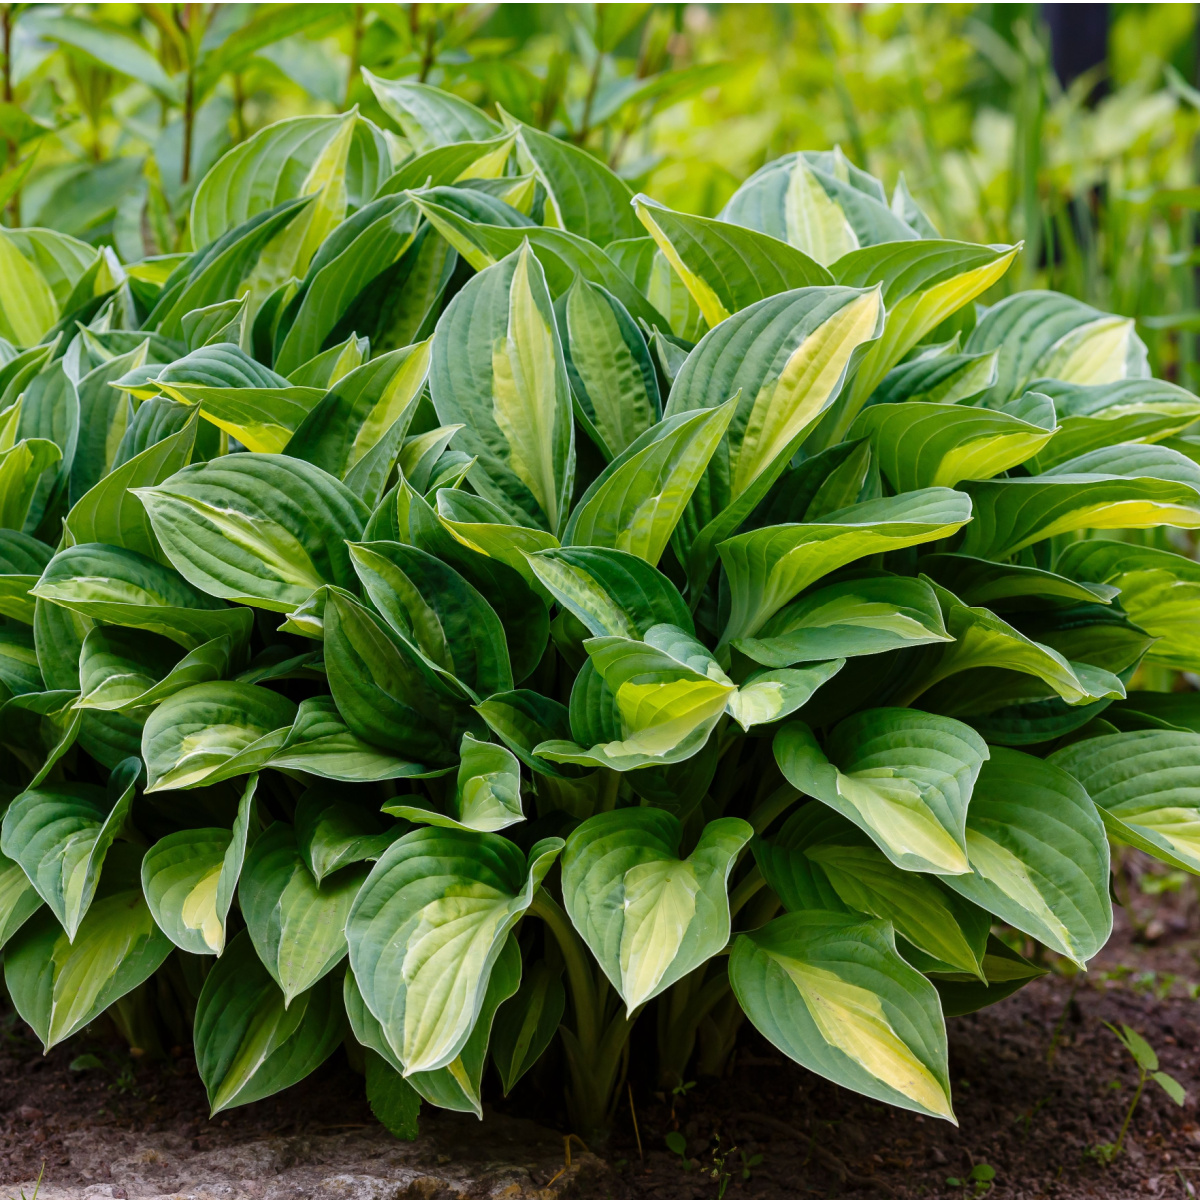
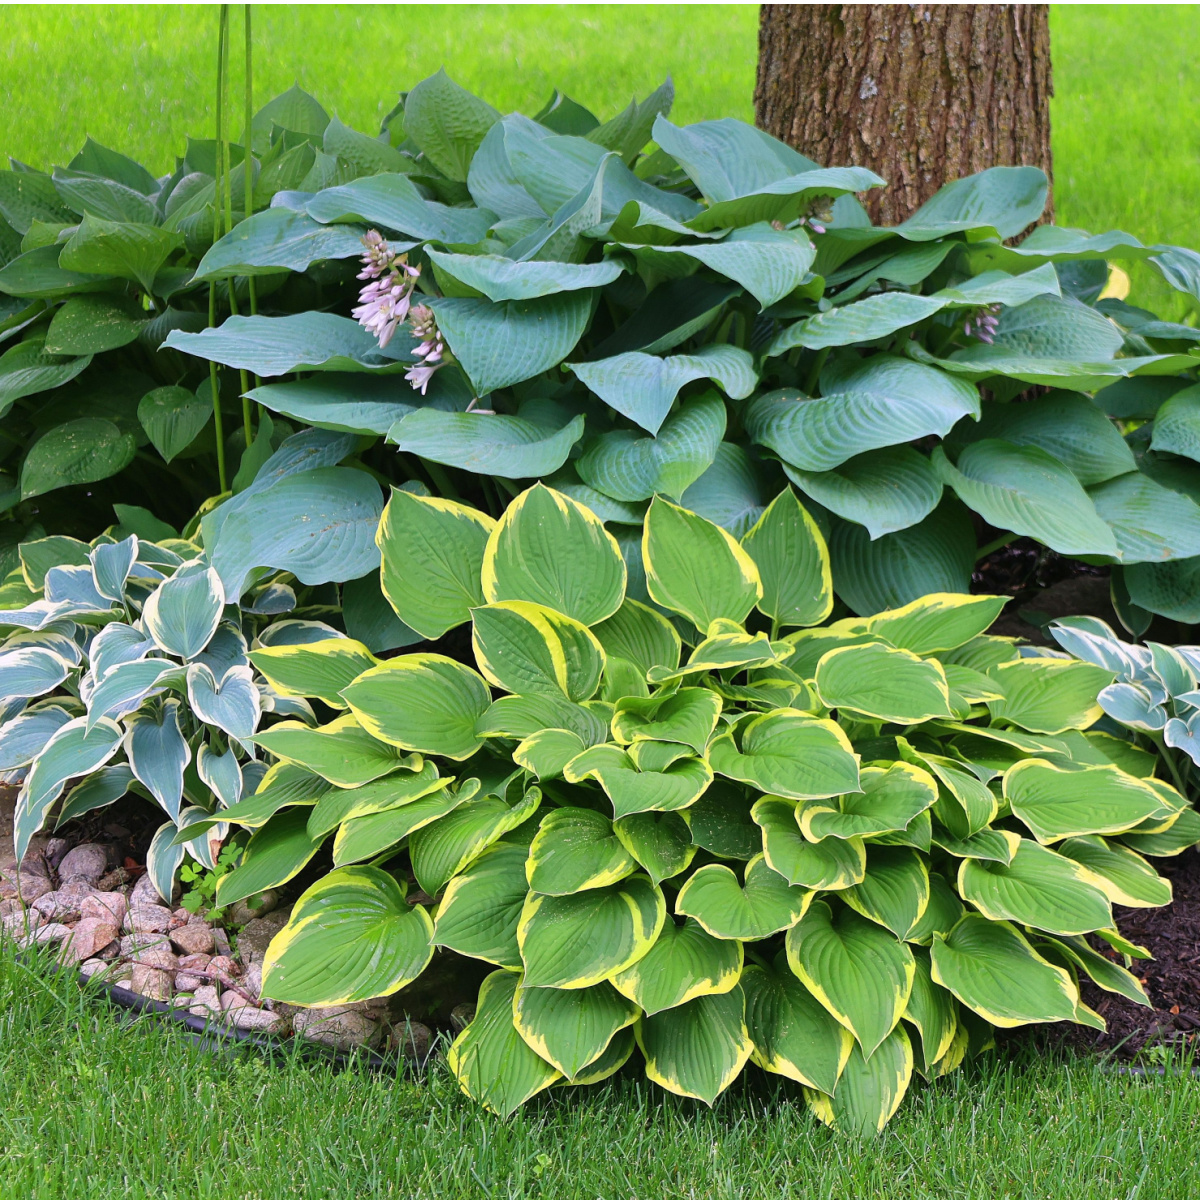
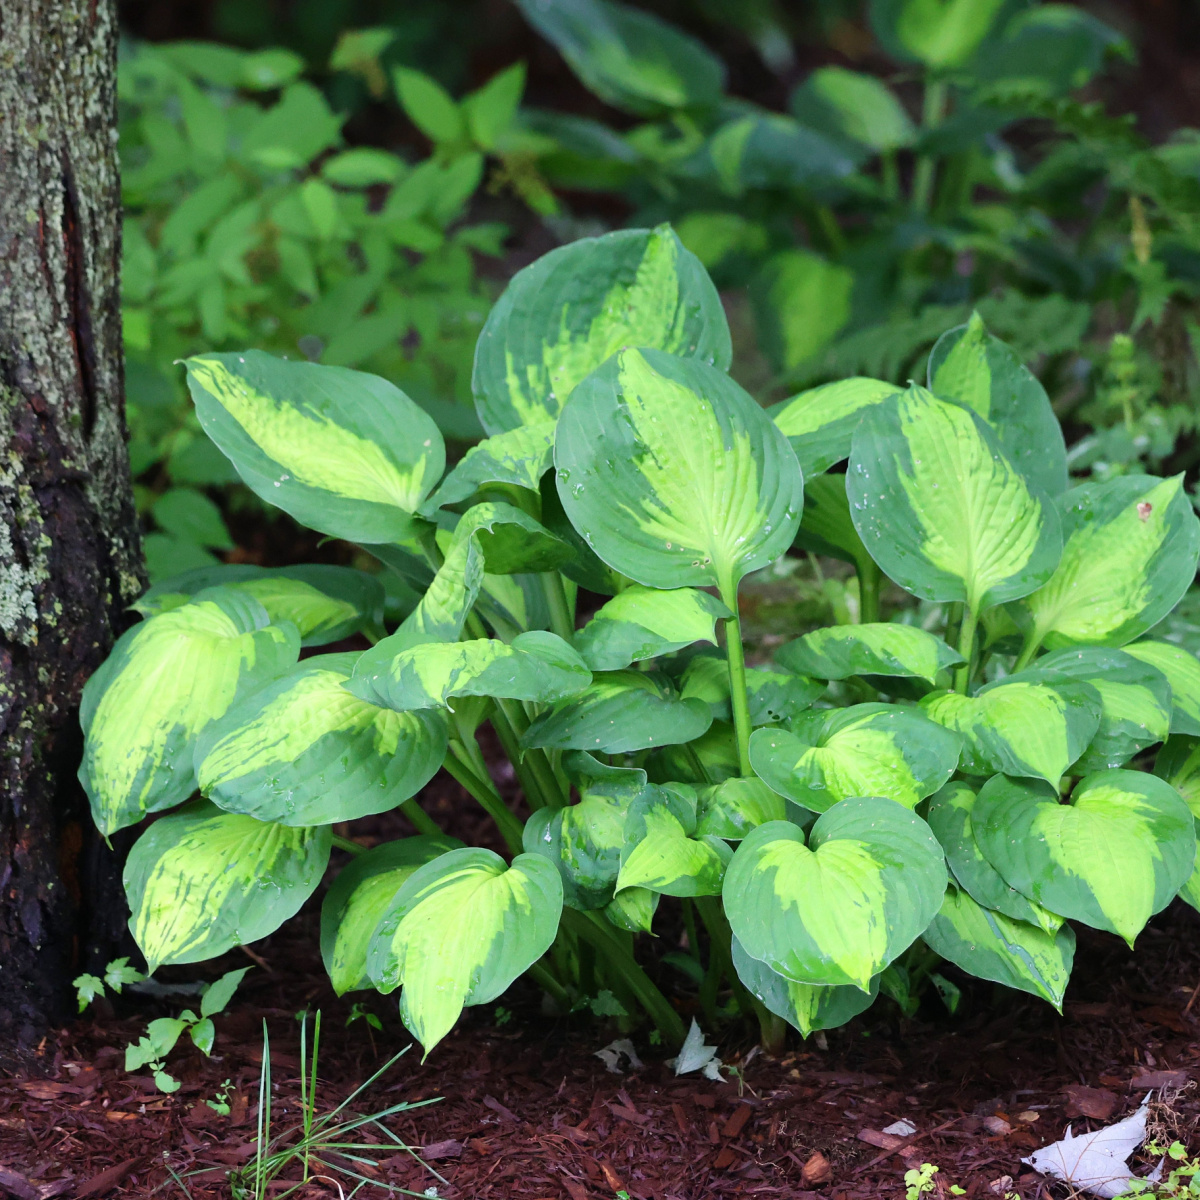
Looking for the best way to divide and transplant your hostas in late summer or early fall? Not only is this one of the easiest ways to create more hosta plants for free, it can also help keep your existing plants healthy, strong and blooming year after year!
But as hostas grow year after year, their roots and crowns can become thick, crowded and overgrown. When this happens, plants can begin to struggle. Their leaves may become smaller, flowering can decrease and the center of the plant can even begin to die out.
The good news is that dividing an overgrown hosta is incredibly easy. And late summer and early fall can be a great time to do it!

Why Late Summer & Early Fall Is A Great Time To Divide & Transplant Hostas
A Perfect Time To Get Free Plants
Hostas can technically be divided at several points during the growing season, but early spring and late summer into early fall are usually the easiest and most successful times.
By late summer, hostas have already put most of their energy into growing foliage and producing flowers. As the days begin to shorten and temperatures start to cool, the plants naturally begin slowing their top growth.
That makes it an excellent time to dig them up and divide them. Instead of trying to support vigorous new leaf growth, the plant can use its energy to establish roots before winter arrives.
Cooler temperatures also mean less stress on newly transplanted divisions. Hot summer sun and dry soil can quickly wilt a freshly divided hosta. But the cooler days and nights of late summer and early fall make it far easier for plants to recover. The key is to divide early enough to give the roots time to establish before the ground freezes.
How Late Is Too Late To Divide Hostas?
For best results, try to divide and transplant hostas about four to six weeks before your area's first expected hard freeze. That doesn't mean the plants need six weeks of warm weather. Hostas actually establish roots quite well in cool soil. But they need enough time after transplanting for their roots to settle into their new location before winter weather arrives.
In many northern growing zones, that means dividing from late August through September. Gardeners in warmer climates may be able to continue dividing well into October.

What To Do Before You Dig
If possible, water your hosta deeply a day or two before you plan to divide it. Moist soil is much easier to dig than hard, dry ground. More importantly, well-hydrated roots handle the stress of dividing and transplanting far better.
Before digging, you can also remove any spent flower stalks. This keeps the plant easier to handle and prevents it from wasting energy on seed production.
If the foliage is still healthy, there is no need to cut all of it away. The leaves can continue collecting energy until frost eventually takes them out.
However, if the foliage is already yellowing, damaged or looking tired, you can trim it back to make the plant easier to work with. Leave several inches of growth above the crown so you can easily see and handle each division.
How To Dig Up, Divide & Transplant Hostas In Late Summer / Early Fall
The easiest way to divide a hosta is to remove the entire clump from the ground first. Start by inserting a sharp garden spade into the soil several inches outside the outer edge of the plant. Work your way completely around the hosta, pushing the spade deeply enough to get underneath its root mass.
Hostas develop thick, fleshy roots, but they are surprisingly tough. Don't worry if you cut through a few roots while digging. As long as each new division has plenty of healthy roots attached, the plant will recover quickly.
Once you have loosened the soil around the entire plant, slide the shovel underneath the root ball and gently pry it upward. For extremely large hostas, this can take a little work. It may be easier to loosen one side at a time until you can lift or roll the entire clump out of the planting hole.
Listen To Our Latest Garden Podcast Below

Creating New Plants
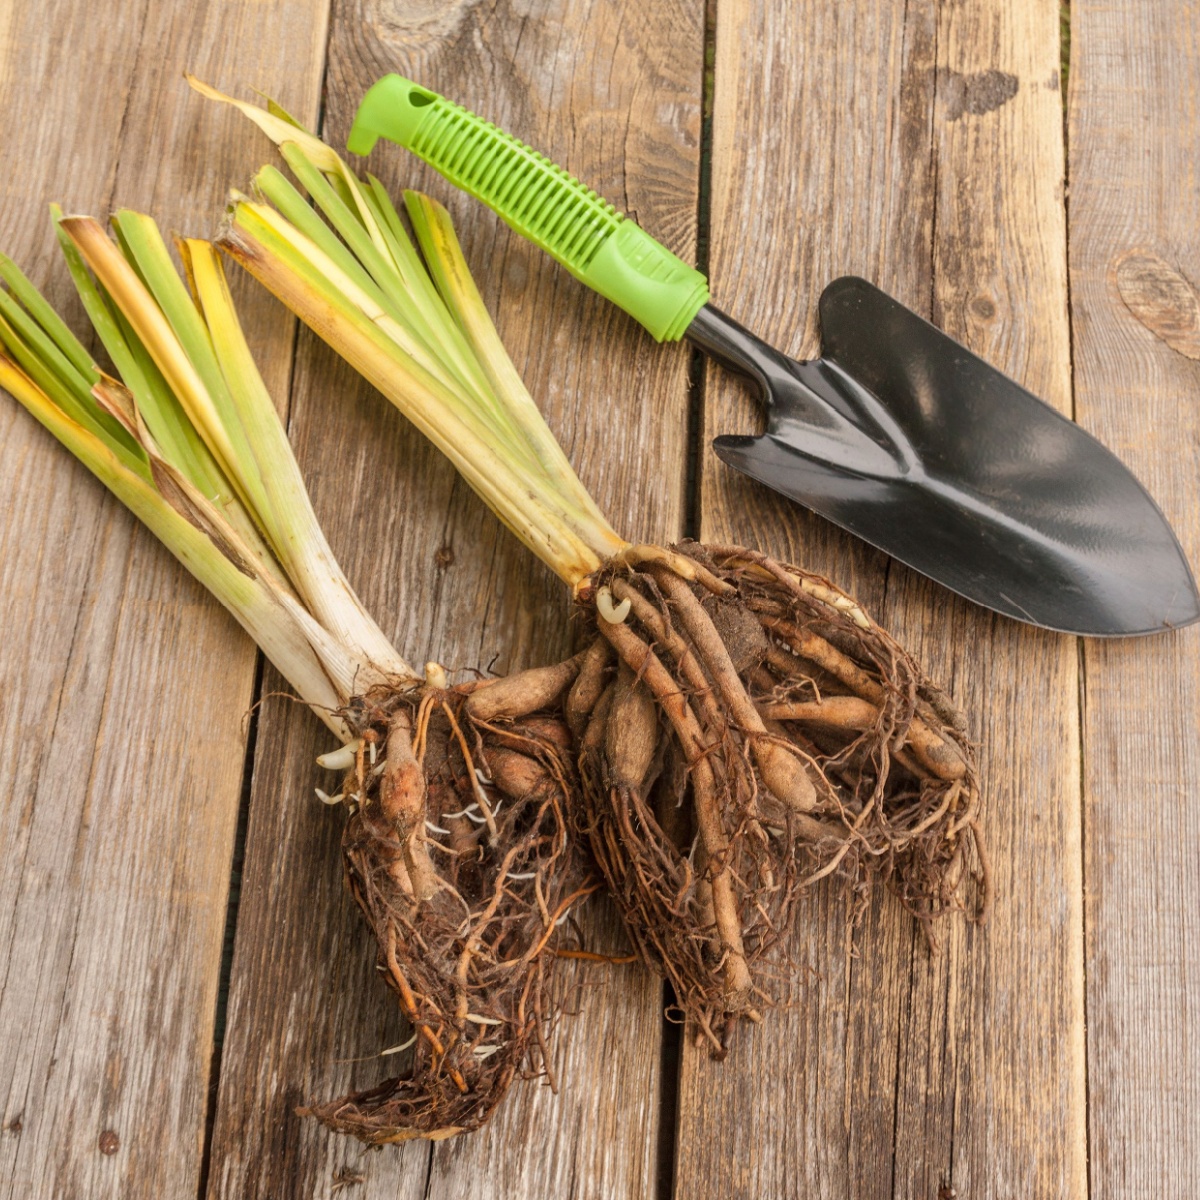
Once the hosta is out of the ground, shake or gently knock away some of the excess soil. This makes it much easier to see the crowns and roots. A mature hosta is actually made up of multiple growing points, often called eyes. Each eye produces leaves, and groups of these growing points can be separated to create new plants.
For loose clumps, you may be able to pull sections apart by hand. But older hostas usually have a dense root system that requires a little more force.
A sharp garden knife, spade or even a clean pruning saw works well for cutting through large crowns. Simply cut straight down through the root mass, separating the plant into manageable sections.
For the quickest recovery, create divisions with at least three to five healthy growing points and a good portion of roots attached. Although smaller divisions can survive, larger sections establish faster and produce fuller plants much sooner. One mature hosta can often produce three, four or even more new plants!
Preparing The New Planting Location
Before transplanting your hostas divisions in late summer or early fall, take a little time to prepare their new home. Hostas perform best in rich, loose, well-draining soil. Although they love moisture, they don't like sitting in constantly soggy ground.
Dig the new planting hole wider than the hosta's root system and loosen the soil around the edges. This makes it easier for new roots to spread quickly into the surrounding soil.
If your soil is poor or heavy, mix a small amount of compost into the soil you removed from the hole. Compost helps loosen compacted soil while also adding valuable organic matter. Affiliate Link: Back to the Roots 25.7qt (1 Cubic ft) Organic Premium Compost

Avoid adding large amounts of fertilizer when transplanting hostas in the fall. At this point in the season, the goal is root establishment – not forcing tender new top growth that can be damaged by cold weather. See: The Best Way To Fertilize Hostas In The Spring – A Simple Way To Keep Your Hostas Beautiful All Summer!
Transplanting Hosta Divisions In Late Summer
One of the biggest mistakes gardeners make when transplanting hostas is planting them too deeply. Set each division into its planting hole so the crown sits at roughly the same level it was growing before. The crown is the area where the roots meet the stems and foliage.
Spread the roots outward naturally instead of bunching them underneath the plant. Then fill around the roots with soil, gently firming it as you go to eliminate large air pockets. Once planted, water the hosta thoroughly. A deep initial watering helps settle the soil around the roots and gives the plant the moisture it needs to begin establishing quickly.
Finally, add two to three inches of mulch around the plant. Mulch helps hold moisture in the soil and keeps soil temperatures more consistent as fall temperatures begin to drop.
Consistent moisture is one of the biggest keys to success when dividing and transplanting hostas in late summer and early fall. For the first few weeks, check the soil regularly. Water deeply whenever the top inch or two begins to dry out.
Should You Cut Back Hostas After Transplanting?
There is no need to immediately cut a newly divided hosta all the way to the ground if its foliage is still healthy and green.
Those leaves are still performing an important job. They continue absorbing sunlight and creating energy that can be stored in the roots for next year's growth.
Instead, allow healthy foliage to remain until it begins to yellow and die back naturally.
Once a hard frost takes out the foliage, you can cut the leaves back to within a few inches of the ground. Removing dead foliage also helps eliminate hiding places for slugs, insects and other pests that might otherwise overwinter around the plant. Here is to dividing and transplanting your hostas this fall – and filling your flowerbeds with beautiful new plants for free!
The Simple Garden Life
Follow Our Facebook Page For Even More Great Tips! Simple Garden Life Facebook Page
Simple Garden Life is a website dedicated to keeping gardening fun, simple and enjoyable! We publish two new articles each week along with a new garden podcast episode every two weeks. This article may contain affiliate links.
One Comment
Comments are closed.