Did you know that one of the best ways to ensure an amazing harvest of garlic next summer is to plant your garlic bulbs in the fall? Not only will it help you to grow and harvest bigger bulbs next summer than planting in the spring, they’ll also be more flavorful too!
While you can plant garlic in the spring, the bulbs simply don’t have enough time to grow to their maximum capacity or develop that dynamic flavor profile normally associated with homegrown garlic.
Garlic actually requires a long period of cold temperatures in order to grow and produce big bulbs. And by starting it in the fall, you give the bulbs the perfect amount of chilling time they need. By planting in the fall, a garlic clove has time to sprout and create established roots before winter weather hits. Then, once spring arrives, the plants really take off!

When To Plant Garlic In The Fall
What You Plant Matters
There are two main types of garlic available for planting – softneck and hardneck. Both can actually be planted in the spring or fall, but both will perform better with fall planting. But the first key to success is knowing which variety will grow best in your area. And that all depends on your climate.
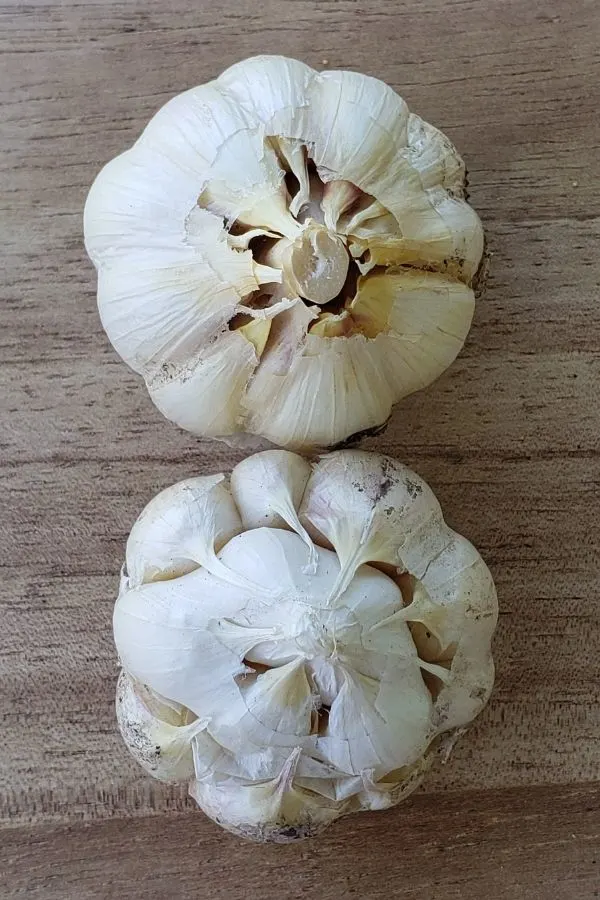
Softneck garlic grows best in warmer climates with longer growing seasons. This type of garlic is typically seen on grocery store shelves due to its ability to be stored for long periods of time. It features a milder garlic flavor and the bulb is made up of multiple overlapping cloves with thick skins.
The second type of garlic, hardneck, has a shorter shelf life (four to six months) and grows best in colder climates. It features a stronger, sometimes spicy garlic flavor and is made up of a single layer of large cloves wrapped around a thick stem.
Of the two, hardneck is usually preferred for its overall flavor profile. Even more, hardneck garlic can create edible garlic scapes that can be harvested before the cloves are ready, giving a bit of extra return on the planting investment!
Typically southern and south-western states can grow softneck garlic, and northern and mid-western states can grow hardneck.
When & How To Plant Fall Garlic
Your Seed Stock Matters
In order to grow garlic, you need to plant garlic seed stock. As tempting as it might be, don’t plant garlic that you purchase from the grocery store produce aisle.
Most of these bulbs have been shipped from other locations and are likely not best for your growing environment. In addition, many store-bought garlic are treated with growth inhibitors, sprays, or other chemicals. These can make the garlic seed unable to sprout, or at the least, less than ideal for growing.
You can find actual seed stock for garlic at local nurseries, farmer’s markets, mail-in seed catalogs and online. Just be sure that you are choosing a variety that works well for your particular growing zone.
One thing is for sure, don’t wait until the last minute to secure your garlic bulbs for planting. The later in the summer it gets, the harder it can become to find seed.
Affiliate Garlic Seed Links
- Affiliate Seed Link: Garlic Bulb (6 Pack), Fresh Siberian HARDNECK Garlic Bulb for Planting
- Affiliate Seed Link : (3 Pack Garlic Bulbs), California Softneck
Plant Larger Cloves
Once you purchase your garlic, choose the biggest and best cloves to plant. The bigger the clove, the bigger the garlic bulb it will produce. You can still plant smaller bulbs, but they will not form as large of a total bulb size by next summer.

After harvesting the garlic you plant this year next summer, you can save the best cloves to plant next fall. Not only does this save you money in not having to purchase new garlic seed stock, but your garlic will adjust to your soil and growing location, allowing it grow and perform better with each passing year.
Preparing The Soil
Garlic grows best in loose, fertile soil. Work generous amounts of compost into the soil prior to planting to help loosen the dirt and improve drainage. You can also add a bit of sand if your soil is hard or clay-like to increase drainage.
Traditional gardens, raised beds, and even containers are perfect for growing garlic since it doesn’t need a lot of space for roots to develop. The most important part is that the soil is rich and drains well.
Garlic requires full sun in order to grow and produce large bulbs. This is something to keep in mind if you have trees surrounding your growing location. When you plant in later fall, they may no longer have their leaves. But come spring and summer, those trees will provide too much shade and hinder your garlic’s growth.


Pre-Soak Your Cloves
You should plant garlic in the ground 4 to 6 weeks before your first expected frost date. Each separate clove of a garlic head will become a new garlic head. Prior to planting, make sure not to separate the bulbs for longer than 48 hours. This will keep the individual cloves from drying out and help speed germination.
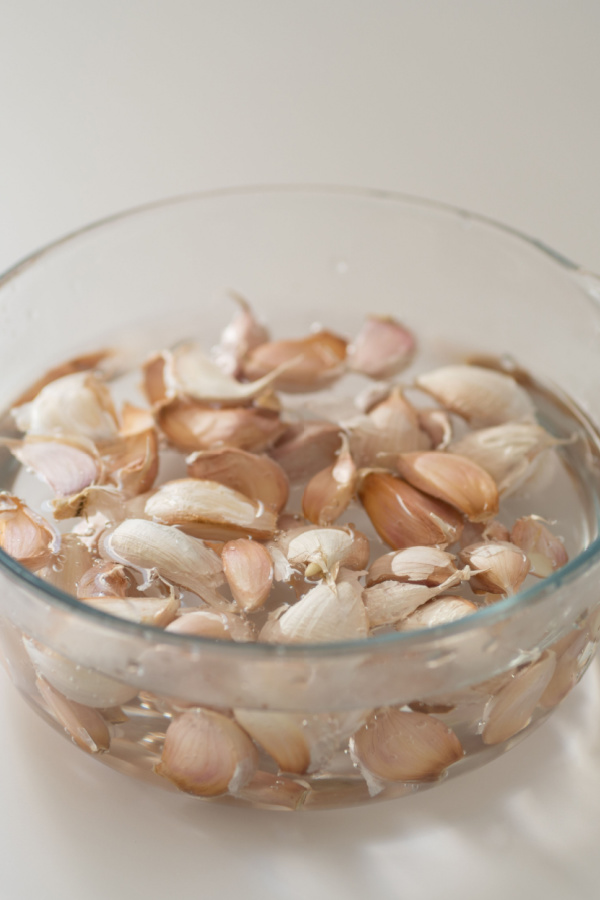
When the planting date arrives, soak your garlic cloves for several hours prior to putting them in the ground. This helps the garlic sprout sooner, providing much needed moisture to speed germination.
To soak, simply fill up a jar or bowl with distilled or filtered water and add one teaspoon of baking soda for every quart of water. Stir to dissolve. The water will help hydrate the bulb for germination. The baking soda helps it germinate faster as well as helping to protect it from rotting out
Separate the garlic bulb into cloves, leaving as much of the papery skin intact as possible before soaking. This skin will also help to protect the cloves before germination occurs. Add the cloves to the water solution and soak overnight or at least 12 hours prior to planting.

Plant With Compost
To plant, begin by creating a long trench that is 3 to 4 inches deep and 2 inches wide. Add an inch of compost to the bottom of the trench to give the cloves a nice boost of nutrients and to help encourage sprouting and root growth.
This little step can add big dividends for your garlic crop. Compost can help nearly all vegetable plants grow better, and with garlic, it gives it slow release energy that is perfect for good bulb formation.
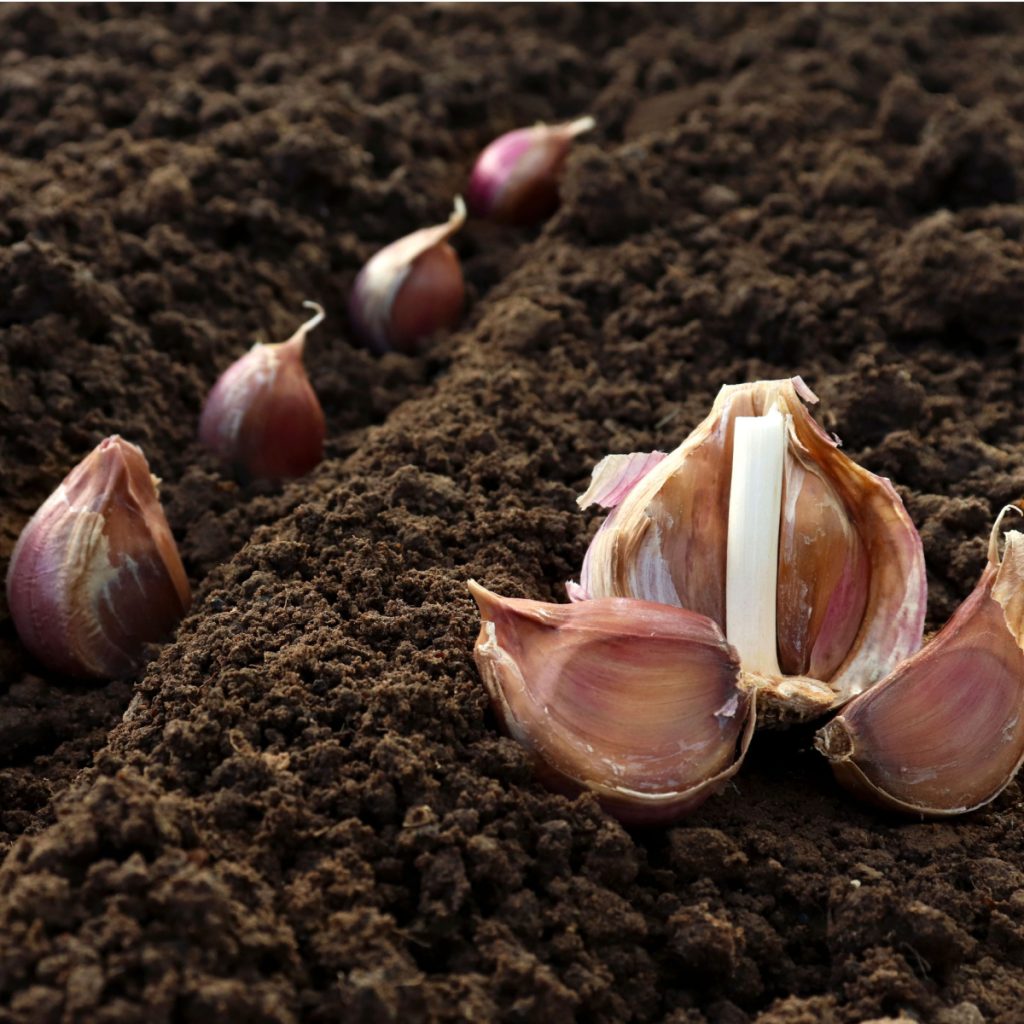
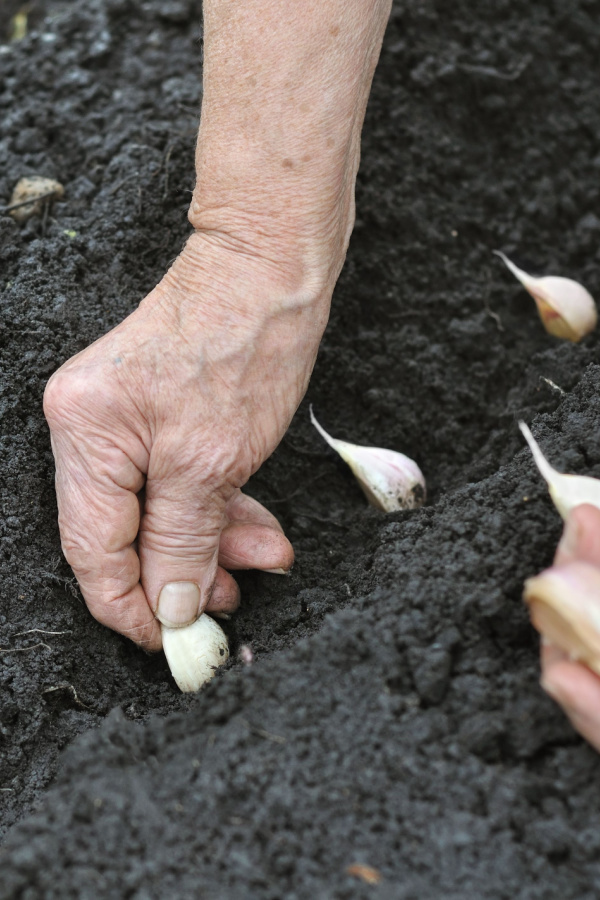
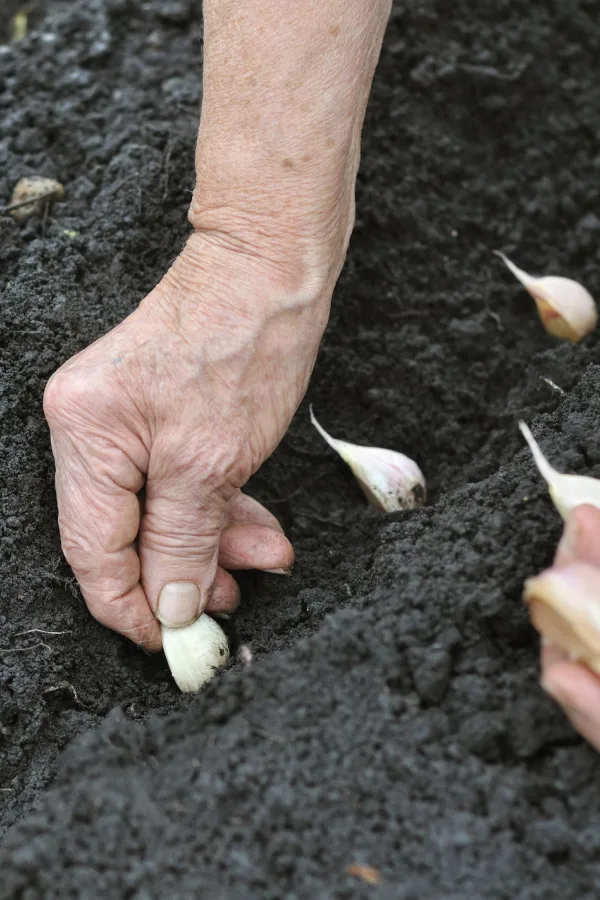
A long-handled garden hoe or mattock (pick) makes quick work of creating the trench. Next, add your cloves to the trench, spacing each one out about 4 inches apart. Do not overcrowd the cloves or else your bulbs will not be able to grow as large. Affiliate Link: Forged Adze Pick, Weeding Mattock Hoe
Make sure to always plant with the pointy end of the garlic clove pointing up toward the sky and the flat end pointing down. The garlic will sprout from the pointed end so this can help it burst through the soil much faster.
Lightly backfill with soil but avoid tamping down. Add a thin, one-inch layer of lightweight mulch such as shredded leaves or straw on top of the soil. This will help to prevent weeds while still allowing the garlic to sprout before winter hits. Water lightly to help set the soil and mulch.
Caring For Your Garlic Plants
Water the planting area every 3 to 4 days until you see sprouting occur. After that, water every 10 to 14 days if you don’t receive any rainfall.
Once the cloves have sprouted, add several more inches of organic mulch to the top. This will help to insulate and protect the garlic from the fluctuating freezing and thawing temperatures of winter. The garlic will go dormant over the winter and require no additional watering or maintenance.
Spring Care
When the weather starts to warm up in early spring and the ground begins to thaw, you will start to see green sprouts peeking up through the mulch. Add more mulch if needed to keep suppressing weeds.
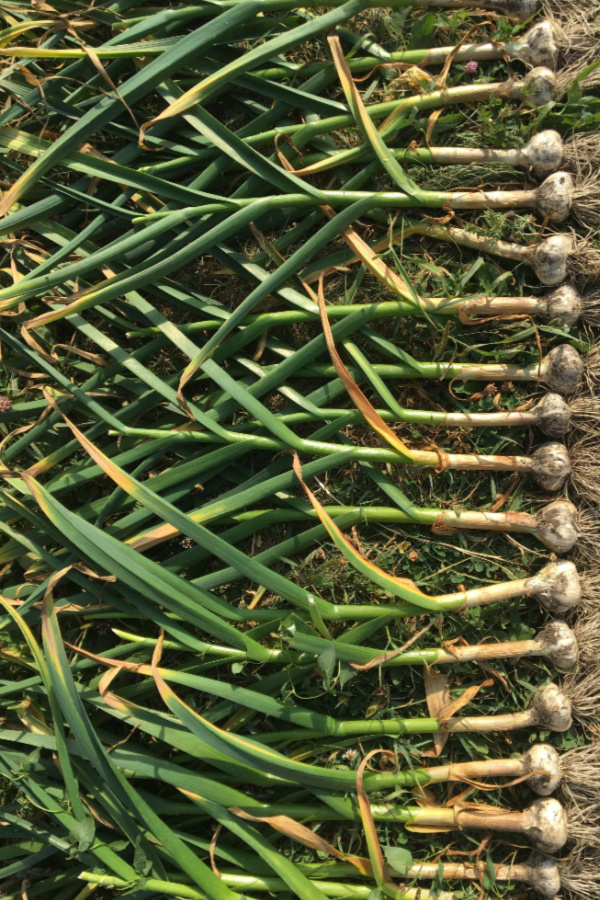
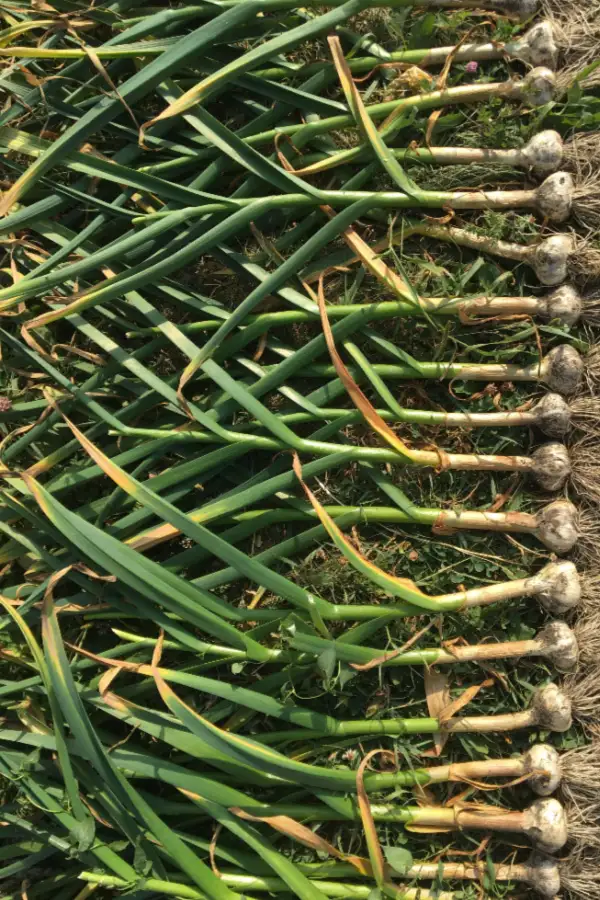
Besides weekly rainfall or hand watering of one inch, growing garlic is pretty much hands-off from here until harvest time! See: How To Harvest And Cure Garlic In The Summer – Saving Garlic For Year Round Use
Before you know it, you will have tall garlic plants with huge bulbs growing beneath the soil all because you planted your garlic in the fall! For more fall gardening tips, be sure to check out: 4 Fall Crops You Can Plant Now – And Harvest In 45 Days!
Simple Garden Life
Follow Our Facebook Page For Even More Great Tips! Simple Garden Life Facebook Page
Simple Garden Life is a website dedicated to keeping gardening fun, simple and enjoyable! We publish two new articles each week along with a new garden podcast episode every two weeks. This article may contain affiliate links.