There is no better way to protect, recharge and bring your garden soil back to life than to plant a fall garden cover crop. And you won’t believe just how easy it is to do!
Vegetable plants use a tremendous amount of energy and nutrients from the soil to grow and produce. Some vegetables, like tomatoes, corn and peppers use so much that they can deplete the soil of nearly all of the energy they need to grow successfully.
Although adding fertilizer each year will certainly help add back nutrients, it does not improve a garden’s soil structure in the least. And as soil structure breaks down, it becomes harder and harder with each passing year to grow healthy, vibrant and productive crops.
Garden soil that has no structure is lifeless. It also fails to hold moisture and nutrients. So even when you do water or add fertilizer, it is far less effective. They both can drain away rapidly, leaving your plants thirsty and hungry. But that is exactly where cover crops can save the day!
The Many Benefits Of Planting A Fall Garden Cover Crop
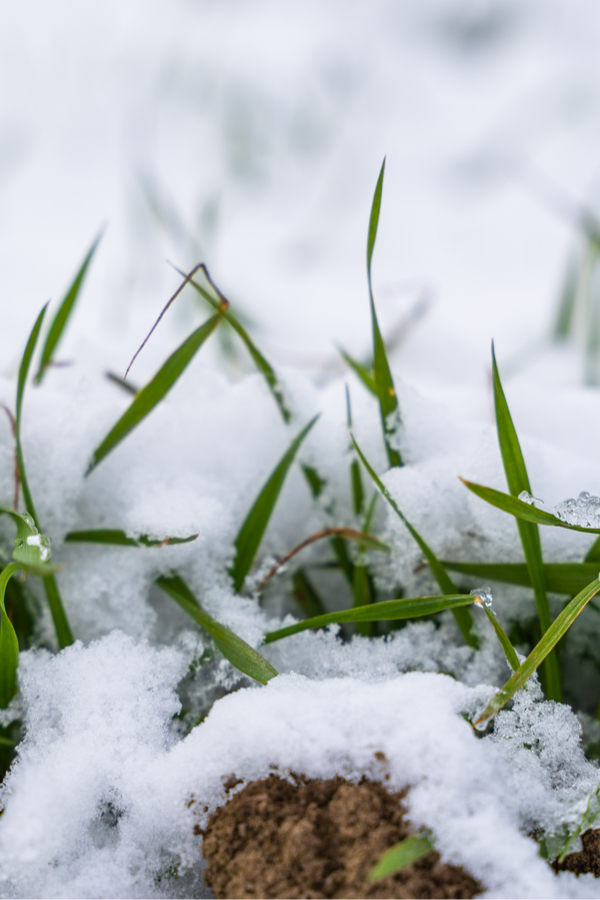
There is a long list of reasons why planting a cover crop is the best thing you can do for your garden this fall. To begin with, they help to protect your garden soil from erosion during the harsh winter months. When left as bare ground, prime garden soil and its nutrients can easily be swept away by wind, rain, snow, and the freezing and thawing of moisture.
In addition, a cover crop is a huge help in the fight against weeds. The lack of bare ground prevents blowing weed seeds from landing and germinating. The seeds simply don’t have a chance to penetrate the soil due to the cover crop’s thick growth.
Cover crops also help to loosen hard soil due to their growing roots. The roots help to break apart and naturally aerate your soil.


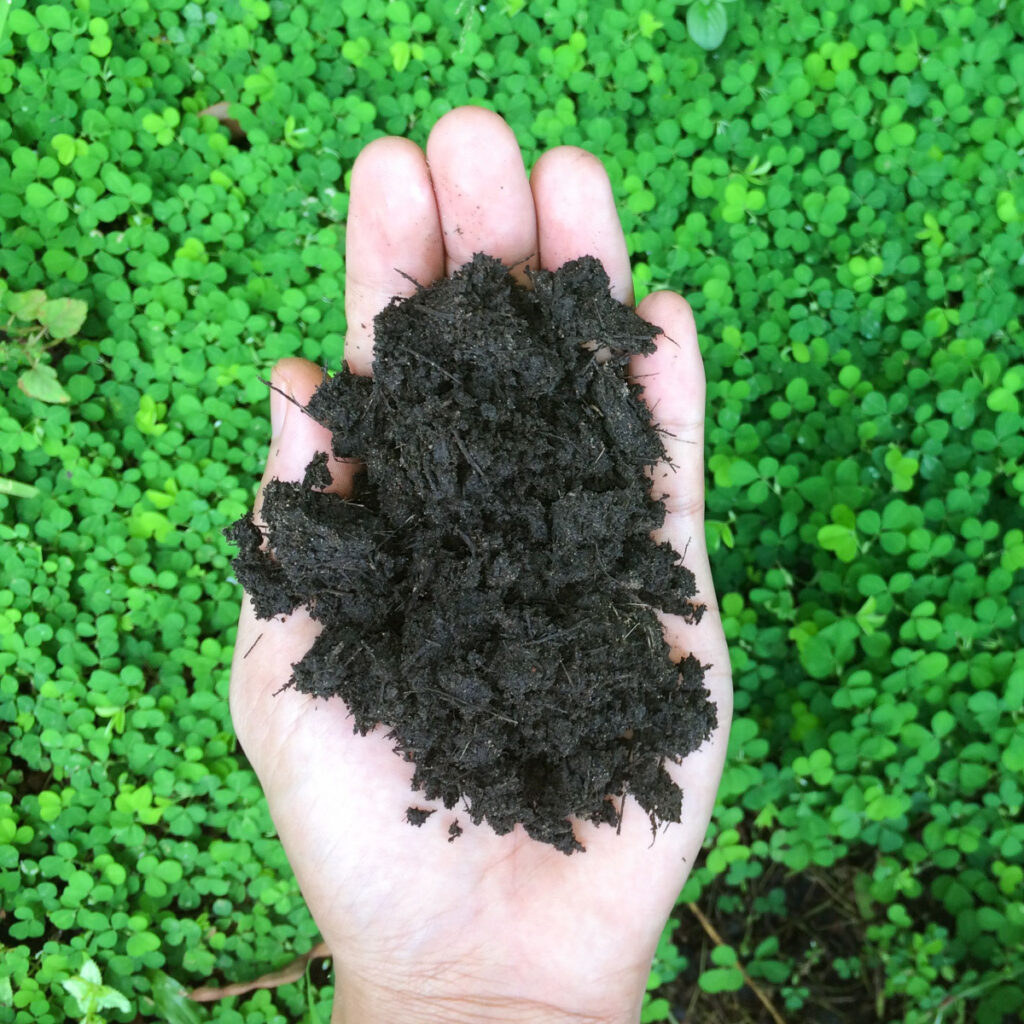
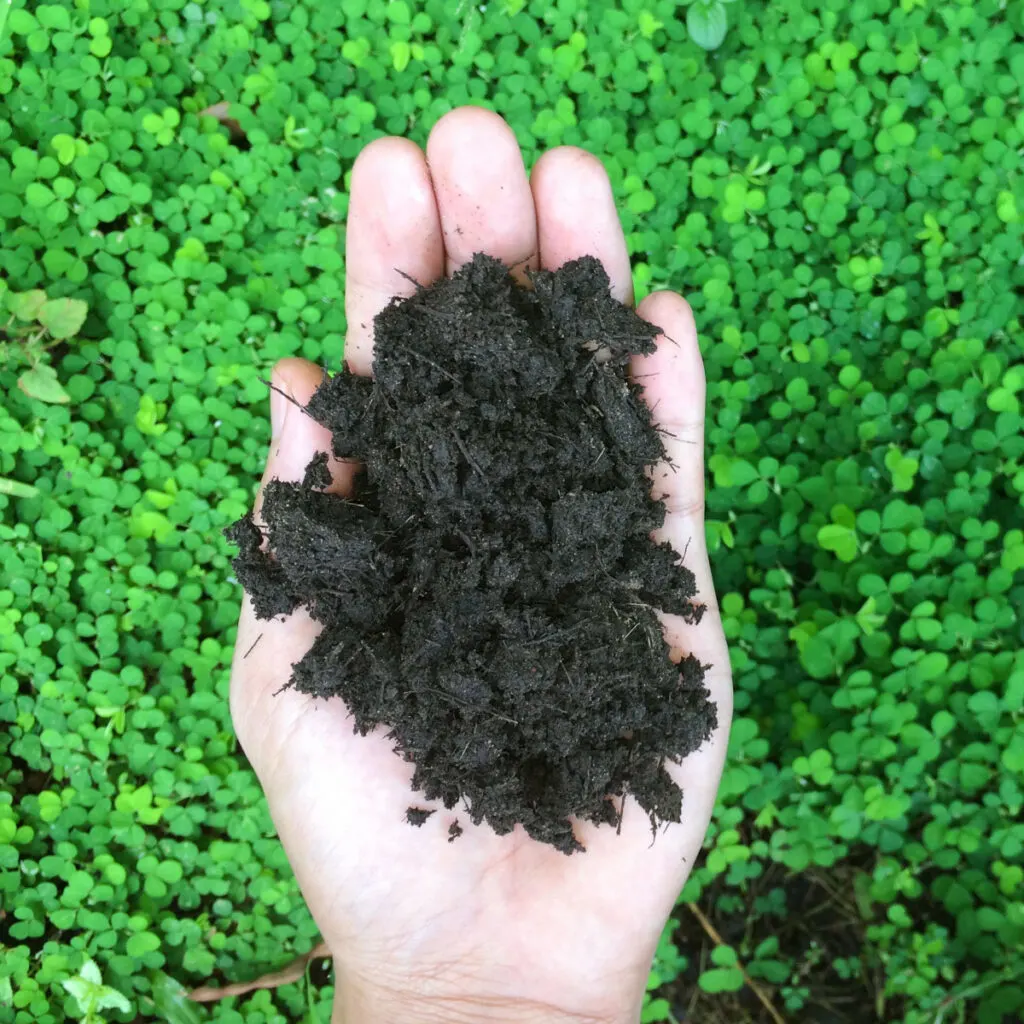
But one of the biggest reasons of all to plant a cover crop is that they help to re-energize soil with fresh nutrients and rebuild soil structure as they break down. As a cover crop dies off and decomposes, all of the nutrients break down and leach into the soil. And they also add tremendous amounts of humus to the soil, bringing it back to life in the process.
With all of those garden-changing benefits in mind here is a look at the various types of cover crops you cover your garden with this fall – and how to plant them. And as you will see – best of all – you don’t even have to till them in!
How To Plant A Fall Garden Cover Crop
Cover Crop Varieties
There are three main types of cover crops that you can grow as a fall cover crop – grains, legumes and broadleaf. Some gardeners stick with one variety year after year, others mix it up to bring different life back to their soil.
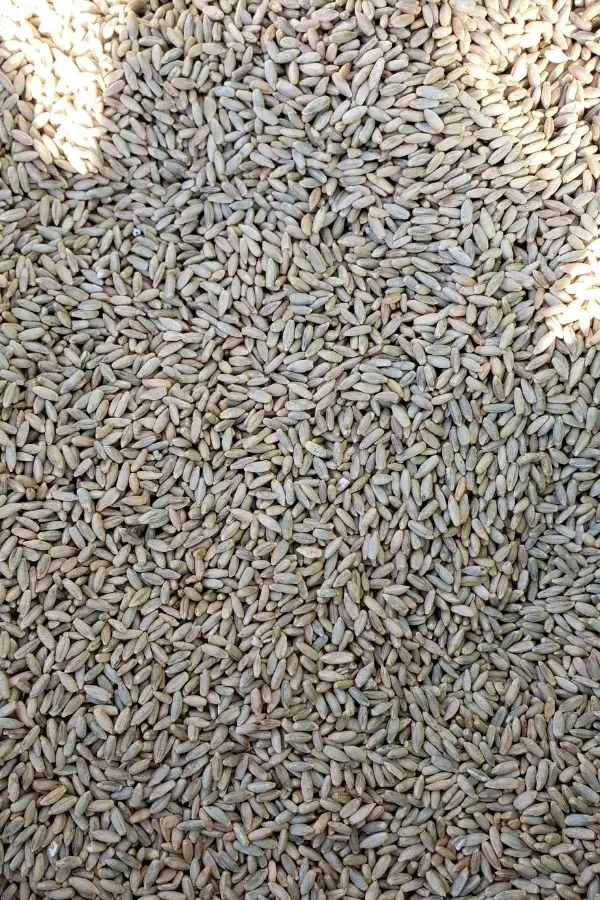
Grains are the most popular of all in the fall and include crops such as annual (cereal) rye, barley, oats, and wheat. Grains help to snuff out weeds and also create a ton of organic matter that will help to enrich the soil. Their extensive root system also helps to break apart hard soils like clay. They also plant easily and grow fast – and can be mowed off to terminate their growth without tilling.
Legumes on the other hand include crops like red clover, field peas, soybeans, and hairy vetch. Legumes are considered nitrogen-fixers that help to add nutrients and nitrogen back into the soil.
Listen In Below To Our Podcast On How To Plant The Perfect Cover Crop!
Broadleaf cover crops include buckwheat, alyssum, and mustard as examples. They are mostly used to help shade out weeds because they grow fast and then can be easily tilled into the soil for added nutrients.
How To Plant, Grow, And Maintain A Fall Garden Cover Crop
When & How To Plant
Cover crops can be planted as soon as you clear your garden. The faster the better as leaving bare soil allows weeds to establish. At the least, aim for around a month before your location’s expected first fall frost date. This will allow the crop to establish before the harsh cold of winter sets in. Affiliate Product Link : No Till Cover Crop Seed Mix Blend
To sow, simply rake your bare garden soil to help loosen it for seed planting. There’s no need for tilling to plant the cover crop seed. Next, simply spread the seeds by hand or broadcast them with a spreader. Both applications work well, it really depends on how much space you need to cover.
Scatter the seeds much as you do when planting grass seed. Aim for around ½ to 1 pound of crop per 40 square feet of garden space. Make sure to check your cover crop instructions though as the measurements might vary slightly depending on the crop you select.

Lightly rake the soil to help set the seeds for germination. Raking also helps prevent birds from eating the seeds. There is no need to completely cover the seeds with soil. It is a good idea, however to cover very lightly with straw or shredded leaves. This will keep moisture in and keep birds from eating your seed.
Lightly water and keep moist until germination takes place. The time will depend on which crop you choose. Rye and oats as an example can take as little as 5 days before you start to see sprouting.
Long-Term Care – How To Plant A Fall Garden Cover Crop
Once you plant them, a cover crop requires little effort or work during the late fall and winter months. The crops will eventually become dormant over the colder months and little growth will take place.
The main key is to make sure that you don’t allow the crop to go to seed at any point if the temperatures are warmer late into the season where more growth can occur than normal. Allowing the cover crop to produce seeds will mean new, unwanted growth will come up in your garden next year.
To help avoid this issue, simply mow off your cover crop if it becomes too tall or before seeding occurs.
Spring Care – How To Plant A Fall Garden Cover Crop
Once the warmer weather hits, your cover crop will start to grow. Again, make sure not to allow it to come to seed by keeping it trimmed.
About 4 weeks before you wish to plant your spring crops, you should decide what to do with your cover crop. You have two main options: turning it into the soil (tilling) or letting it die off and then planting through it (no-till). A lot of your decision will be based of course on which type of crop you planted.
The no-till option is an excellent method and also takes the least amount of work. This works well with cereal rye and oats. Simply mow the crop really short and allow it to die off. You will then be able to easily plant through the dead foliage.
When tilling crops in, till about 3 to four weeks before you want to plant. This will allow plenty of time for the plant material and roots to get mixed and break down into the soil. Depending on the size of your garden, a shovel or a tiller can turn a cover crop over.
Either way allows the organic material to break down and become part of the soil. It’s a win-win no matter which method you choose as the soil is recharged and comes back to life stronger than ever.
One thing is for sure – it is far better than leaving your garden soil bare in the fall and facing an onslaught of weeds – and weak, lifeless soil!
Follow Our Facebook Page For Even More Great Tips! Simple Garden Life Facebook Page
Simple Garden Life is a website dedicated to keeping gardening fun, simple and enjoyable! We publish two new articles each week along with a new garden podcast episode every two weeks. This article may contain affiliate links.