Did you know that spring is one of the most perfect times of all to divide your overgrown hostas?
One of the best ways to help keep your hostas healthy and strong is to divide them every three to five years – and when it comes to the best time for dividing, you simply can’t beat the spring – especially when you can create a whole slew of new hosta plants to help fill your flowerbeds for free for the summer ahead!
Hostas are one of the most durable and hardy perennials of all. And, they happen to be extremely low maintenance as well. Not only are hostas drought resistant, they can grow fairly well in any soil condition. They even perform well in pots and containers, adding flair and foliage to covered patios, decks, or wherever you need a little interest.

But perhaps best of all, hostas are incredibly easy to divide – which means you can create new plants to use wherever you like. And as it turns out, spring really is the perfect time to do it!
Why Spring Is The Perfect Time To Divide Your Hostas
Although you can dig up and divide hostas at any point of the growing season, spring dividing has numerous advantages over summer and fall.
For starters, by dividing in the early spring, you can get to your plants without having to deal with excess foliage. In addition, by dividing before or as they first come up, you can transplant divisions early in the season. That allows them to grow to their full size and usually even flower in the same year. And as you will see below – it’s very easy to do!
Digging Up Hostas In The Spring
Digging up plants in the early spring can sometimes be a bit tricky since most are missing their foliage. If you did not remove the decaying foliage last fall, now is the time to do it. There is usually no need to cut the leaves off, most will simply pull right off at the base.
Once all foliage has been removed, lightly brush back the dirt to find the edges of your hosta plants. It is best to do this before the plant has started to send foliage through the crowns, but if it has, it will not hurt the hosta to divide it at this point.


With a sharp shovel, dig down a few inches around the entire edge of the crown. Once you have cut around the entire perimeter, take your shovel down a few inches more at the edge and lift up.
Hostas do not have particularly deep roots, but they can weave together tightly and be a bit tough at times to dislodge from the soil – especially when plants have been in the soil for a long time. Once the edges are loose though, the plant should lift from the ground fairly easy. This is another reason taking the time to divide hostas in the spring is best.
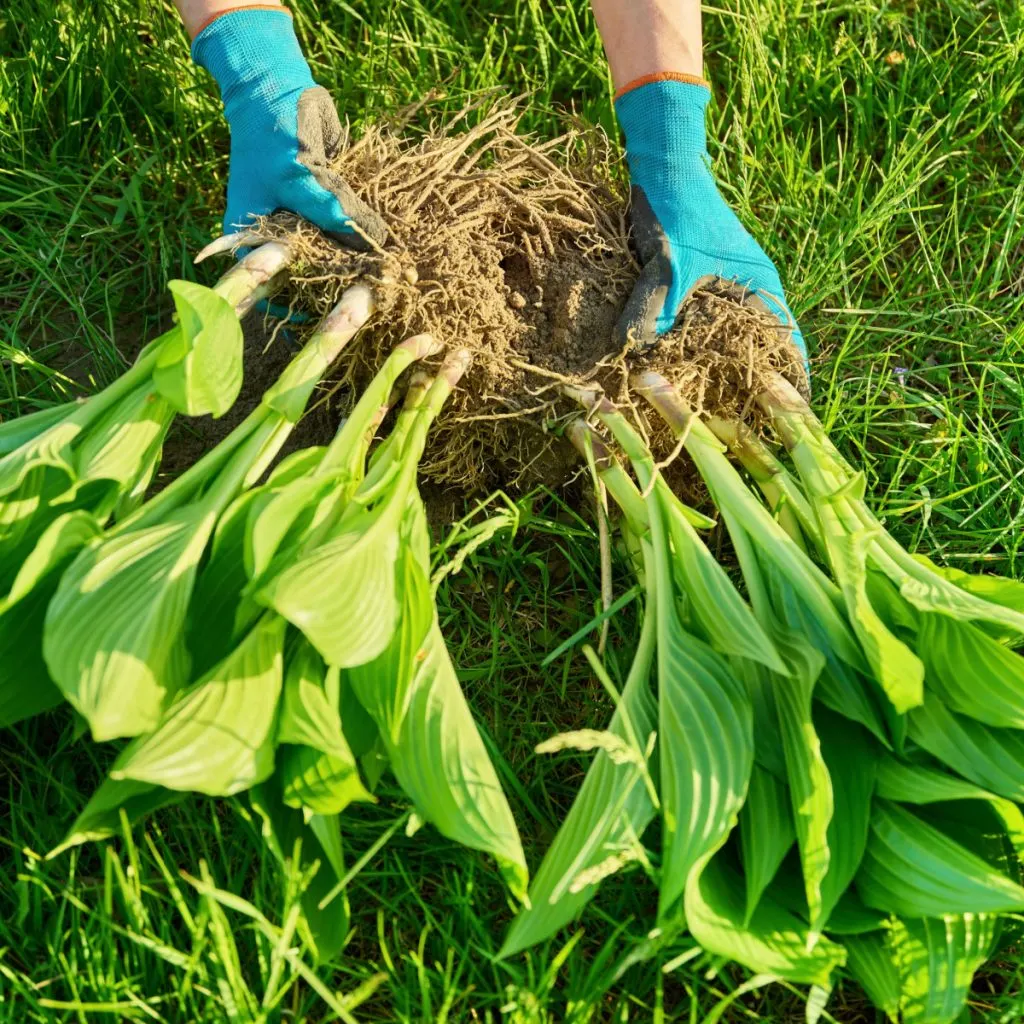
Dividing The Plants
Once the plant is out of the ground, it’s time to divide. The easiest way to cut the plant into new sections is with a sharp spade or a garden knife. If you have never used a garden knife, they are the perfect garden tool for all kinds of garden chores!
Garden knives have long serrated blades that easily slice down through roots and soil. They make dividing plants and roots into even sections a breeze. They are also wonderful for cutting string, digging out weeds and cutting large roots. Affiliate Link: Hori Hori Garden Knife, Garden Tools With Sheath
When splitting existing plants, divide the plant according to the size of the plants you would like to fill your beds with. On average, a two to three inch section of plant will create an 8″ to 12″ diameter plant in the first year of growth.
Listen To Our Podcast On Dividing Spring Perennials
If you are looking for larger hostas for the coming summer, simply cut the root ball in half. There really is no right or wrong size. Remember though, the larger the transplant, the sooner you will have to divide it again in the coming years.
One final note, for extremely large plants, avoid making transplants from the center portion. The center portions are the oldest parts of the plant. Because of this, they are not the best root sections to pick for new transplants.
Transplanting Hostas
For best results, after you divide your hostas in the spring, try to transplant them on the same day you dig them up. Again, they are extremely hardy, but the quicker you get them in the ground, the faster they will root and push through the soil.
The good news is that transplanting is extremely simple and requires little other than a shovel. Begin by digging a hole twice the diameter and depth of the cutting. This will loosen the soil around the roots, allowing them to expand easily.
When planting, place the top of the crown down in the hole so that it is about 1/2 to 1 inch below the soil line. To complete the planting, simply fill in around the hole and cover the roots level to the soil. Hostas do not require a lot of nutrients, so adding compost to the hole can be done, but it is not necessary.

Finish by topping off the soil with a few inches of mulch. Water the new divisions every few days until the new plants have emerged.
What To Do With Extra Plants
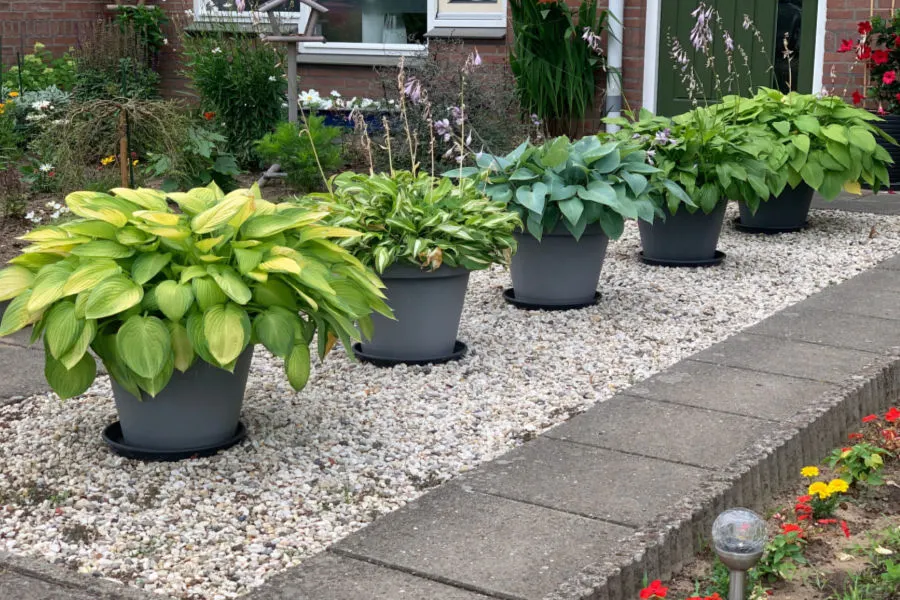
As covered earlier, hostas are wonderful for potting into containers and placing on shaded decks, porches and patios. The plants thrive in the protected, shady space – and can create an almost tropical feel with their huge leaf canopy. See our article: How To Create Stunning Containers & Potted Plants From Perennials – For Free!
If you have too many divisions to plant, you can also create a small holding bed for extra plants. A small corner or unused row in a vegetable garden is perfect for this. They often come in handy as gifts, or to fill into an open spot in your flowerbeds during the summer.
Here is to taking a little time to divide your hostas this spring. And to adding even more color and life to your flowerbeds this year.
Simple Garden Life
Follow Our Facebook Page For Even More Great Tips! Simple Garden Life Facebook Page
Simple Garden Life is a website dedicated to keeping gardening fun, simple and enjoyable! We publish two new articles each week along with a new garden podcast episode every two weeks. This article may contain affiliate links.