Looking for the best way to start your vegetable seeds indoors – and even more importantly – when to pick the best time to put the seeds into the soil?
While you can purchase plants at your local nursery or garden center, it’s no secret that the price of plants – as well as everything else – keeps increasing year after year. In addition, when purchasing vegetable transplants at stores, you are limited to only the varieties they choose to carry.
But when you grow your own plants, the sky is the limit when it comes to choosing what you want to grow. And when you add in that you can usually buy an entire pack of seed packets for less than the price of a single store-bought plant – it really makes growing your own plants the way to go.
The best part of all? Growing your own vegetable plants from seeds doesn’t require a lot of work, equipment or time. In fact, with just a few supplies and a little time – you’ll have your plants ready to go when the perfect planting day arrives in the spring. But the key to success is getting ready now!
The Best Way To Start Vegetable Seeds Indoors
What You Need To Start Vegetable Plants Indoors
Before we get to when and how to plant, let’s first cover what you will need to easily and successfully grow your own plants.
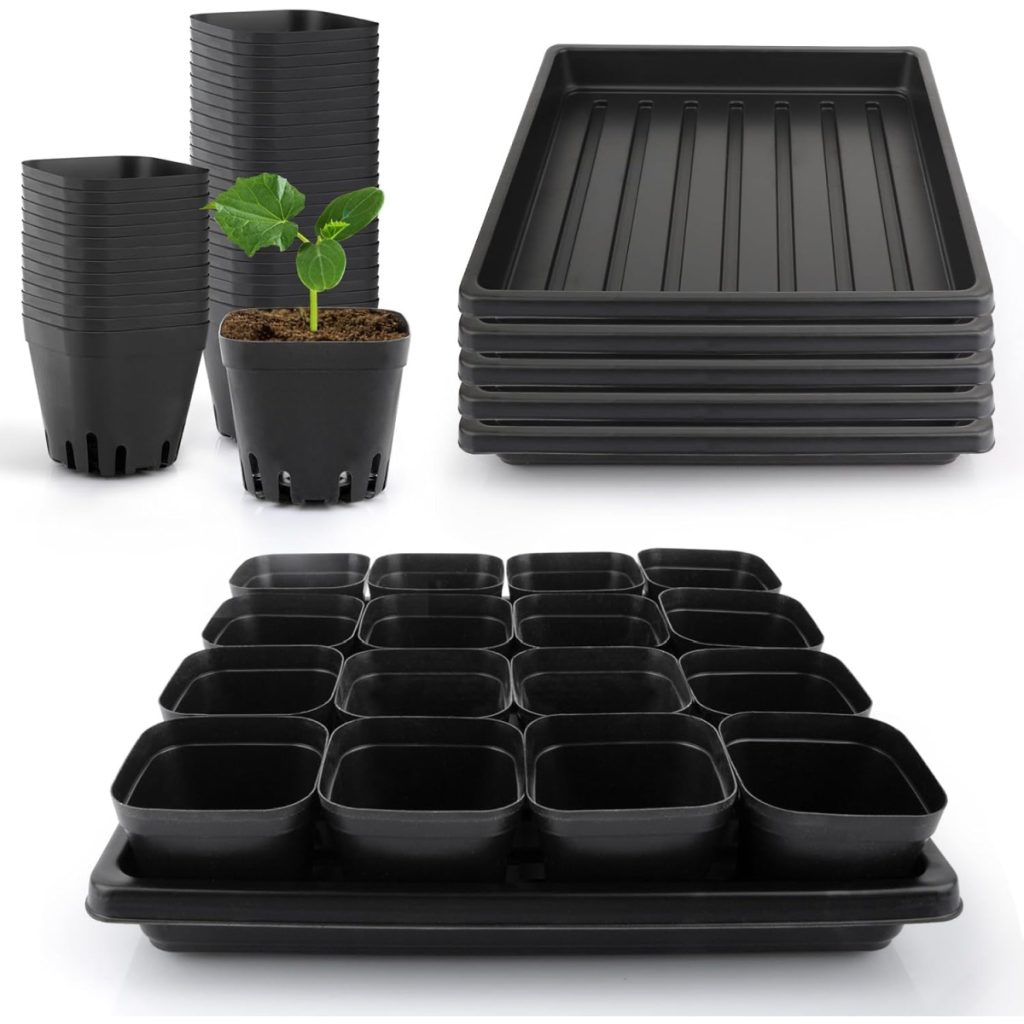
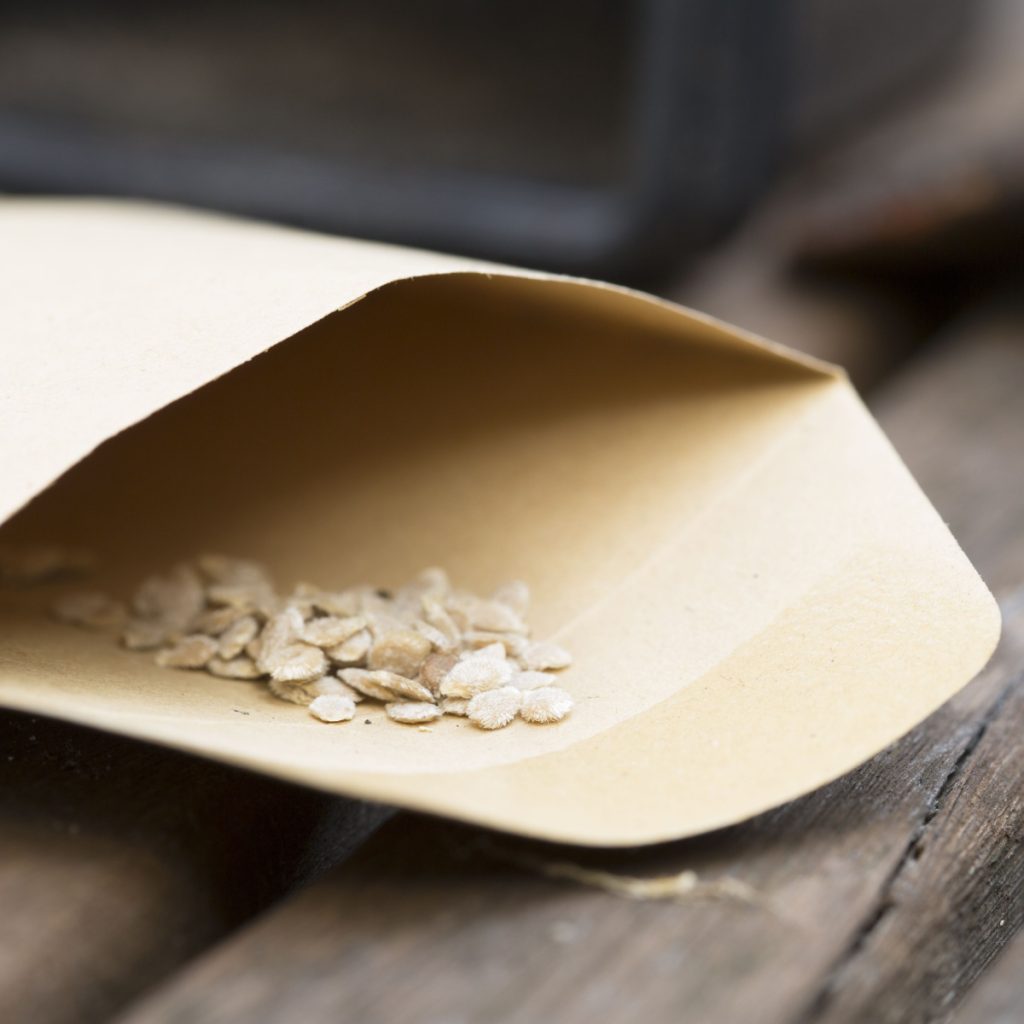
Beyond having your choice of seeds, you will need to have seed trays and planting cells. It’s best to select larger individual growing cells that are at least 2 inches wide and deep. If you can find a bit larger, even better. This will allow you to grow from seed and never have to transplant until planting day.
Avoid tiny seed starting trays that let you grow 48 or 72 plants at once. They are simply not big enough and will quickly need repotting. The good news is that many of the larger seed trays can be used for multiple years with ease. Affiliate Link: RooTrimmer 3.5 inch Square Nursery Pots 60pcs
If your trays do not come with clear lids, you can use plastic wrap to help keep moisture in when you first plant your seeds.

Of course, you will need soil as well. And above all else, that soil needs to be fertile! Seed starting soil needs to be ultra light and full of nutrients.
Regular potting soil and garden soil are not the best choice as they are too heavy. Many potting soils also contain fertilizers that are too harsh for seeds. There are excellent seed starting mixes available, or you can make your own at home with a few simple ingredients. Affiliate Link: Seed Starter Natural Potting Soil Mix for Germination and Growth
Why Using Artificial Lighting Is A Must
Last but not least, you will also need some sort of artificial lighting to grow seedlings indoors. But that doesn’t need to be costly. Basic fluorescent or LED shop lights work wonders for getting seeds to germinate and grow, so there is no need to purchase expensive lights labeled as “grow lights.”
One other note on lighting. Although you will see a lot of photos of folks growing in window sills, they are not good for growing vegetable seedlings. Winter sunlight is too far away, and your seedlings will turn out tall, thin, leggy and weak. For more on this, see: The Best Lights To Use To Start Seeds Indoors – A Simple & Affordable Way To Start Plants!
Listen To Our Podcast On Starting Seeds Indoors Below!
When & How To Start Vegetable Seeds Indoors
Now let’s cover starting your seeds! Aim for starting seeds 8 to 10 weeks prior to your last spring frost date. This will give enough time to produce strong, solid growth before the plants will need to be outside permanently.
Fill your seed trays a few days in advance of planting to allow the soil to settle in. When you fill them, moisten them with a bit of water. Since the soil is light and airy, this will help it to settle down into the cells and have moisture as well. Top cells off with additional soil prior to planting if needed.
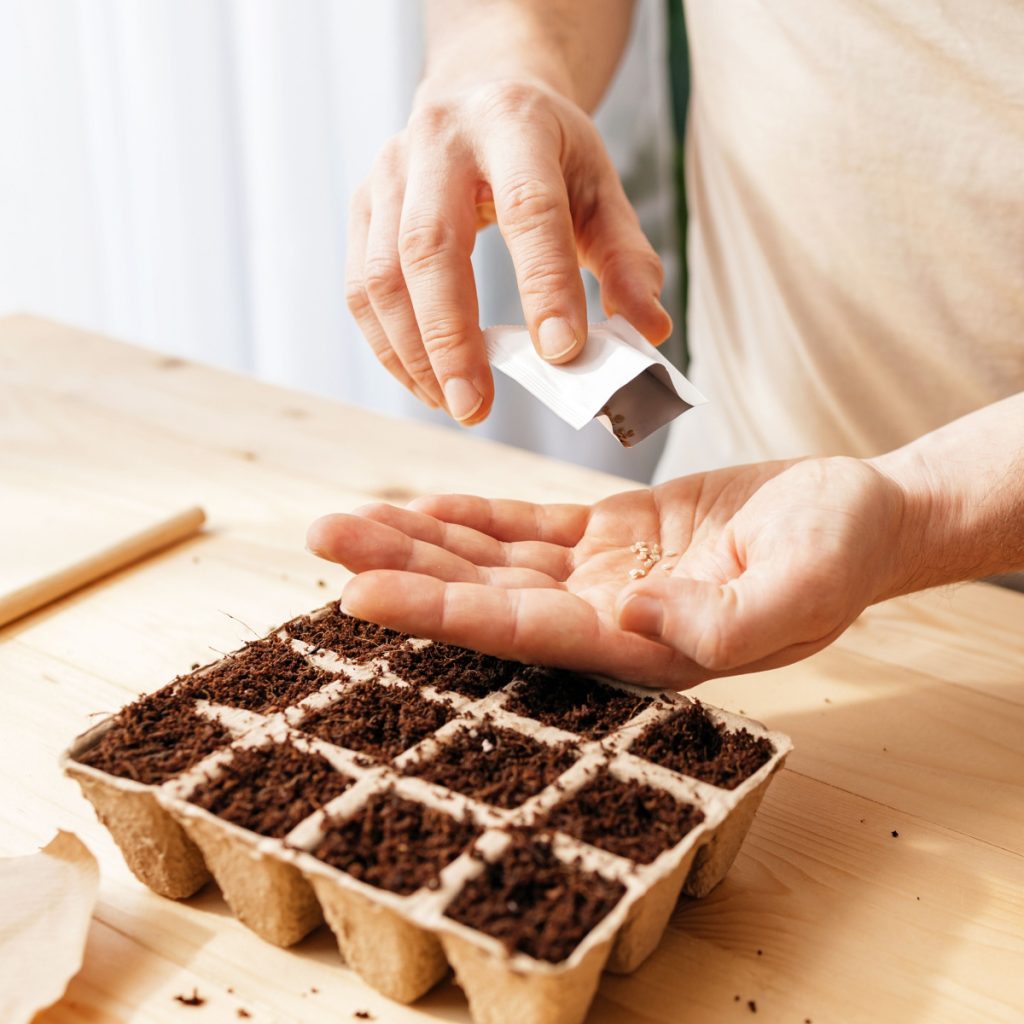
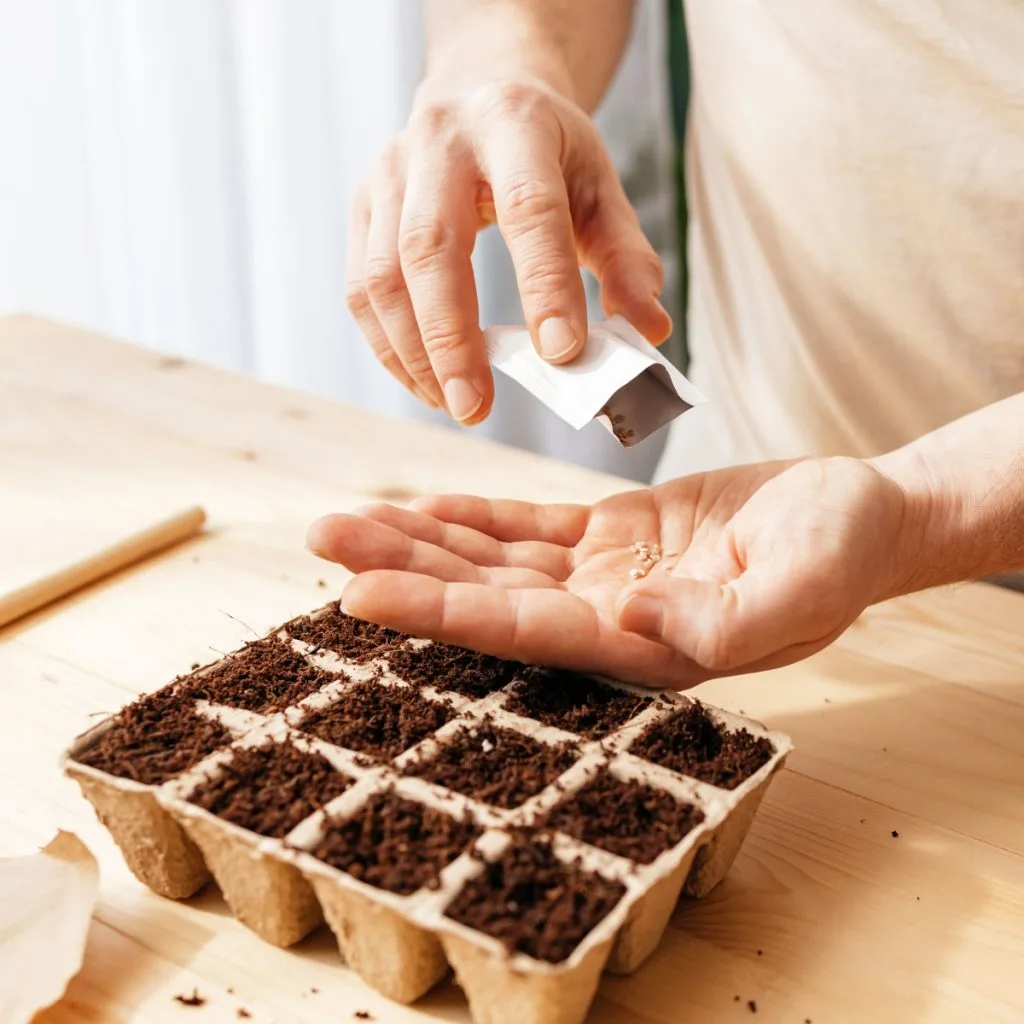
Now it’s time to plant your seeds. It’s always a good idea to plant 2 seeds in about half of your growing cells. This helps have extra seedlings on hand to transplant into cells whose seeds might not have germinated.
Always be sure to label your seedlings. It’s very easy to lose track of which seeds you planted in which cells if you don’t mark them. A simple plastic label works great, or you can use a permanent marker to write on the outside of the plastic cells.
Give Your Seeds Moisture & Warmth
Once seeds are planted, lightly mist the soil and cover your tray. If your trays did not come with a plastic lid, you can use a piece of plastic wrap lightly placed over the tray. This will help to keep moisture in to speed sprouting.

Set trays in a warm location. At this point, you will not need to have your seed trays under any light in order for them to germinate.
You should start to see condensation develop on the lid or plastic. This indicates that the cells have enough moisture for germination. Once a few of the seeds have germinated, it’s time to remove the cover and move the trays underneath your light source.
Keeping Your Seedlings Healthy & Growing
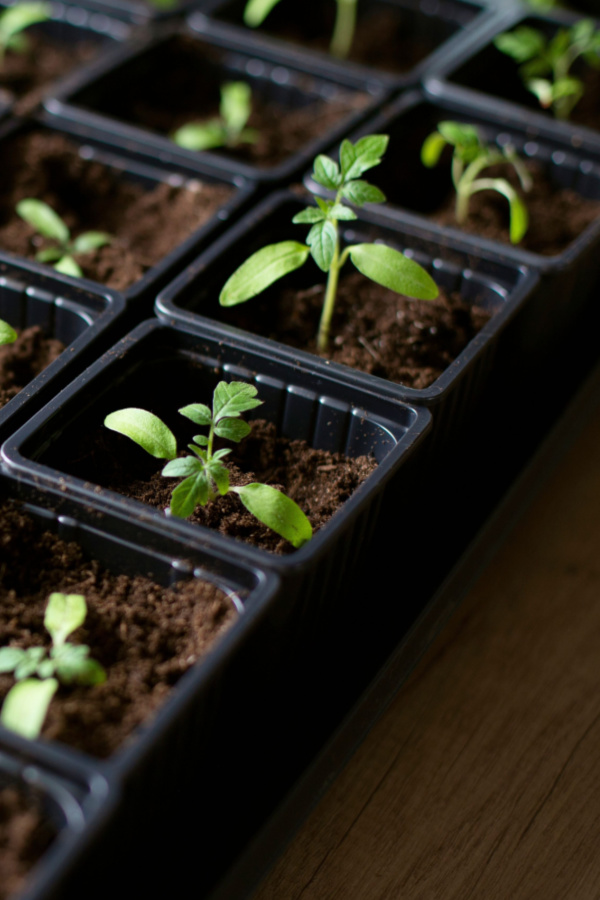
Once seeds germinate, keep your shop lights about 1 to 2 inches above the seedlings. While that might seem too close, it will allow the plants to grow strong and fill out without becoming thin and spindly. Move the lights up as the plants grow to maintain the 1 to 2 inch gap.
Keep your lights turned on for 12 to 14 hours a day. Do not leave them on around the clock as it can force too much growth. It will also dry plants out too quickly. A light timer can be great to help ensure that the lights turn on and off at the right time.
Keep the soil moist but not soggy. It’s best to not let the soil dry out for long periods of time between watering. Using a spray bottle to mist the tiny sprouts and soil works wonder early on. As plants grow, you can then use a small bottle to water plants more easily.

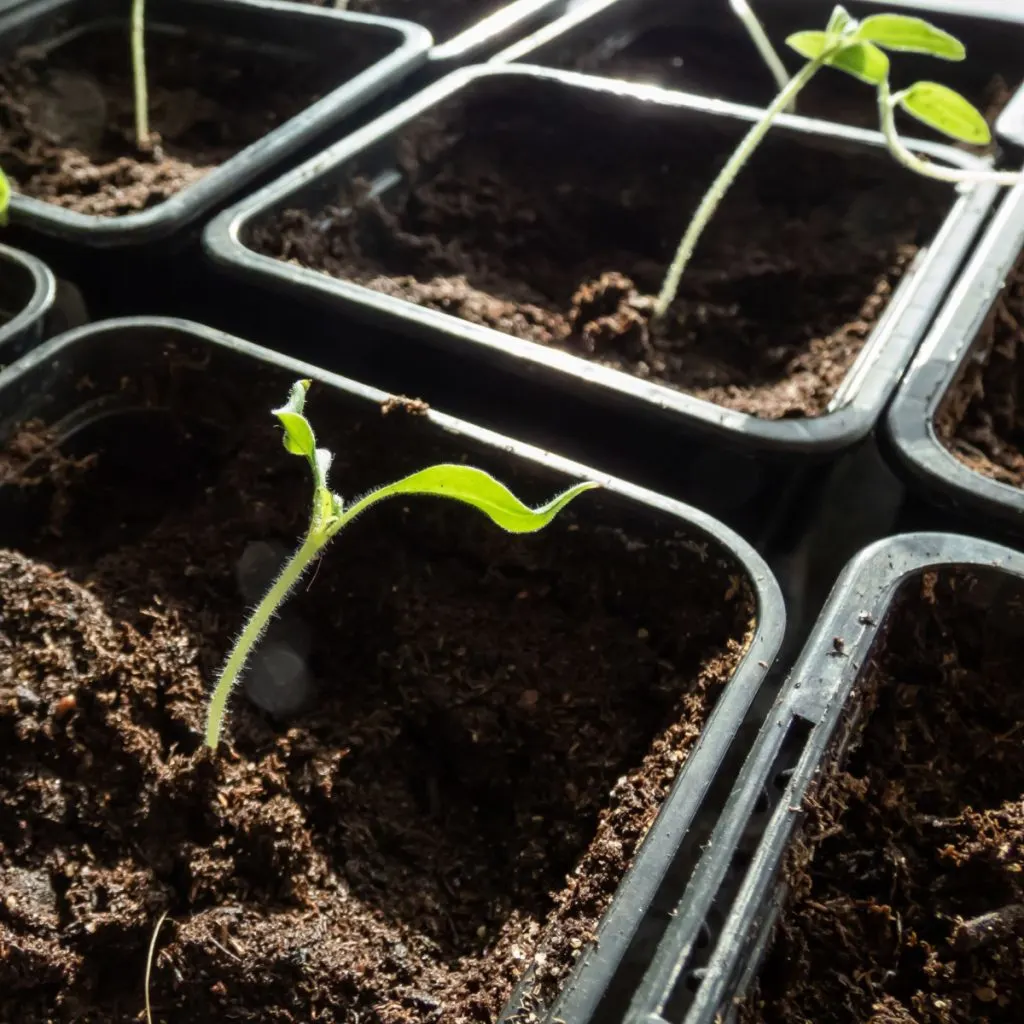
After a week or two, you can thin seedlings down to one per cell. This is the time to transplant any extras into cells that did not have a seedling come up.
Don’t Forget To Fertilize
When you start vegetable seeds indoors, fertilizing young seedlings is a vital step to help get them off to a fast start. Once the plants reach about 3 to 4 weeks in age, it’s time to power them up with a little dose of energy. But what you give them matters!
At this point, compost tea or worm casting tea are excellent. They will not burn young plants and have the nutrients they need in just the right form. If you are using a commercial liquid fertilizer, use it at 1/4 strength to keep from overpowering young seedlings.
Fertilize your seedlings every 2 weeks with this method until they are ready for planting outdoors. But before you plant – make sure to harden your young plants off first.

Hardening Off Transplants – The Last Step
Seedlings need a bit of time to adjust to the elements of the outdoors (e.g., sunlight, temperature swings, wind, rain, etc). This process of adjusting is known as hardening off. It gets them ready to be able to handle the rigors of full time life outdoors.
About two to three weeks before you will be planting, start to take your plants outside if temperatures allow. Progress slowly, keeping them protected at first and avoiding windy spots. Bring them back indoors the first few nights.
Gradually, allow the plants to be out longer to get more direct sunlight and exposure to wind. Eventually, you can leave your plants outside around the clock as planting day approaches. Just be sure to bring them inside if there is a late-season frost, hard storms – or if cold temperatures are expected.
Now, your plants are ready for planting. Here is to starting your own vegetable seeds indoors this year, and to your best garden ever!
Simple Garden Life
Follow Our Facebook Page For Even More Great Tips! Simple Garden Life Facebook Page
Simple Garden Life is a website dedicated to keeping gardening fun, simple and enjoyable! We publish two new articles each week along with a new garden podcast episode every two weeks. This article may contain affiliate links.